

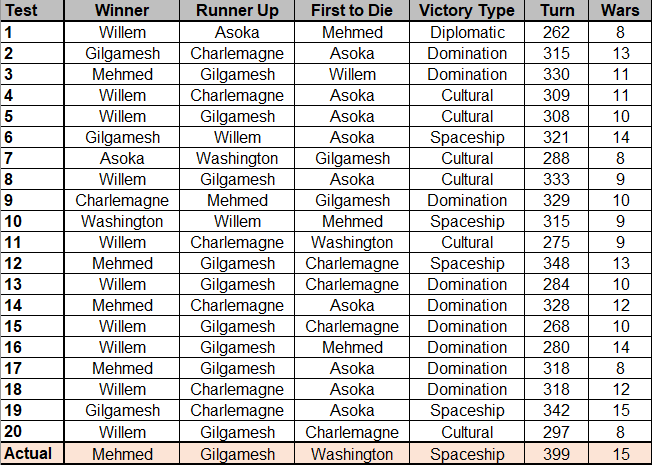
Championship Game Alternate Histories Spreadsheet
One of the recurring features of past seasons of AI Survivor have been our "alternate histories", running additional iterations on the same maps to see if the same events would play out again. The Season Five Championship was a long and tense game of twists and turns where five different AI leaders had a realistic chance of winning before Mehmed emerged on top. Was that something which would unfold in each game? This was a topic that called for more investigation with alternate history scenarios. Following the conclusion of Seasons Three and Four of AI Survivor, I had gone back and investigated some of the previous games and found that they tended to play out in the same patterns over and over again. While there was definitely some variation from game to game, and occasionally an unlikely outcome took place, for the most part the games were fairly predictable based on the personality of the AI leaders and the terrain of each particular map. Would we see the same patterns play out again and again on this particular map?
The specific inspiration to run these alternate histories came from Wyatan. He decided to rerun the Season Four games 20 times each and publish the results. The objective in his words was twofold:
- See how random the prediction game actually is. There's a natural tendency when your predictions come true to go "See! Told you!", and on the contrary to dismiss the result as a mere fluke when things don't go the way you expected them to (pleading guilty there, Your Honour). Hopefully, with 20 iterations, we'll get a sense of how flukey the actual result was, and of how actually predictable each game was.
- Get a more accurate idea of each leader's performance. Over 5 seasons, we'll have a 60+ games sample. That might seem a lot, but it's actually a very small sample, with each leader appearing 5-10 times only. With this much larger sample, we'll be able able to better gauge each leader's performance, in the specific context of each game. So if an AI is given a dud start, or really tough neighbours, it won't perform well. Which will only be an indication about the balance of that map, and not really about that AI's general performance. But conversely, by running the game 20 times, we'll get dumb luck out of the equation.
Wyatan did a fantastic job of putting together data for the Season Four games and I decided to use the same general format. First I'll post the resulting data and then discuss some of the findings in more detail. Keep in mind that everything we discuss in these alternate histories is map-specific: it pertains to these leaders with these starting positions in this game. As Wyatan mentioned, an AI leader could be a powerful figure on this particular map while still being a weak leader in more general terms. Now on to the results:
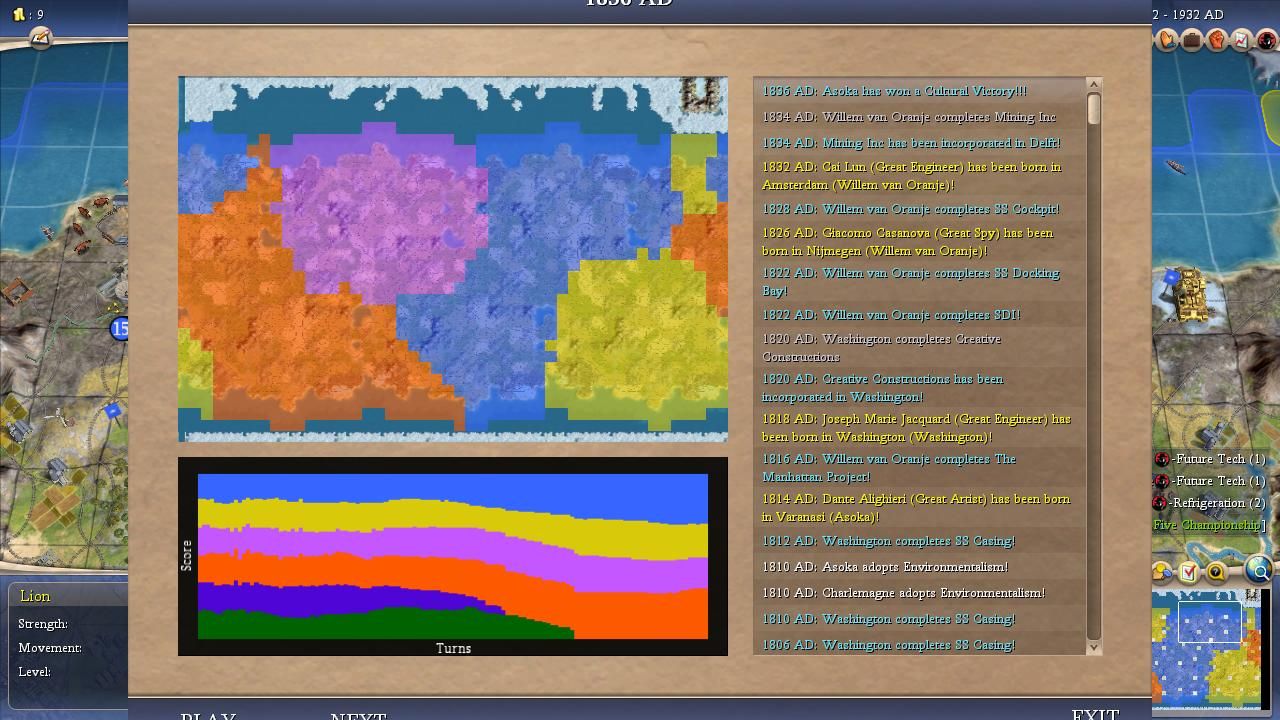
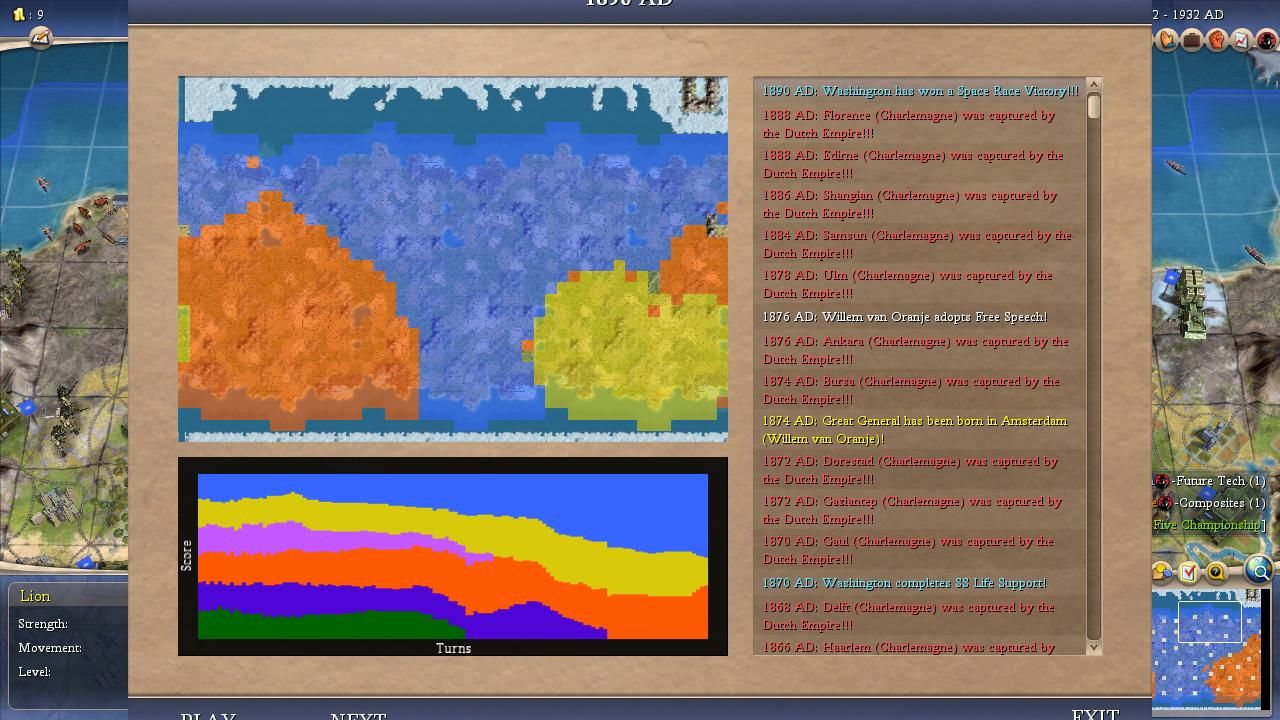
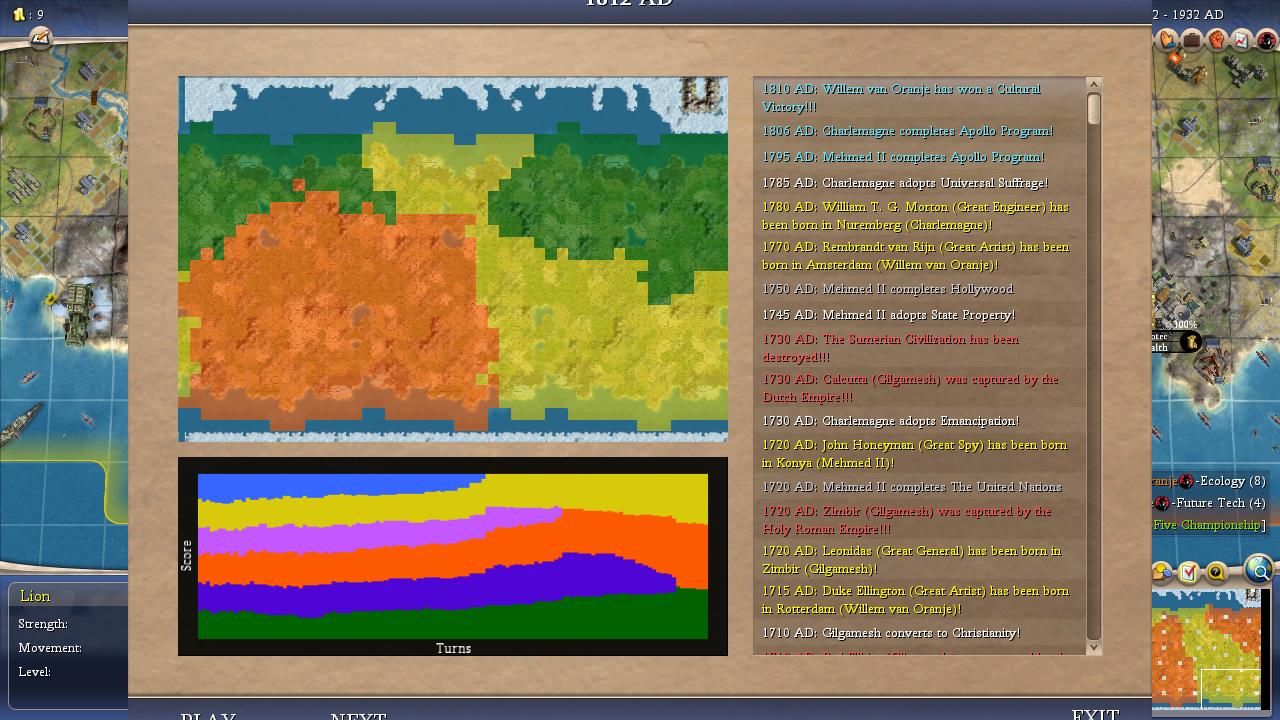
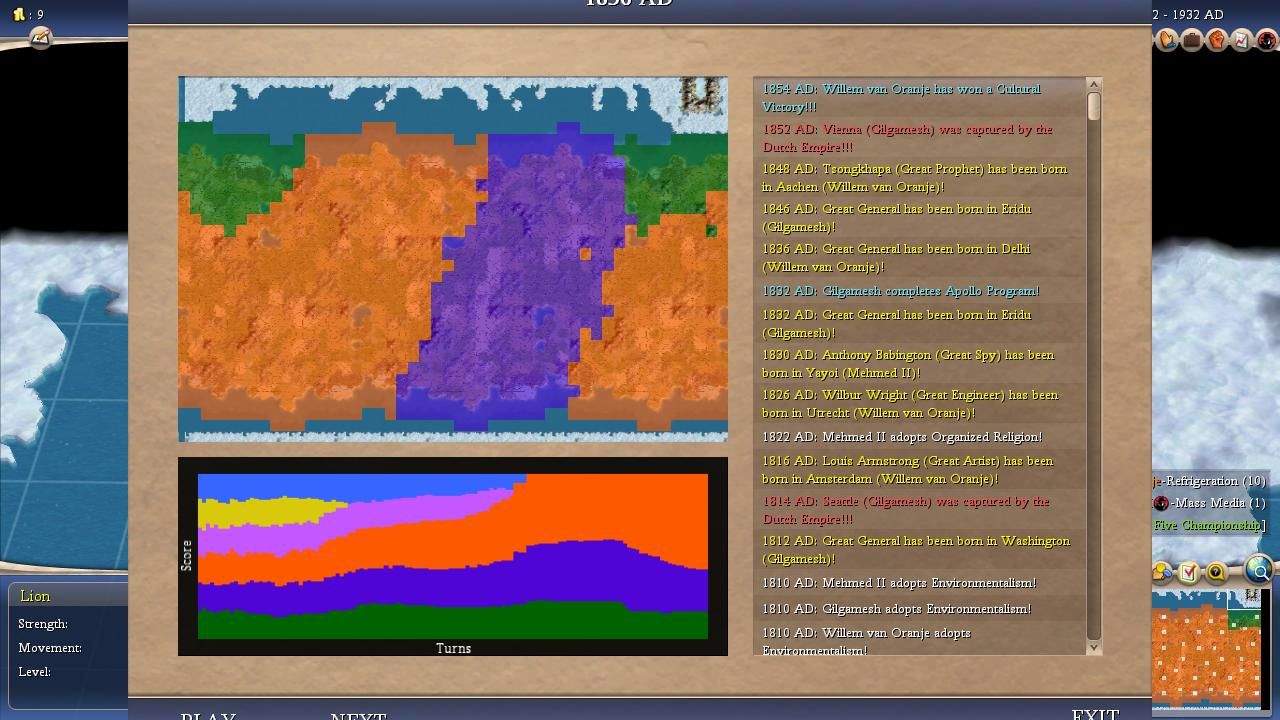
Game One | Game Two | Game Three | Game Four | Game Five
Game Six | Game Seven | Game Eight | Game Nine | Game Ten
Game Eleven | Game Twelve | Game Thirteen | Game Fourteen | Game Fifteen
Game Sixteen | Game Seventeen | Game Eighteen | Game Nineteen | Game Twenty

(Note : "A" column tracks the number of war declarations initiated by the AI, "D" the number of times the AI is declared upon, "F" the points for finish ranking, and "K" the number of kills.)
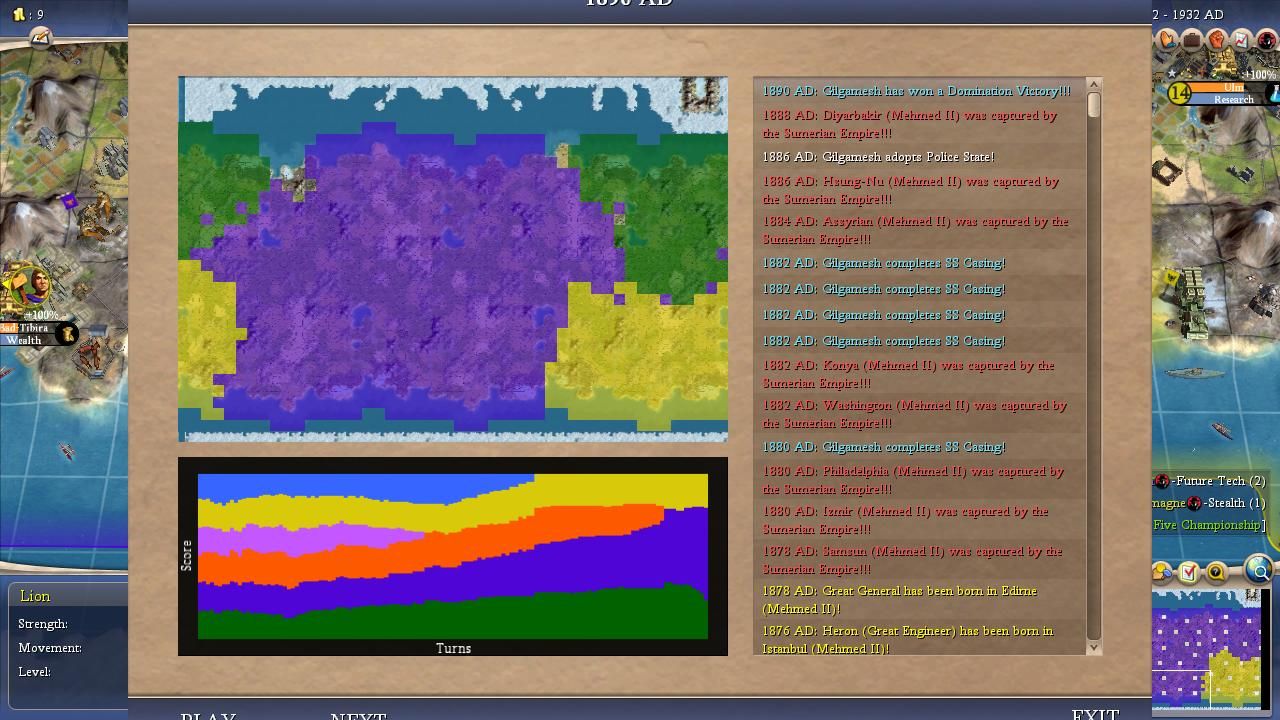
The first question that I always ask myself when putting together these alternate histories is whether or not we saw an unlikely outlier result. For the Season Five Championship, that answer was mostly a "no" as the leaders that we saw experience strong games were typically also successful in the alternate scenarios. The most unusual thing about the real championship was how closely it played out; many of the alternate games were complete stomps where one leader or another snowballed ahead at an early date and then crushed the competition. The mirrored starting positions in the championship gave everyone more of a chance than what we'd see on a random map, and this was reflected in the fact that all six leaders had at least one victory in the 20 games that I watched. This was the first time that I'd seen that when running alternate histories. On the other hand, mirrored starts still didn't produce a setup where everyone had exactly 1 in 6 odds of winning. Even in a game with a mixture of high, middle, and low peace weight leaders, there were several AIs that clearly stood out above the rest of the field. The evidence from running 20 tests reinforced our belief that Willem and Gilgamesh were the best AI leaders in this group while also indicating that Mehmed was a deserving winner in his own right.
This is a harder report to write in some ways because the mirrored setup meant that there were no individual parts of the map that stood out as being especially important. I was surprised first of all to see a good amount of variance in terms of how much land each AI leader claimed from game to game. While everyone always picked up the core region around their capitals, there was a lot of unpredictability out on the margins of each leader's territory. Where barbarian cities popped up and who captured them shifted quite a bit from game to game. Early wars also had a huge impact on settling patterns since we know that AI leaders mostly stop building additional cities once they find themselves at war. I saw games where Willem picked up a dozen cities from peaceful expansion and also games where he was stuck with half of that amount. Mehmed and Washington in particular could struggle in games where they didn't found a religion or land Stonehenge. On the other hand, those same leaders could sometimes find their neighbors stuck in unproductive early wars and come out of the landgrab phase with huge empires. The mirrored map makes it hard for me to point to any one region that was important, it was more of a case of each nation varying in size from game to game.
Keeping that in mind, there were still clear patterns that played out over and over again. The dominant narrative was exactly the one that the community anticipated: Willem would become a monster and run away with the game if he didn't get caught up in warring. We saw this happening in the actual championship and he narrowly missed out on destroying the competition due to a series of unfortunately timed conflicts. That didn't always happen in the alternate histories and there were repeated games where Willem stayed out of wars while everyone else fought and then steamrolled his rivals from a position of superior technology. Willem had ten wins and no one else could get more than four victories; he was the clear favorite just as we had predicted. Gilgamesh was Willem's frequent partner in crime and took home three wins of his own along with a ton of second place finishes. Sumeria had the most kills and the least eliminations with Gilgamesh almost always being in the mix as a serious competitor. He was another powerful and strong AI without having as much of a chance to seize the outright win as Willem.
At the other end of the spectum, the strength of the low peace weight leaders meant that the high peace weight leaders inevitably suffered. This was about as good of a setup as they could have hoped for, three relatively high peace weight leaders with scores of 8, 8, and 6 along with Willem being more in the middle of the spectrum at a score of 4. These leaders still weren't able to manage more than a few outlier victories though, with Asoka, Washington, and Charlemagne each taking him a single victory each. Any of them winning in the real championship would have been a bit of a fluke result and I'm glad that we didn't see that happen. Asoka was the most frequent target thanks to his high peace weight and propensity to found his own religion, ending up as the runaway winner of First to Die and getting eliminated in 80% of these scenarios. Washington often came out of the landgrab phase in a relatively strong position, only to collapse under attacks from multiple sides and then get eliminated at some point in the midgame. He was somewhat unlucky but also couldn't manage to snowball a good position with further conquests. Charlemagne was much better at surviving (one of his clear strengths that we've seen repeatedly) while also rarely being in any kind of a position to win himself. Holy Rome had a bunch of very, very distant second place finishes that overstated how well Charlemagne had actually performed. Still, we've seen that the Burger King is very good at hanging around and hoping for things to break his way which caused him to perform the best of the high peace weight leaders.
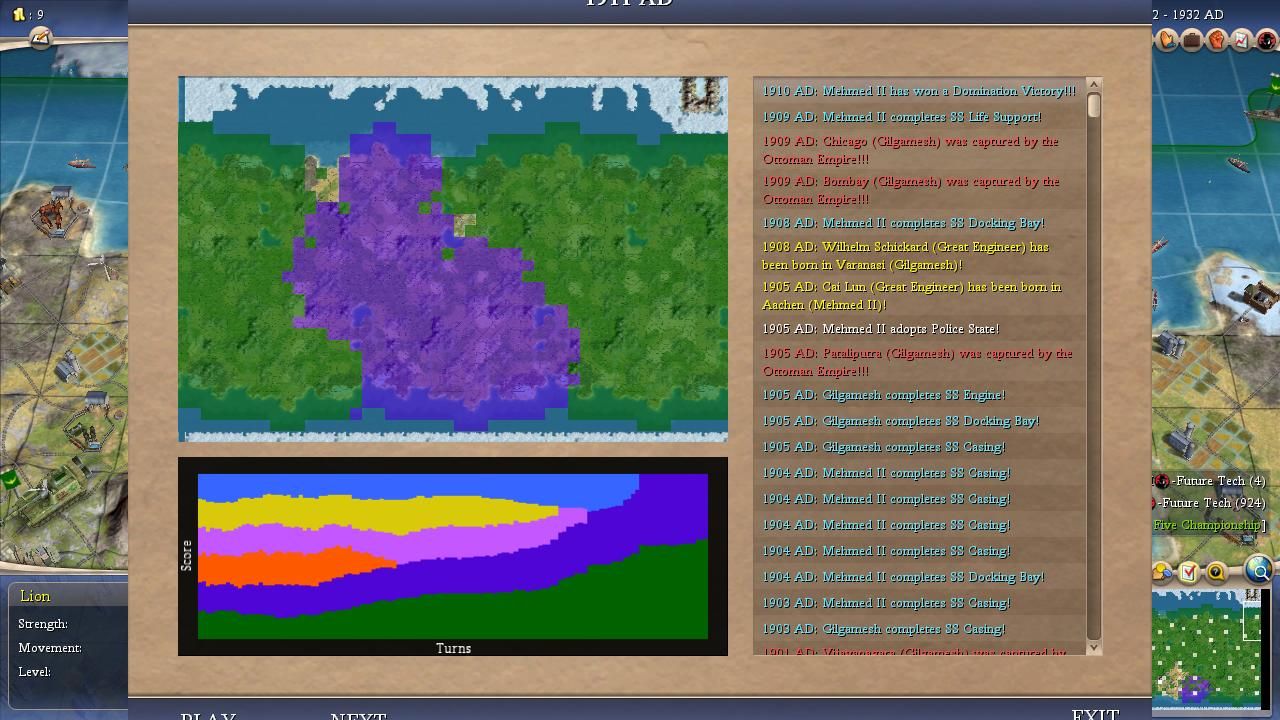
Finally, our champion Mehmed couldn't match the strength of Willem and Gilgamesh but still represented himself well in these alternate histories. He won four different times, three of them by Domination, suggesting that his victory was not a fluke. Obviously Mehmed benefitted from the fact that this was a map where the low peace weight leaders usually won out against the high peace weight leaders. However, it's not like that was some kind of purely static fact - the low peace weight leaders were often winning because Mehmed was contributing to their success! He was able to snowball ahead by taking out either Asoka or Washington or both of them in many of these games, and he nearly managed to equal Willem and Gilgamesh in kills despite being eliminated far more often. Mehmed was more of an "all or nothing" leader, lacking the economic base to match Willem or Gilgamesh unless he could capitalize on an early conquest. He pulled it off quite a few times though and showed that this was a deserving victory.
Now for a look at the individual leaders:

Willem of the Dutch
Wars Declared: 45
Wars Declared Upon: 26
Survival Percentage: 65%
Finishes: 10 Firsts, 2 Seconds (54 points)
Kills: 16
Overall Score: 70 points
The mirrored nature of the map meant that no leader could run away with the alternate history scoring to the same degree as we've seen in some other games. Willem made a good try at it though, finishing first in half of the matches that I watched along with a couple of second place finishes. As befitting Willem's bifurcated nature, he took home first or second in 12 of the 13 games where he survived to the end, and outright won 10 of those matches. Long story short, if he didn't get killed he almost always won. Willem had two different paths to victory in these games. The route that we most commonly see other leaders take comes from overrunning a neighbor and absorbing their land, and Willem did that on several occasions. His most frequent target was Asoka thanks to border tension and religious differences, but occasionally he would conquer Charlemagne or even Mehmed. There were four games where Charlemagne was First to Die and Willem won three of them as the leader best positioned to capitalize on Holy Rome's demise. Game #20 featured a bizarre Turn 89 elimination of Holy Rome and Willem responded to that by having factories on Turn 200 which, uh, was not pretty for the other leaders. You do not want to give the game's only Financial leader twice as much land as anyone else.
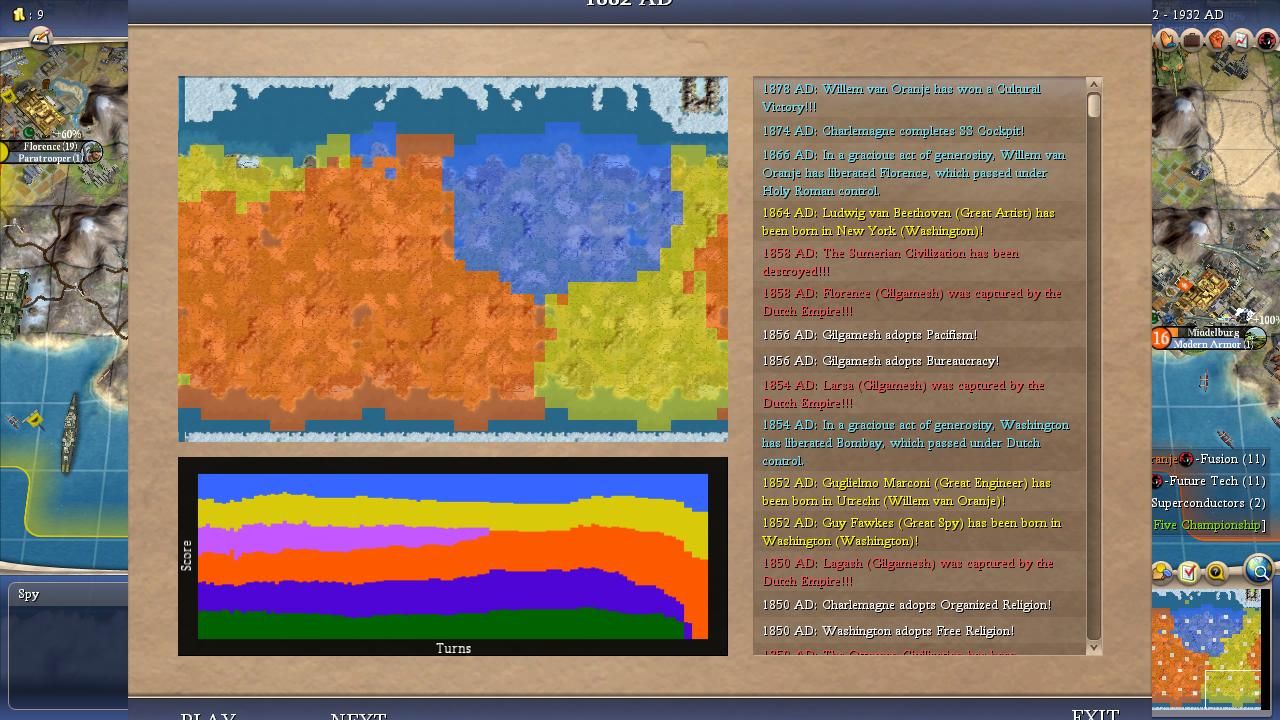
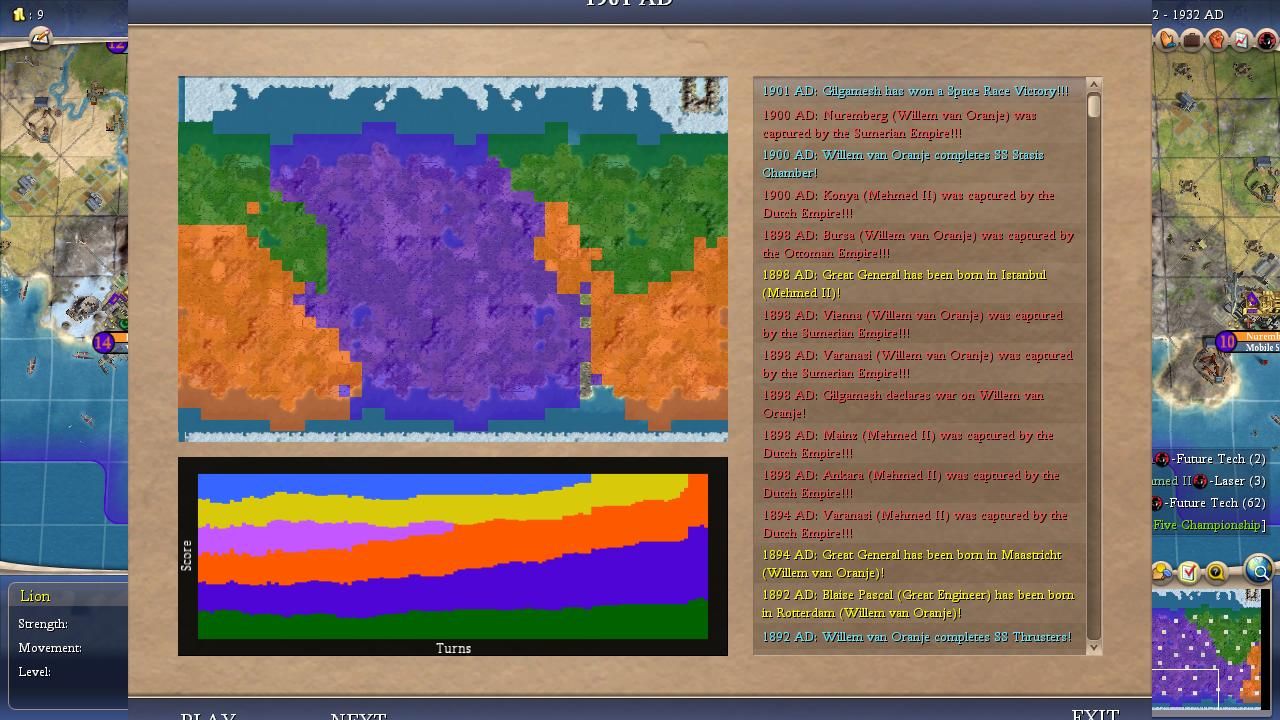
Unlike most of the other leaders, Willem didn't need to eat a neighbor to run away with the game. He could also pull away simply by staying at peace and teching while others fought, and this was exactly what happened in several of the other Dutch victories. The rest of the world engaged in pointless bloodletting and Willem built away for 100 turns, then slaughtered some poor backwards peons with rifles or tanks while they were still trying to figure out how gunpowder worked. This opened up an opportunity for Willem that the other leaders didn't have available and it's the main reason why he won so many times. Willem oddly didn't win by Spaceship even one time, instead preferring to win via the Cultural route. He won that way five different times and won by Domination twice more while running the cultural slider en route to another cultural end. If you had Willem as your preferred winner, Cultural was the most likely option as far as how this game would end.
When Willem faltered, it was for the same reasons that we saw in the actual championship. He could sometimes get stuck in unproductive 1 vs 2 wars that dragged him down and slowed his teching. Wars with Gilgamesh in particular tended to be detrimental to the Dutch and it was rare that any good came out of them clashing. Willem could also get into trouble by ignoring Rifling tech, as usual, and this was responsible for Washington's victory in Game #10 as Willem was ahead in tech but behind in military. Overall though, this was a very strong showing from Willem and should help cement his reputation as one of the top AI Survivor leaders. The fact that he was initiating so many offensive wars is a sign that he was typically in a position of dominance and looking to roll over the competition. I estimated before the game started that Willem had roughly 30-40% odds to win and it turned out that his chances were slightly better than that. Definitely a tough opponent.

Gilgamesh of Sumeria
Wars Declared: 53
Wars Declared Upon: 32
Survival Percentage: 70%
Finishes: 3 Firsts, 9 Seconds (33 points)
Kills: 19
Overall Score: 52 points
Gilgamesh was very clearly the second-best AI leader on this map behind Willem. He was actually eliminated fewer times than any other leader and also scored the most kills out of the group. His problem was a difficulty in actually winning the game as opposed to merely being a powerful competitor, as Willem was better at finishing off one of the various different victory conditions. I was surprised that Gilgamesh only won the game once via Domination (his other two wins came through Spaceship) and this might be a bit of a result of small sample size bias. It was very common to see Gilgamesh as a strong runner up finisher behind Willem as the Sumerians simply couldn't keep up with the superior Dutch economy. I think that Gilgamesh's "true" performance was probably a little bit higher than what we saw here since there were so many second place finishes, including Game #8 where Willem's Cultural victory arrived on the same turn as Gilgamesh's spaceship and the Dutch won through a turn order tie-breaker. Gilgamesh continued to build the case that he's one of the best leaders for AI Survivor purposes who had been overlooked for the first few seasons.
Gilgamesh's path to victory involved rolling over one of his neighbors and looking to snowball from there. He shared a border with the weak Asoka to the northwest and that was where he often made the most progress. Washington and Charlemagne and Willem were all tougher opponents, and Washington in particular had a habit of attacking Gilgamesh while he was off fighting with Asoka. This was one of the main reasons why Gilgamesh didn't run away with more games as I'd been expecting. As the most aggressive leader in this field, Gilgamesh was involved in more wars than anyone else by starting 53 of them while also collecting the most total kills. All that fighting is probably also part of the reason why he was out-teched so often by Willem. Anyway, Gilgamesh was fairly easy to understand as far as his AI performance went. He fought a lot and he was nearly always a competitor to take home the win while most often getting beaten by Willem. He was eliminated in all three of the Asoka/Washington/Charlemagne wins which should indicate how Gilgamesh fared in a world where the high peace weight AIs came out on top. He was first or second in almost all of the other games and was a major reason why the lower peace weight leaders typically were dominant.

Mehmed of the Ottomans
Wars Declared: 48
Wars Declared Upon: 28
Survival Percentage: 50%
Finishes: 4 Firsts, 1 Second (22 points)
Kills: 14
Overall Score: 38 points
Mehmed was our actual winner and he backed that up with four more victories out of the twenty games that I watched. The Ottomans employed a high risk / high reward status that delivered multiple Domination wins but also saw Mehmed suffer an elimination in fully half of the alternate history scenarios. Mehmed clashed repeatedly with the same two leaders that we saw him fight in the real championship game, Asoka and Washington, and the Ottomans were one of the best-positioned civs to take advantage of an Indian collapse. Conversely, like Gilgamesh, Mehmed was eliminated in all three of the Asoka/Washington/Charlemagne wins as there was no room for him in the worlds where the high peace weight leaders came out on top. Mehmed was at his best when he was capturing territory from a dogpiled Asoka or Washington, as demonstrated by Game #3 and Game #14 when Mehmed absolutely ran away from everyone else. On the other hand, he came into conflict with Willem in a large number of games and that often ended poorly for Mehmed. His wars against Charlemagne were also frequent and typically tended to stalemate without gain for either side. These were the games where Mehmed stalled out and found himself eventually outscaled by other leaders.
Mehmed has attracted some notoriety for being a militaristic leader who won't declare war at "Pleased" relations. This didn't stop him from going to war early and often in this game, however, with 48 wars started against only 28 wars defended. He was a big reason why Asoka and Washington had far more defensive wars in their ledger than offensive ones. One of the odd things about these results was Mehmed only taking a single runner up finish despite winning four different games. Some of this was bad luck as he narrowly missed out on second place finishes in Game #2, Game #11, and Game #19 with third place finishes. On the other hand, I suspect that Mehmed's odds of taking first place were probably a bit less than the 20% that we saw in these alternate history scenarios since he was eliminated so often. When he managed to survive, Mehmed was a real competitor to take home the trophy given his repeated pushes for Domination. He would have racked up a similar score as Gilgamesh if he'd been able to survive in more games which, of course, he didn't. Even though he couldn't match Willem or Gilgamesh, Mehmed absolutely proved that his victory on this map was not some random fluke. Five wins in 21 total games wasn't a coincidence. It was a stark contrast to the Season Four Championship when I re-ran the map ten times and Charlemagne never came close to winning again. Mehmed definitely isn't a top-tier AI leader but he's not a total stiff either.

Charlemagne of Holy Rome
Wars Declared: 32
Wars Declared Upon: 34
Survival Percentage: 55%
Finishes: 1 First, 6 Seconds (17 points)
Kills: 5
Overall Score: 22 points
Charlemagne was the clear top performer amongst the three high peace weight AI leaders. He survived far more often than they did and had more top two finishes than Asoka and Washington combined. Charlemagne seems to be particularly good at sticking around and avoiding death, probably due at least in part to his Protective trait, and this allowed him to slip into a series of runner up spots that he probably didn't deserve. Still, remaining alive is an important part of the competition and he was roughly as successful as Mehmed in that regard despite a far weaker diplomatic situation. Part of Charlemagne's problem was a lack of any clear path to a victory condition aside from the pure military route. I mentioned this in writing about the championship last year and the same problem persisted in Season Five. He would inevitably be out-teched by Willem, he couldn't match Asoka in culture or religion, and Gilgamesh/Mehmed were the superior leaders when it came to domination. It was only in the highly atypical Game #9 that Charlemagne was able to snowball out to a crushing lead. This was a game where Willem and Gilgamesh were both the targets of lengthy 1 vs 2 conflicts and Charlemagne was able to conquer enough territory to become unstoppable. This didn't happen in most games and Charlemagne similarly wasn't able to reach critical mass.
While Charlemagne did survive long enough to finish second repeatedly, he was almost never a serious threat to win these games. Look at the screenshots for Game #2, Game #4, Game #14, Game #18, or Game #19: Holy Rome was a far distant trailer in all of these matches. Charlemagne backed his way into second place multiple times by virtue of another leader collapsing during the final turns. Only in Game #11 was he a geuinely strong competitor who had a real chance to take a victory over Willem. This means that Charlemagne is likely overstated to some extent in these results as he wasn't the second-strongest AI leader in the six games where he gets credit in the scoring. Even with all that said though, Charlemagne still had a good season and his performance in the championship wasn't a total disaster. He's a tough AI leader to eliminate and he had a difficult starting position wedged in between the two strongest AI leaders on the map, Willem and Gilgamesh. Charlemagne out-performed Washington and Asoka by a wide margin and reinforced the belief that he's at least a competent AI leader. No, he shouldn't have won the Season Four title but he's not a complete disgrace either.

Washington of America
Wars Declared: 21
Wars Declared Upon: 42
Survival Percentage: 30%
Finishes: 1 First, 1 Second (7 points)
Kills: 7
Overall Score: 14 points
Washington was probably the most disappointing AI leader out of the six that made it to the championship. He had what I would argue was the strongest starting position amongst the high peace weight leaders: bordered by natural allies Asoka and Charlemagne and with Willem (the top AI on this map) located at the furthest distance possible. America has the same starting techs as the Netherlands, with Agriculture and Fishing an excellent combo for this map. Despite these positive factors working in his favor, Washington was able to achieve very little of consequence. He ended up performing significantly worse than Charlemagne despite the latter's poor location between Willem/Gilgamesh and horrendous starting techs. Washington often struggled in the early stages of the game for no clear reason, sometimes having trouble popping the borders of his cities and getting harassed by barbarians. The issues that Washington experienced in the actual championship game were therefore not some one-off fluke result. He was slow to declare war in most games, and while sometimes that could work to Washington's advantage by keeping him out of unproductive conflicts, it could also lead to Washington doing nothing while Asoka was killed off. This was the most passive leader in the game who didn't seem to have any clear idea of how he wanted to win the game.
I mentioned this earlier but it bears repeating: Washington was often in a solid position combing out of the landgrab phase and then completely collapsed during the midgame. He was often the target of invasions from Mehmed or Gilgamesh and quite frequently became the second big target after Asoka had been knocked out as First to Die. I became used to seeing a second place or third place America suffer a dopgile at some point in the Turn 150 to Turn 250 range and then fail to reach the game's end. Washington's only truly successful match took place in Game #10, an unlikely result where the Americans overran Mehmed's territory while Gilgamesh suffered an early elimination. This was the only time that Washington was able to capture enough territory to take over a game. He was completely ineffective in most scenarios, scraping a kill here and there but never managing two kills in a single match. One of the questions we had following the investigation of Playoff Game One from this season was whether Washington was an overlooked AI or a leader who simply happened to roll a perfect setup. The alternate histories from the championship game strongly suggest the latter: in a game with perfectly equal mirrored starts, Washington floundered around and largely was prey for superior opponents. Washington simply looks like a flawed AI personality, a high peace weight leader with "fighting" traits who doesn't like to start wars and struggles to win via the peaceful economic route. He needs an ideal setup or a lucky series of diplomatic breaks for a game to go his way.
Asoka of India
Wars Declared: 15
Wars Declared Upon: 52
Survival Percentage: 20%
Finishes: 1 First, 1 Second (7 points)
Kills: 1
Overall Score: 8 points
Asoka was the worst-performing leader on this map. He was eliminated at the highest rate (16/20 games) and he was First to Die nine different times, far more often than anyone else and almost as common as everyone else put together. This was an impressively poor result given the mirrored map setup that didn't have any leaders suffering from unfairly weak terrain. (All six leaders were First to Die at least once in the alternate history scenarios for the championship, something that hasn't happened in the other games that I've investigated.) It's easy to see why Asoka ran into so many problems, as he suffered from a high peace weight that made him unpopular with Gilgamesh/Mehmed along with a tendency to found his own religion. Sometimes his self-founded religion could be a path to making friends and offer a lifeline by creating a bloc of shared Buddhist friends. However, it could also backfire by adding religious tension to peace weight differential and border tensions. Asoka is pretty much "Gandhi 2.0" with the same strengths and weaknesses, if to a less extreme degree. To his credit, Asoka did manage a win and a runner up finish in the four games where he actually survived. On the other hand, he only survived in four matches and that was pretty much the whole problem right there.
Asoka's only win was a Cultural victory where he was sitting in fourth place on the scoreboard at the time that his cities ticked over the Legendary mark. He was not attacked a single time in that whole game, a wildly unlikely result given the 52 war declarations that happened across the other 19 alternate histories. Asoka's actual odds of winning a match were probably less than 5% since he needed to have a lot go right to see that outcome take place. Asoka rarely attacked anyone and had the most skewed offensive versus defensive wars tally out of the bunch. He only scored a single kill in all of these games which was reflective of the lack of aggression on the part of the Indians. Turtling up and hoping to avoid getting attacked while pushing culture wasn't much of a strategy on this map and it was deservedly punished. The actual championship was one of Asoka's better performances; most of the time he was bottled up at an early date and never came close to threatening the Cultural win. Anyway, we have a pretty good read by now as far as what Asoka is going to do. He did take home two first place victories this year but needs either perfect diplomatic conditions (Season Five Game Five) or a wildly improbable outcome (Season Five Playoff Two) to pull it off.

In the picking contest for the Season Five Championship, I picked Willem to win and Gilgamesh to take second and Asoka as First to Die. I was pleased to see that my read on the setup was correct even if the actual game didn't play out in the same fashion. Several of the alternate histories would have scored massive 25+ point outcomes for me and I was shaking my head at not getting those outcomes on Livestream. But we seem to have gotten the closest and most exciting game out of the 21 that I watched for the actual championship, and that's more important in the big picture anyway. (Seriously though, couldn't we have gotten Game #8 instead? That featured a simultaneous victory by Willem/Gilgamesh on the same turn and would have scored me 26 points in the contest! Oh well.  ) The repeated playthroughs of this map confirmed that the Willem/Gilgamesh/Mehmed trio were clearly the top performing AIs and the only ones with a realistic shot to take home the victory. If Willem didn't win, the odds were pretty even on whether it would be Gilgamesh or Mehmed, and the Ottomans happened to get the lucky bounce of the coin. This was a far more satisfying conclusion than the finish for Season Four and it was rewarding to see once again that these games are not purely random. While the Charlemagnes of the world may pull out a bizarre finish on occasion, there really is a "correct" answer to most of these maps.
Thanks again for reading - see you next year for Season Six!


