

Game One Alternate Histories Spreadsheet
One of the recurring features of past seasons of AI Survivor have been our "alternate histories", running additional iterations on the same maps to see if the same events would play out again. Game One saw a fast elimination for the favored Mansa Musa followed by a tight three-way struggle between Pacal, Tokugawa, and Mehmed that ended with the Mayans running away in technology. Was that something which would unfold in each game? This was a topic that called for more investigation with alternate history scenarios. Following the conclusion of Seasons Three and Four of AI Survivor, I had gone back and investigated some of the previous games and found that they tended to play out in the same patterns over and over again. While there was definitely some variation from game to game, and occasionally an unlikely outcome took place, for the most part the games were fairly predictable based on the personality of the AI leaders and the terrain of each particular map. Would we see the same patterns play out again and again on this particular map?
The specific inspiration to run these alternate histories came from Wyatan. He decided to rerun the Season Four games 20 times each and publish the results. The objective in his words was twofold:
- See how random the prediction game actually is. There's a natural tendency when your predictions come true to go "See! Told you!", and on the contrary to dismiss the result as a mere fluke when things don't go the way you expected them to (pleading guilty there, Your Honour). Hopefully, with 20 iterations, we'll get a sense of how flukey the actual result was, and of how actually predictable each game was.
- Get a more accurate idea of each leader's performance. Over 5 seasons, we'll have a 60+ games sample. That might seem a lot, but it's actually a very small sample, with each leader appearing 5-10 times only. With this much larger sample, we'll be able able to better gauge each leader's performance, in the specific context of each game. So if an AI is given a dud start, or really tough neighbours, it won't perform well. Which will only be an indication about the balance of that map, and not really about that AI's general performance. But conversely, by running the game 20 times, we'll get dumb luck out of the equation.
Wyatan did a fantastic job of putting together data for the Season Four games and I decided to use the same general format. First I'll post the resulting data and then discuss some of the findings in more detail. Keep in mind that everything we discuss in these alternate histories is map-specific: it pertains to these leaders with these starting positions in this game. As Wyatan mentioned, an AI leader could be a powerful figure on this particular map while still being a weak leader in more general terms. Now on to the results:
Game One | Game Two | Game Three | Game Four | Game Five
Game Six | Game Seven | Game Eight | Game Nine | Game Ten
Game Eleven | Game Twelve | Game Thirteen | Game Fourteen | Game Fifteen
Game Sixteen | Game Seventeen | Game Eighteen | Game Nineteen | Game Twenty

(Note : "A" column tracks the number of war declarations initiated by the AI, "D" the number of times the AI is declared upon, "F" the points for finish ranking, and "K" the number of kills.)
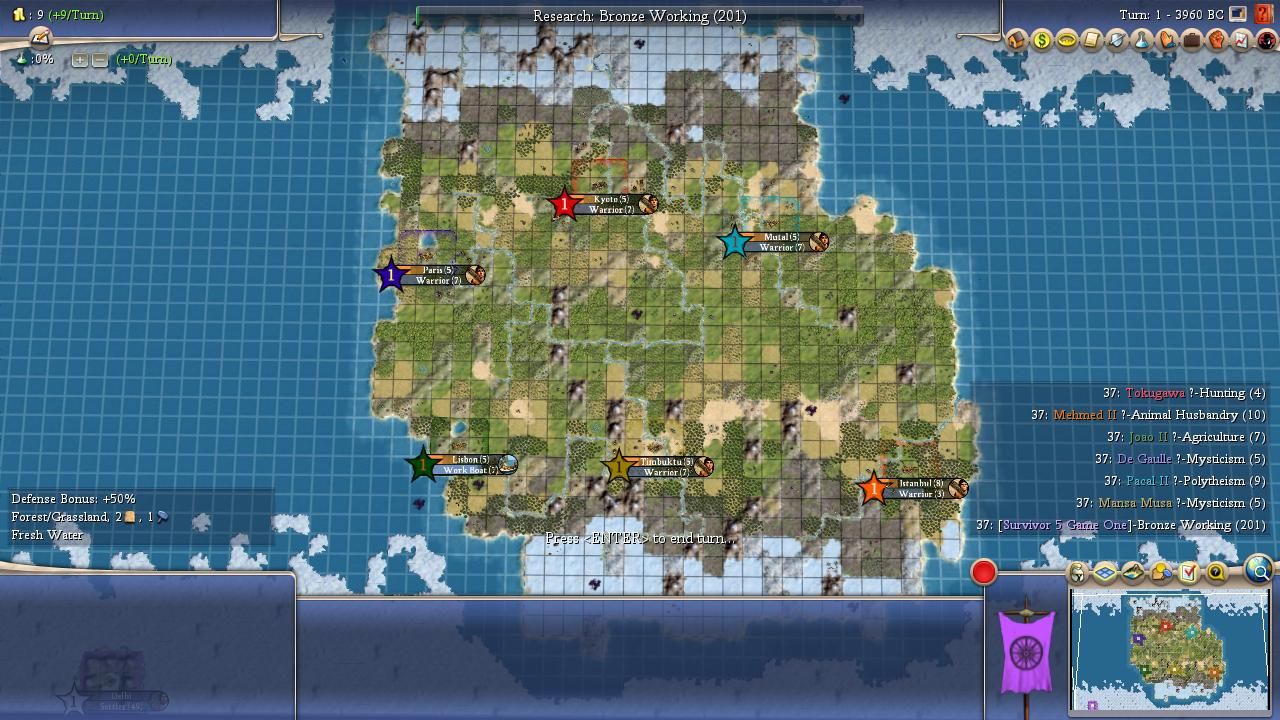
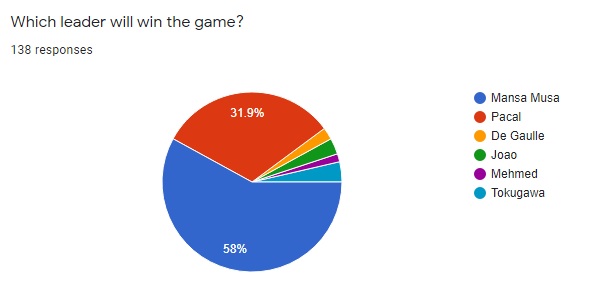
Replaying the map 20 additional times proved conclusively that we had seen a typical match for this map setup. All of the elements that transpired in the actual Game One played out repeatedly in the alternate histories that I watched. For starters, Mansa Musa was unable to survive even one time and was knocked out of the competition at an early date over and over again. This was the biggest question that I had going into the alternate histories for this game - would Mansa ever be able to overcome his starting position? - and the answer was a clear "no". He was the top choice in the picking contest going into this game, including the pick of yours truly, and we were all badly misreading the game state. This had nothing to do with the terrain at Mansa's start which was pretty solid overall and had everything to do with the diplomatic environment of Mansa's neighbors. His high peace weight made him a target for the other AI leaders in every single game and their invasions were relentless in never granting Mansa the space that he needed to breathe. I watched multiple games where Mansa came out of the landgrab phase on top of the scoreboard only to be dragged down in various dogpiles from Mehmed and Tokugawa and De Gaulle. It was just too much for him to overcome and Mali was knocked out 20 times in 20 games.
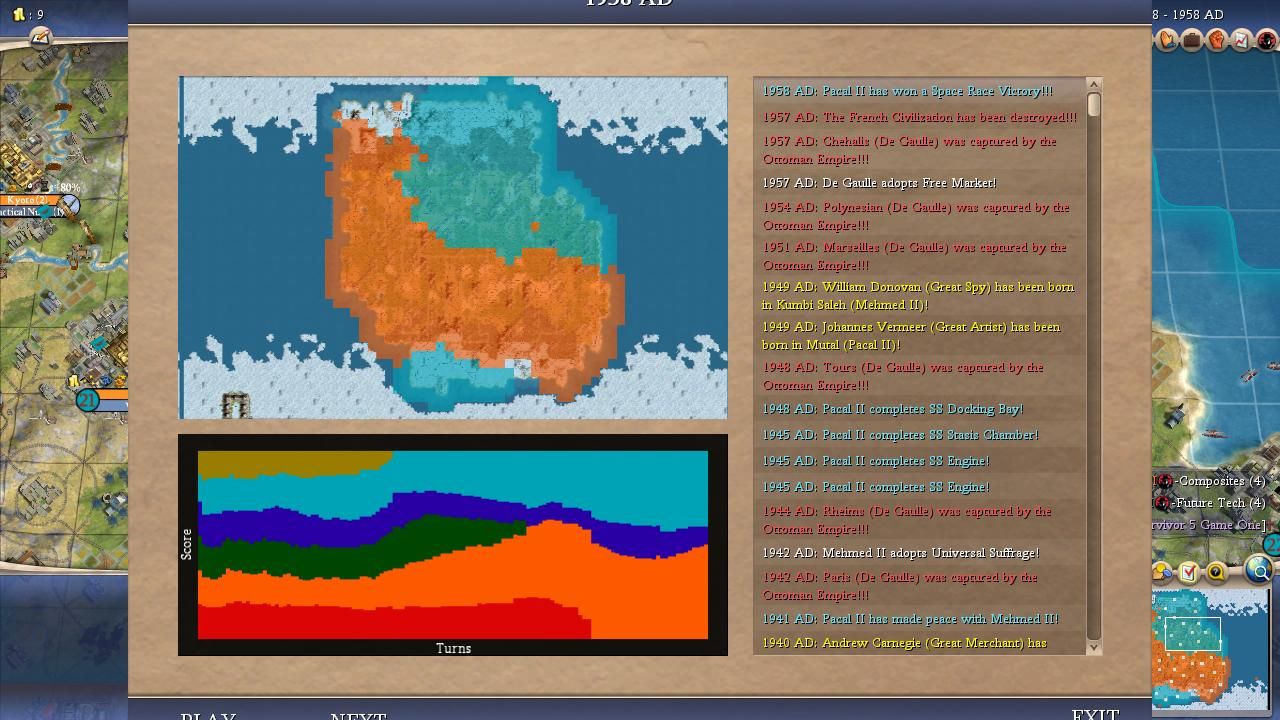
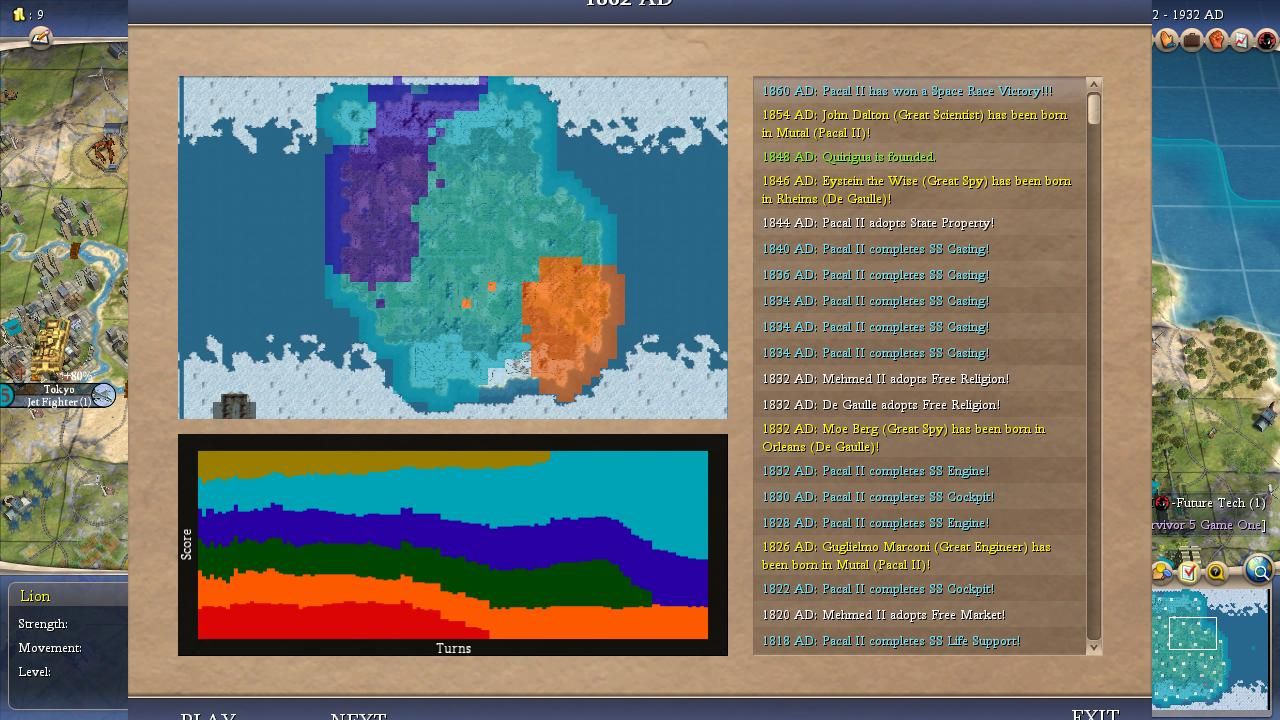
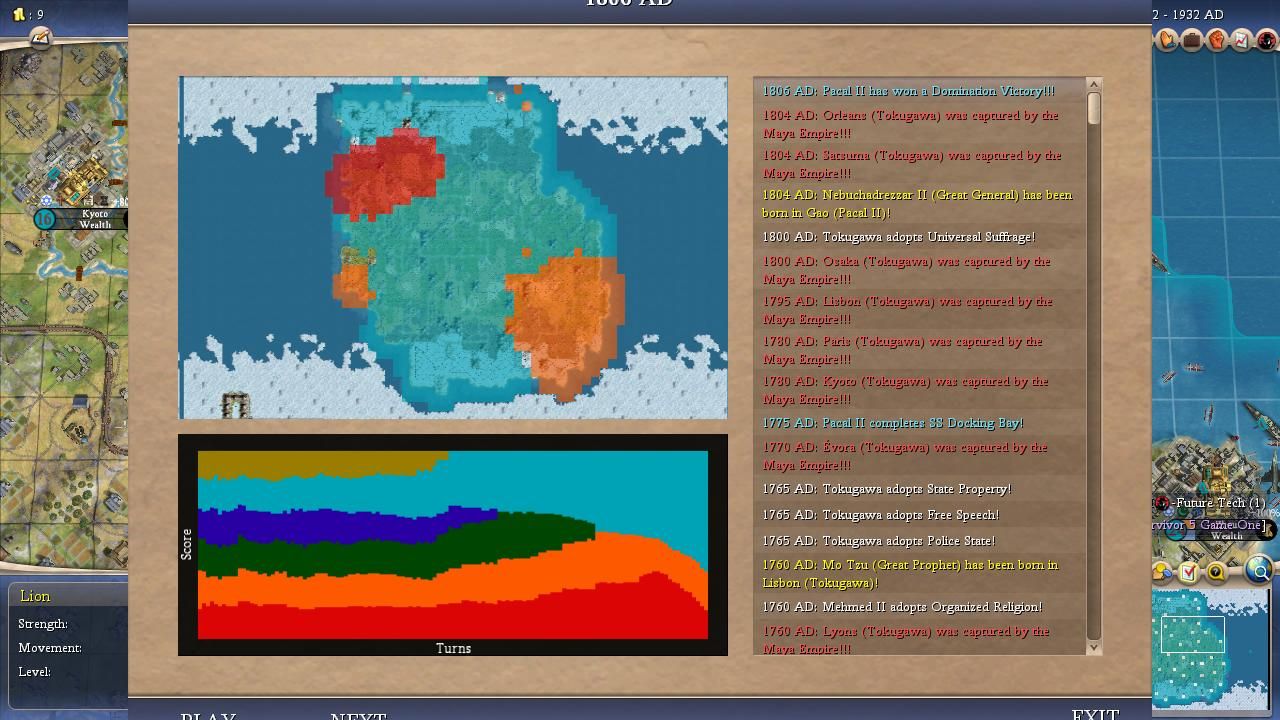
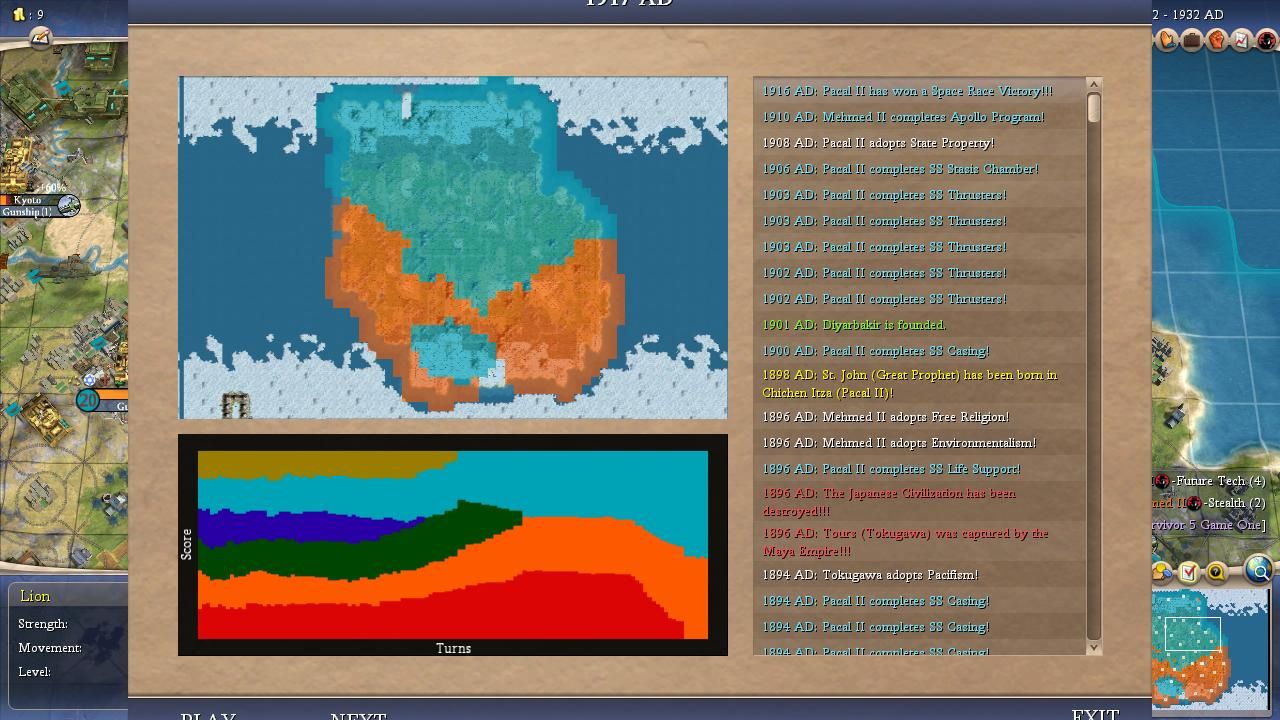
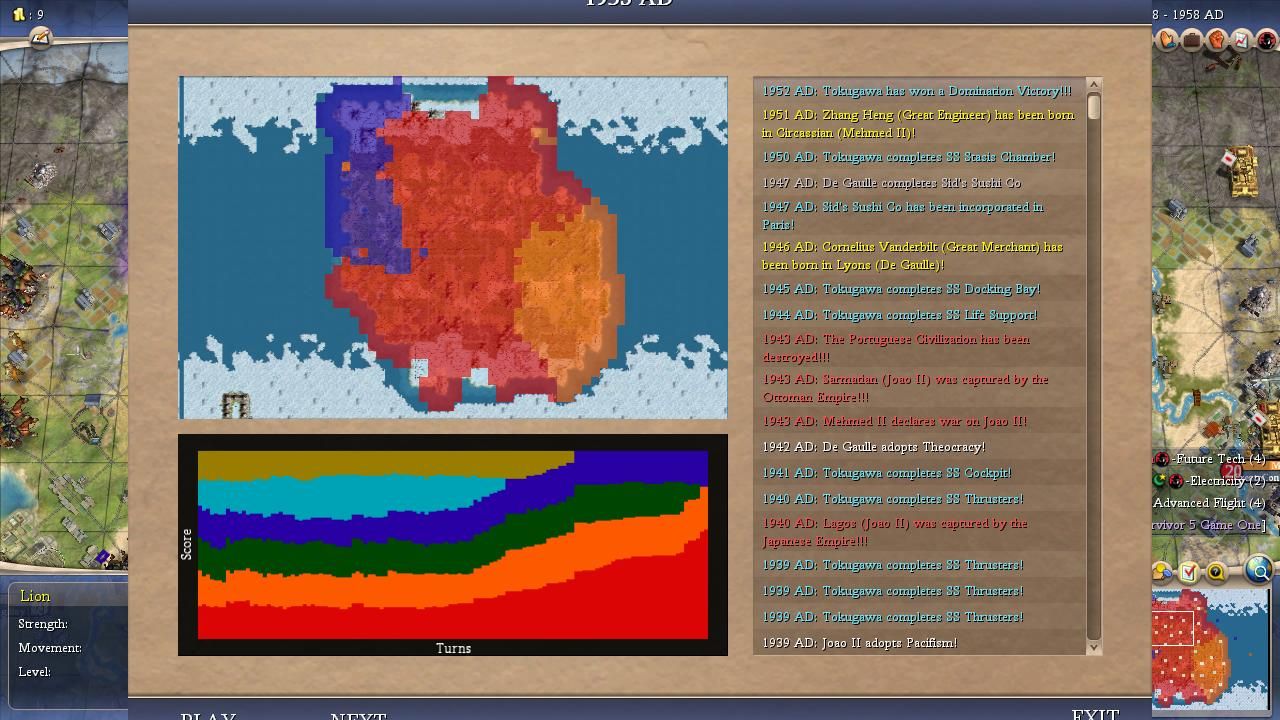
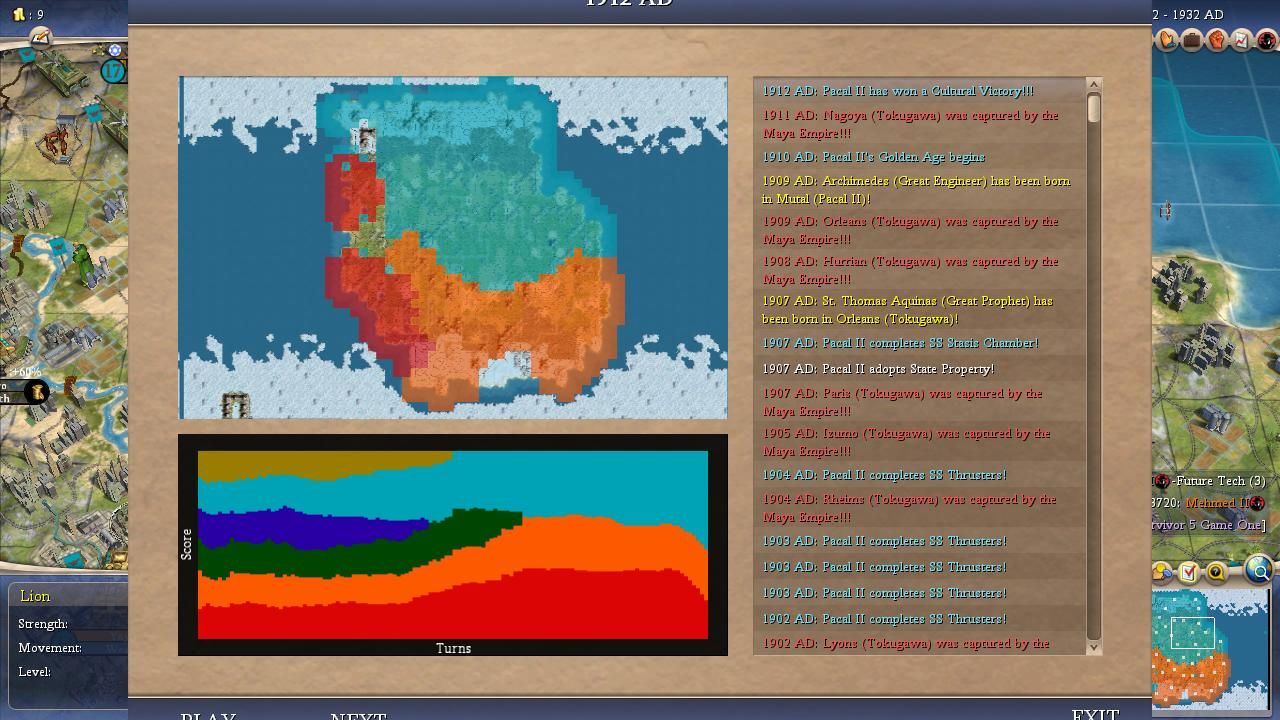
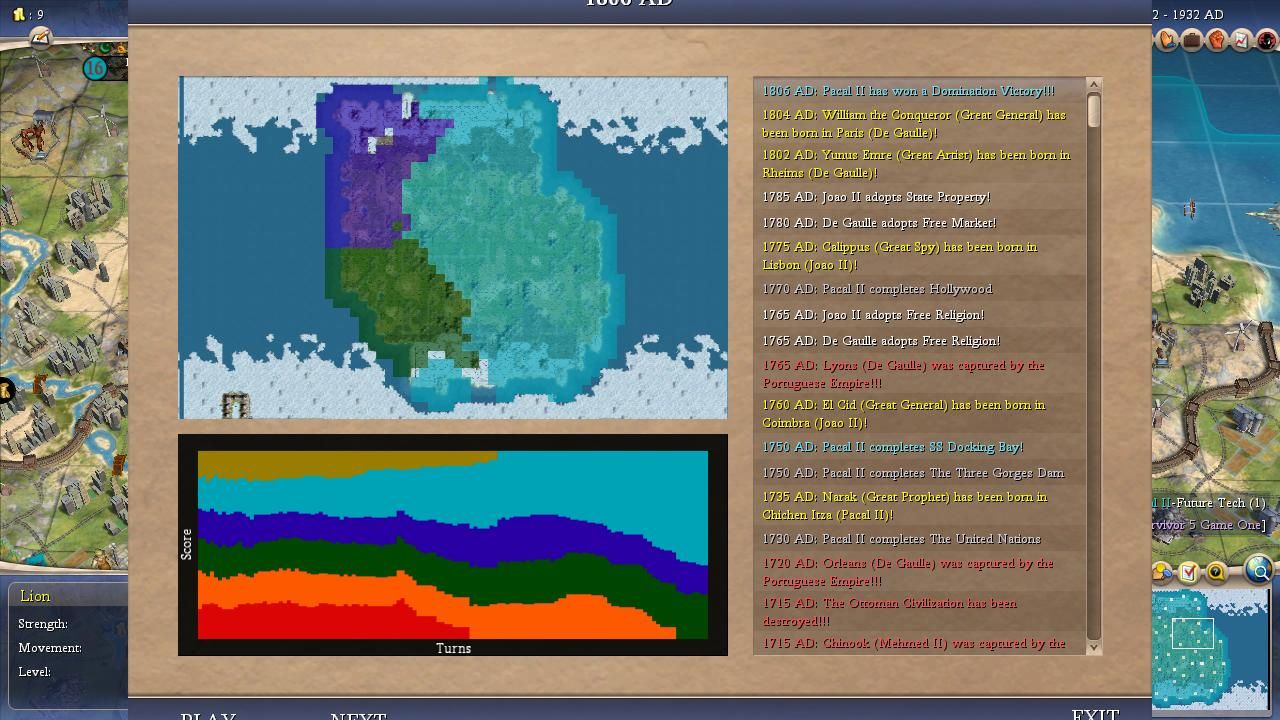
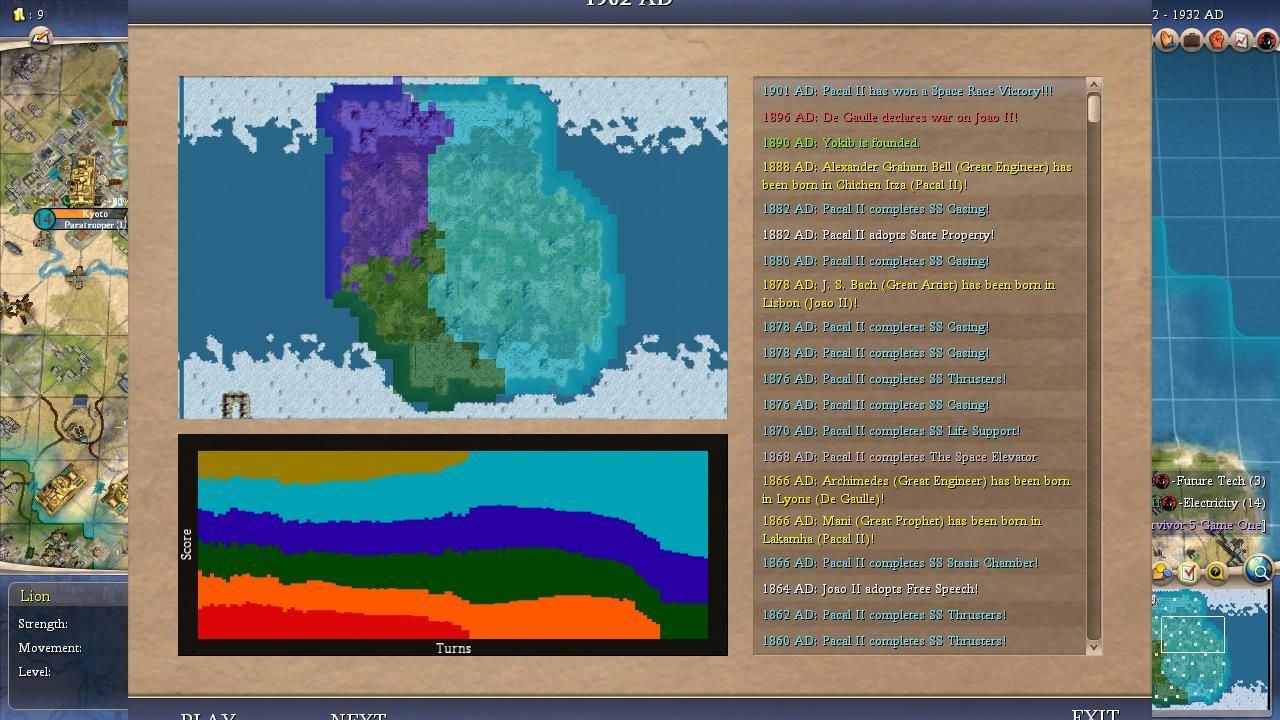
Once it became clear that Mansa Musa was a dead man walking, the games began to unfold in largely predictable manner. The biggest clash kept taking place between Tokugawa and Pacal who ended up scoring 16 of the 20 victories between the two of them. Pacal was the leader that we saw emerge victorious in the actual Game One and his path to victory looked much like what we saw play out on Livestream. The Mayans needed to avoid early aggression and find enough time to tech away into a position of unassailable supremacy. If Pacal could get a full generation ahead of his rivals in military tech, then he was going to win the game; if he couldn't manage that, he ended up losing. I mean that quite literally as Pacal was the winner in EVERY SINGLE GAME where he didn't get eliminated. He survived to the finish in nine games and he won all nine of those games. It doesn't get much more clear cut than that.
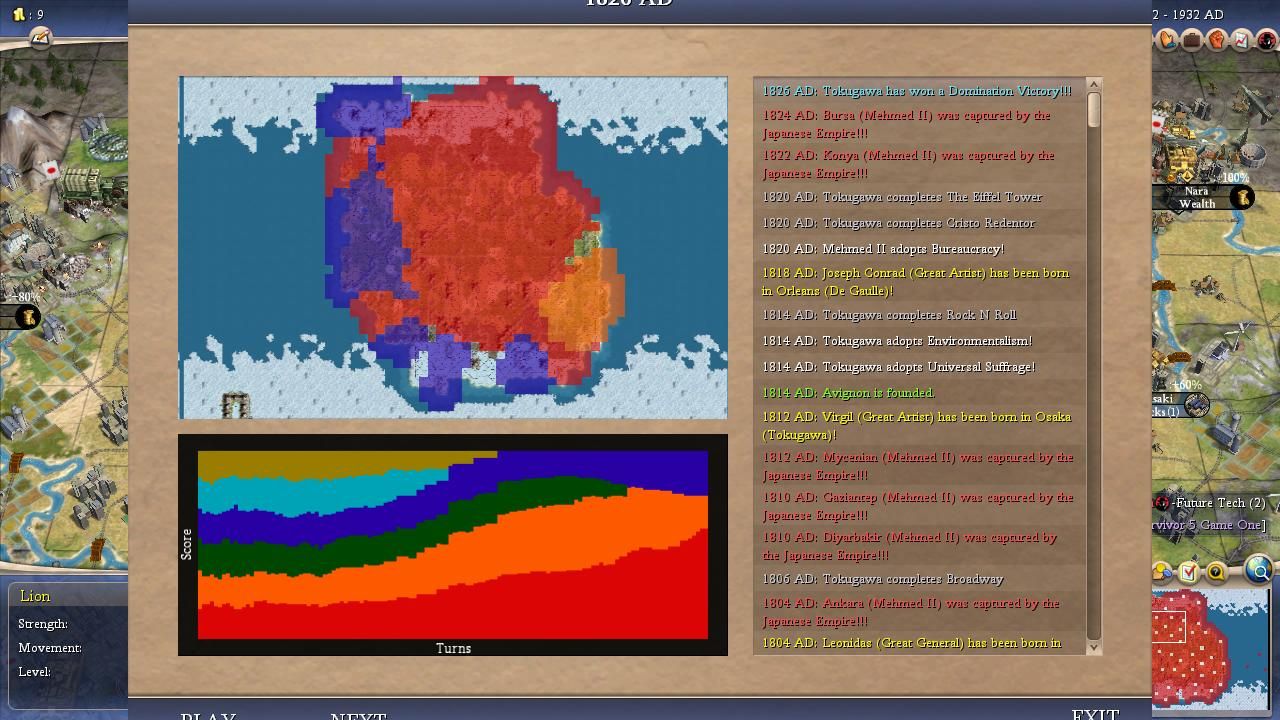
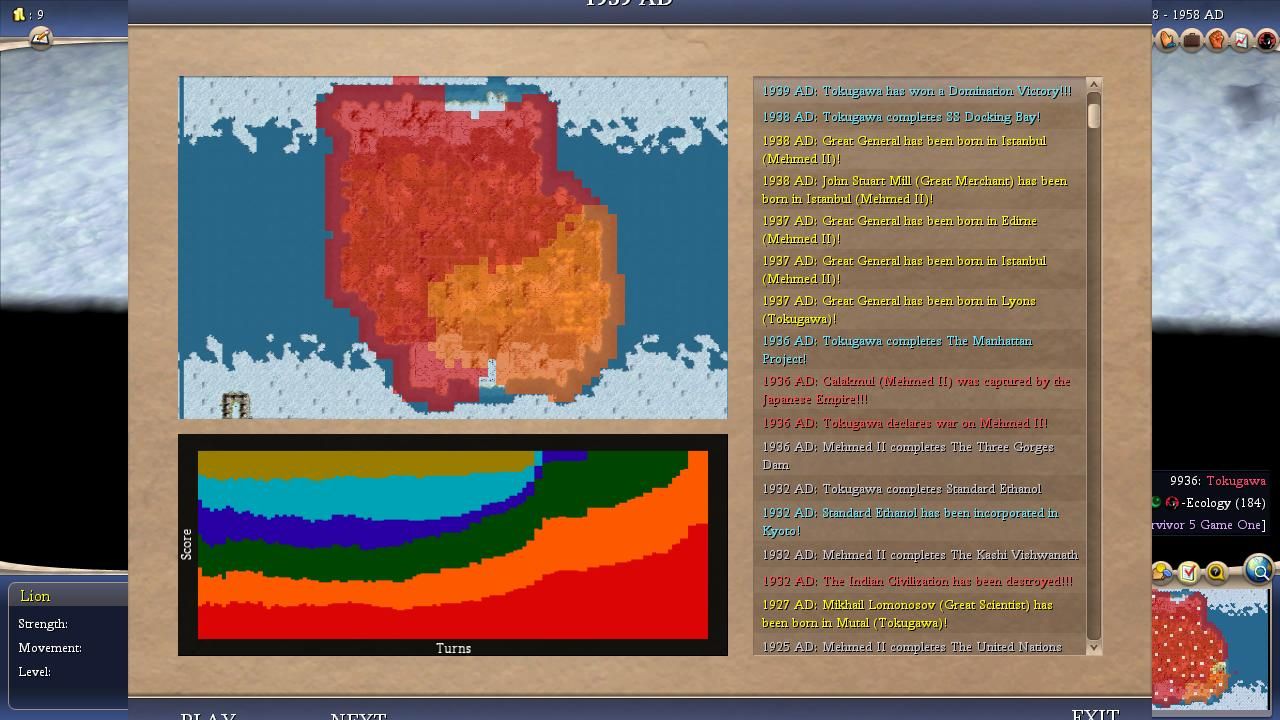
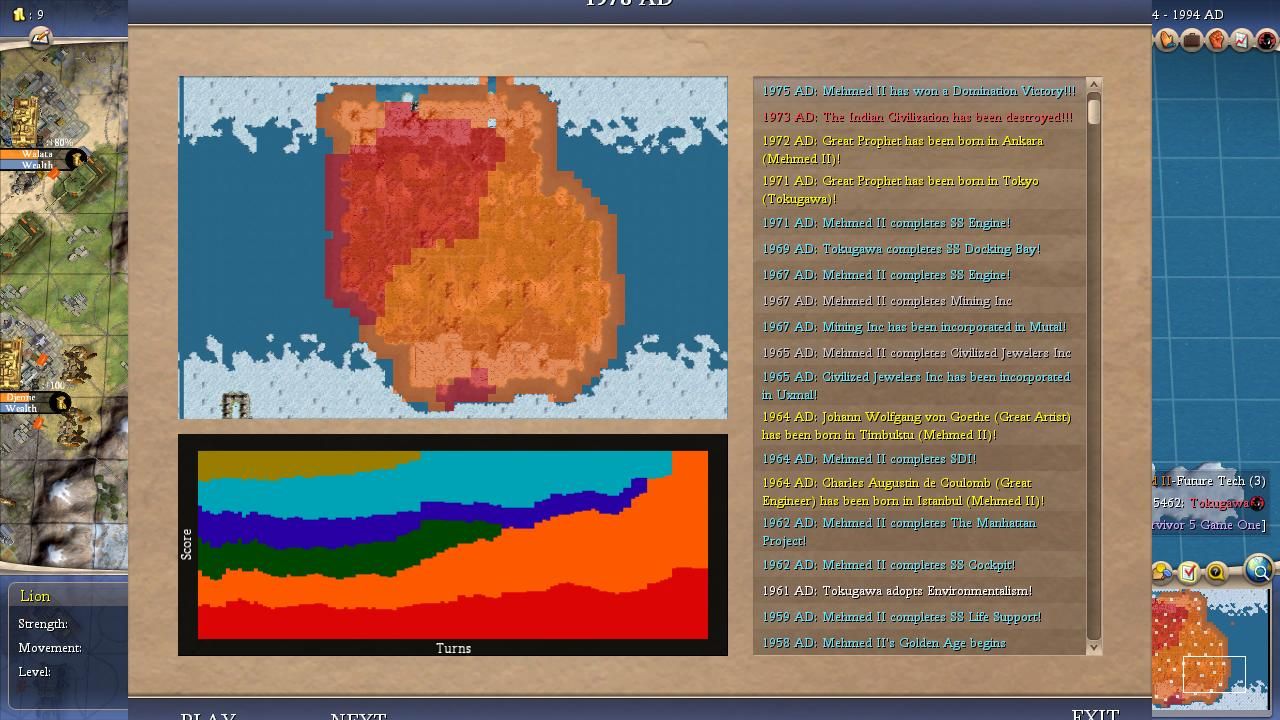
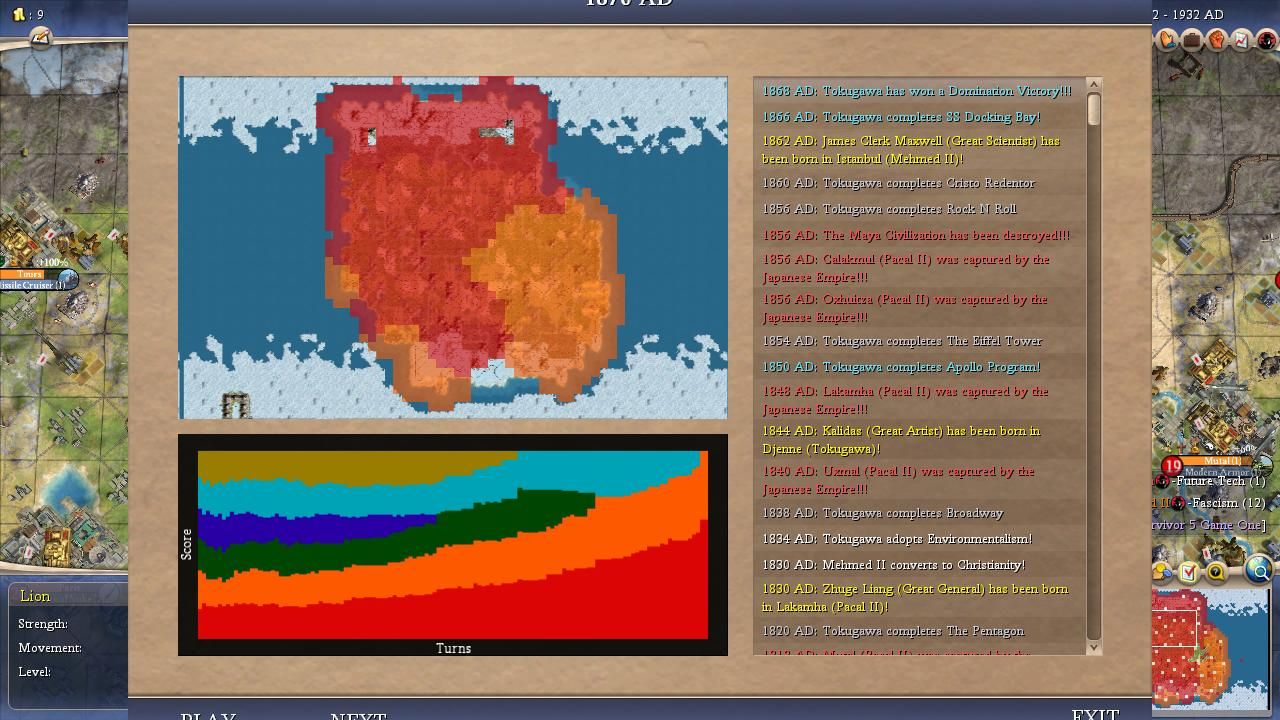
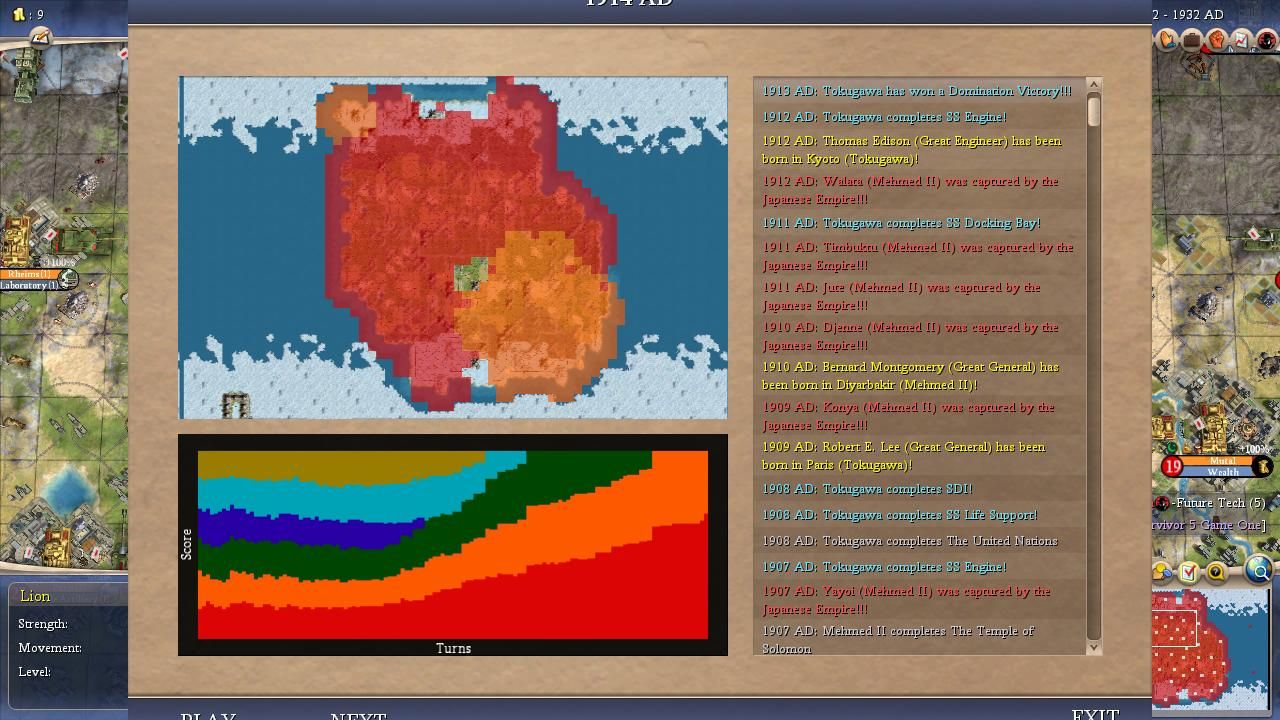
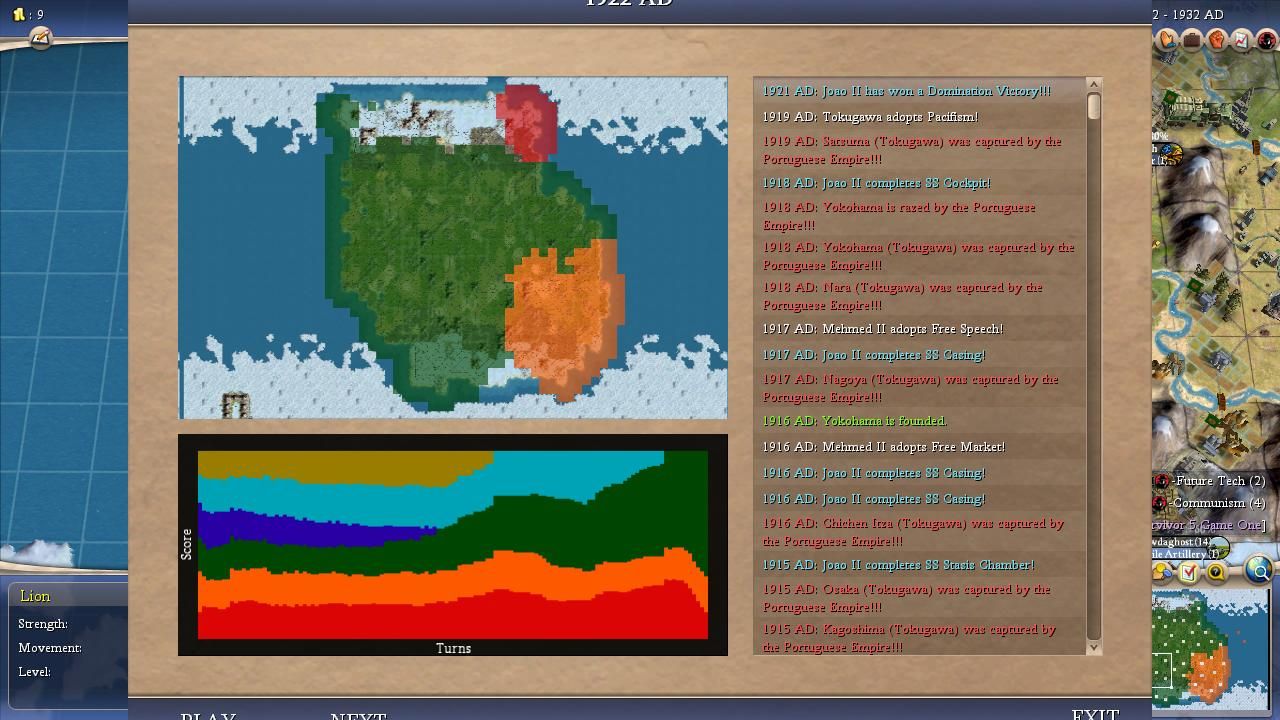
The alternate path that these games could take generally ended up with Tokugawa as the winner. Tokugawa was the best military performer and he was very willing to sacrifice economy in favor of training more units. Tokugawa won seven times in these alternate histories and six of those seven finishes came by Domination. Most of these games came down to whether Tokugawa could snowball his territorial advantage fast enough to overcome Pacal's superior teching. That's exactly what happened in the game that we watched and the same scenario was repeated in the rematches. Often the biggest swing factor was the target of Japan's initial invasion. If Tokugawa chose to attack Pacal or managed a rapid conquest of De Gaulle then Tokugawa usually came out on top. Alternately, if Tokugawa failed to attack Pacal or found himself stagnating in a lengthy war against some other target, then the superior Mayan economy would most often prove to be the difference. It was a fantastic battle for supremacy between these leaders that played out in match after match.
Then there was Mehmed, the ultimate winner of Season Five of AI Survivor. He pulled off something that I hadn't seen before in any of the other alternate histories: an unambiguous lock for the runner up leader spot. Mehmed only won a single game while somehow managing thirteen second place finishes - what in the world?!  He was extremely consistent in finding a way to take the second place spot behind either Pacal or Tokugawa. There was some logic at work here: either Pacal would defeat Tokugawa, or Tokugawa would defeat Pacal, but neither one of them spent much time fighting with the Ottomans to the south. Mehmed's infamous refusal to declare war at "Pleased" relations likely helped him here as he avoided the suicidal attacks against a stronger rival that so many other AI leaders engage in. Mehmed was well-positioned to capture some spoils from Mansa Musa's demise and that seemed to make him strong enough to survive to the finish without being strong enough to become a serious challenger for the victory. Again and again Mehmed would vulture an undeserved second place finish in the closing stages of the match as another strong rival was attacked and eliminated by the game winner. Based on the other alternate histories that we've been running for Season Five, it seems clear by now that something about Mehmed makes him unusually likely to wind up in second place, and that's not the worst place to be in AI Survivor terms.
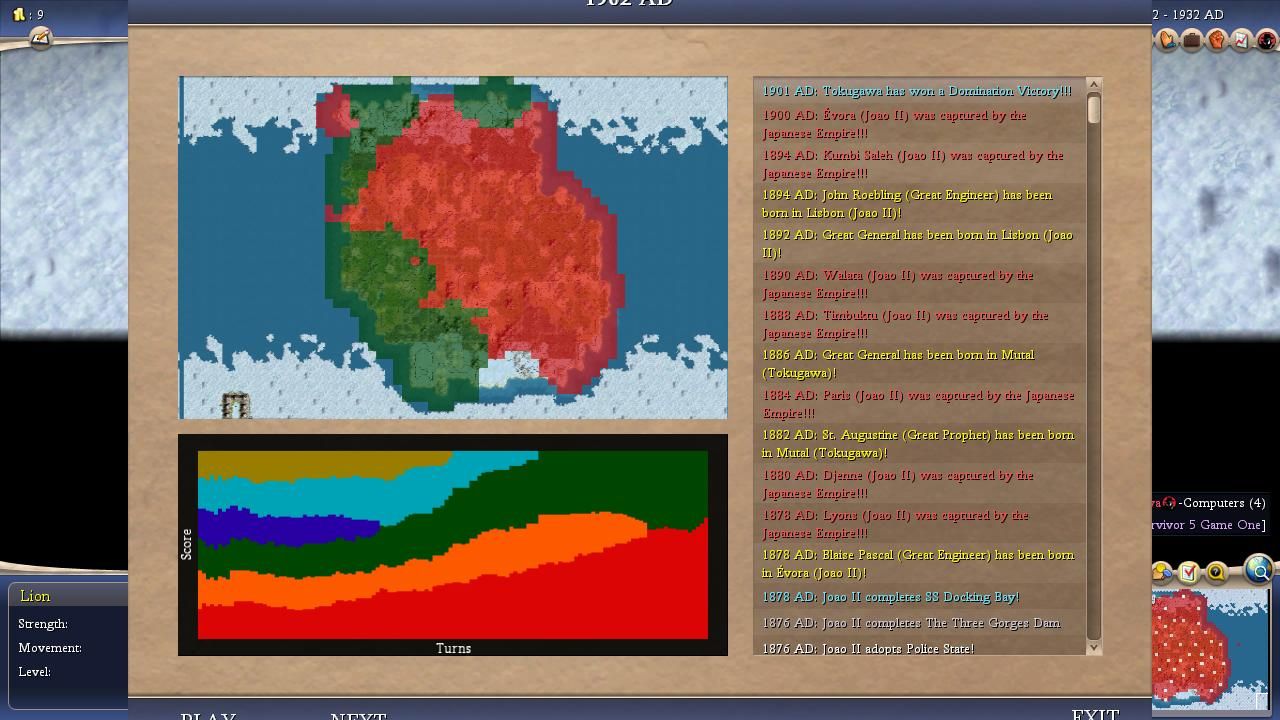
Finally, Joao and De Gaulle were largely also-rans on this map. They didn't get immediately stomped like Mansa Musa but they also rarely emerged to be in a position of power or contend for the victory. De Gaulle had the misfortune to start next to Tokugawa and this was responsible for a whole bunch of early eliminations. He was First to Die nearly as often as Mansa Musa and only a pair of unlikely first place finishes kept him from an embarassingly low score in these replays. The diplomatic environment was favorable for De Gaulle on this map, I think he simply isn't a very good leader. As for Joao, he had better luck in starting next to the weak Mansa Musa but did very little with that spot. He took one first place and a couple of seconds but mostly scored his points from kills, a number of which came from being in the right place to knock out Mansa. The most common scenario was for Portugal to be next on the chopping block once Mali was gone, again something that we watched on Livestream in the real Game One.
Now for a look at the individual leaders:

Tokugawa of Japan
Wars Declared: 61
Wars Declared Upon: 28
Survival Percentage: 55%
Finishes: 7 Firsts, 1 Second (37 points)
Kills: 26
Overall Score: 63 points
Tokugawa narrowly graded out as the top leader on this map using our scoring metric. He was certainly the most well-rounded leader in terms of both securing first place finishes as well as racking up kills of his competitors. Tokugawa's 26 kills were the most by a good margin with only Mehmed's 20 kills finishing within shouting distance. Japan also benefitted from having several different paths to success on this map. The easiest path was hitting an unsuspecting Pacal and eliminating the Mayans in the early stages of the game, simultaneously snowballing Tokugawa ahead and removing his top rival from the playing field. This took place in Game #5 and then again at a later date in Game #12, both of which were runaway Japanese wins. Tokugawa had an additional chance to grab more territory by running over De Gaulle, which wasn't as much of a sure thing because it could sometimes leave Pacal undisturbed to race out to a monster tech lead. This strategy worked like a charm for Tokugawa in Game #14 and Game #15 while backfiring in Game #10 and Game #11 when the conquest of France still wasn't enough to overcome the Mayans. There was a third option available to Tokugawa as well, heading to the south and participating in the dogpile of Mansa Musa. This route tended to have smaller yields since there were always other leaders also chomping away on poor Mansa but it could still result in a few more cities. The wide range of potential avenues for Tokugawa helped to ensure that he was a strong competitor in almost every game.
Tokugawa tended to falter when he was caught up in too much warring for his own good. He was effectively tied with Mehmed for initiating the most conflicts in this group, and unlike Mehmed the Japanese were also the target of far more war declararions. Tokugawa ended up in 89 total wars which was the most by a wide margin. This could lead to Tokugawa getting stuck in 1 vs 2 conflicts or stalling out in lengthy unproductive fights that didn't lead anywhere. He also launched some suicidal wars at the end of games which resulted in eliminations at the hands of stronger opponents with superior technology. This is why Tokugawa was eliminated in nine different games despite having such a strong performance; he definitely didn't know when to quit pushing for a military edge. It's pretty clear by now that Tokugawa is far from the best leader in AI Survivor but also stands well above the bottom of the barrel. Given a weaker field of opponents, he can put forth a solid performance and that's pretty much what happened here. This guy is probably somewhere in the 20th to 30th place range out of our 52 leaders and that's good enough for some decent outcomes.

Pacal of the Mayans
Wars Declared: 22
Wars Declared Upon: 45
Survival Percentage: 45%
Finishes: 9 Firsts, 0 Seconds (45 points)
Kills: 11
Overall Score: 56 points
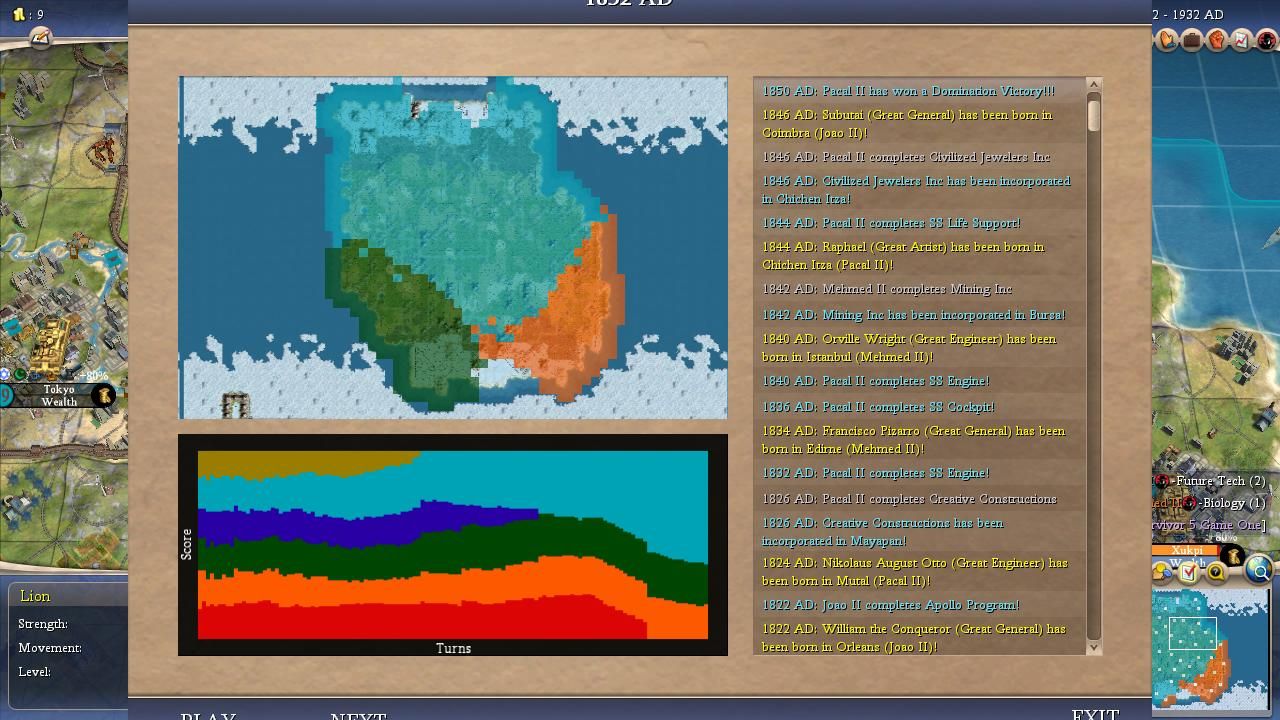
We may not have ever seen a leader with outcomes quite as one-sided as Pacal in this game. As mentioned above, he either won the game or found himself eliminated in every single match. Pacal was the best leader to pick for contest purposes as no one else was able to match his nine victories on this map, and that doesn't even count his victory in the actual Game One. In those matches the Mayans were kicking butt and taking names, often running over the other leaders with tanks and raining down nuclear explosions on their domains. On the other hand, Pacal often found himself weak and bullied in his other matches, caught with his proverbial pants down by an army crossing the borders as he tried to build his fifteenth wonder of the game. I was a little bit surprised in that regard to find that Pacal only won a single Cultural victory. He didn't run the culture slider at all and basically lucked into that victory condition with some unusually strong core cities in Game #13. Pacal's other victories were split 50/50 between Spaceship and Domination, in part because his rivals launched a series of suicide attacks in the later stages of some matches that turned a likely space outcome into a military conquest. Pacal proved that he could win in several different fashions but he clearly still preferred to head for the safe Spaceship ending.
Pacal's victory condition in this game largely consisted of hitting "Next Turn" a bunch of times until his technological advantage could take over. No one else could match his Financial power on this map, not with Mansa getting knocked out in every game and with the other leaders having much weaker economic traits. It helped if Pacal could poach some land from the destruction of Mali which was something he managed to do to good effect in a number of different games. Pacal was also able to take advantage of Tokugawa's overaggression on several occasions, joining with other leaders to take down the Japanese. Any additional territory in Mayan hands was a bad sign for the other leaders and rarely ended well for them. However, Pacal was not an aggressive leader at all with his mere 11 kills, indicated as well by the 22 offensive wars as compared to 45 defensive wars that he found himself in. He did not like being invaded and his finishes had a strong correlation with how often the Mayans were attacked. Here were the defensive war counts in Pacal's victories: 1, 1, 1, 0, 1, 1, 1, 0, 3. And here were the defensive war counts in Pacal's eliminations: 4, 3, 2, 2, 4, 7 (!), 4, 2, 1, 2, 5. It was obvious that Pacal had a glass jaw and tended to fold quickly if he came under pressure. But if he was left alone, then yeah, the Mayans were probably winning the game.

Mehmed of the Ottomans
Wars Declared: 62
Wars Declared Upon: 11
Survival Percentage: 85%
Finishes: 1 First, 13 Seconds (31 points)
Kills: 20
Overall Score: 51 points
This was one of the weirdest performances that I can remember for a leader in AI Survivor. As mentioned above, Mehmed basically never won the game but he came in second place over and over again. His location in the southeast corner of the map ensured that he would fight with Mansa Musa in virtually every single match, and the rate of success in that war tended to determine how strong Mehmed was for the rest of the game. Sometimes Mehmed ran over Mansa Musa quickly and became a serious power while at other times he stalled out for long stretches of time and had to backdoor his way into a second place finish. Mehmed almost never fought with Pacal on his other shared border, likely due to having a similar peace weight and frequently adopting the same religion. The sole Ottoman victory in Game #9 came from running over Mansa Musa and then Joao to control the whole bottom of the map, followed by allying with Tokugawa to take down Pacal in a 2 vs 1 scenario. This wasn't repeatable in the other matches and instead Mehmed rode the coattails of other leaders into that second place spot again and again.
Mehmed had the most lopsidedly aggressive warring tally amongst this group of leaders. His 62 offensive wars were essentially identical to Tokugawa but Mehmed only faced a mere 11 defensive wars across these games, by far the least of anyone. I suspect that this was due to Mehmed's favorable starting position; Pacal wasn't going to initiate a war against Mehmed and the Ottomans were the ones jumping on Mansa Musa, not the other way around. It was also a clear benefit for Mehmed that he had a low peace weight to share with Pacal/Tokugawa and had a sheltered spot where he was unlikely to pull Japanese aggression. Mehmed was extremely consistent across these alternate histories, never ending up as First to Die and suffering the fewest eliminations at only three. He avoided dying for the first 14 consecutive games and I thought Mehmed might avoid ever getting defeated before faltering in the last few games. Mehmed also scored at least 1 point in all but three of these matches, an amazing run of consistency for someone who only won a single game. He managed to reach 51 points while only topping 6 points a single time. This was someone who was doing a lot of hustling, scraping up points here and there from kills and garbage runner up finishes. Long story short, Mehmed was always present in these games as a second or third tier power while almost never having a real shot to win. He did an excellent job of the "hanging around" thing and that translated into a whole bunch of silver medals. What that means in terms of Mehmed being a strong AI leader is somewhat unclear - I'd say that it puts him above average while also being a good bit short of the best leaders.

De Gaulle of France
Wars Declared: 32
Wars Declared Upon: 24
Survival Percentage: 35%
Finishes: 2 Firsts, 3 Seconds (16 points)
Kills: 5
Overall Score: 21 points
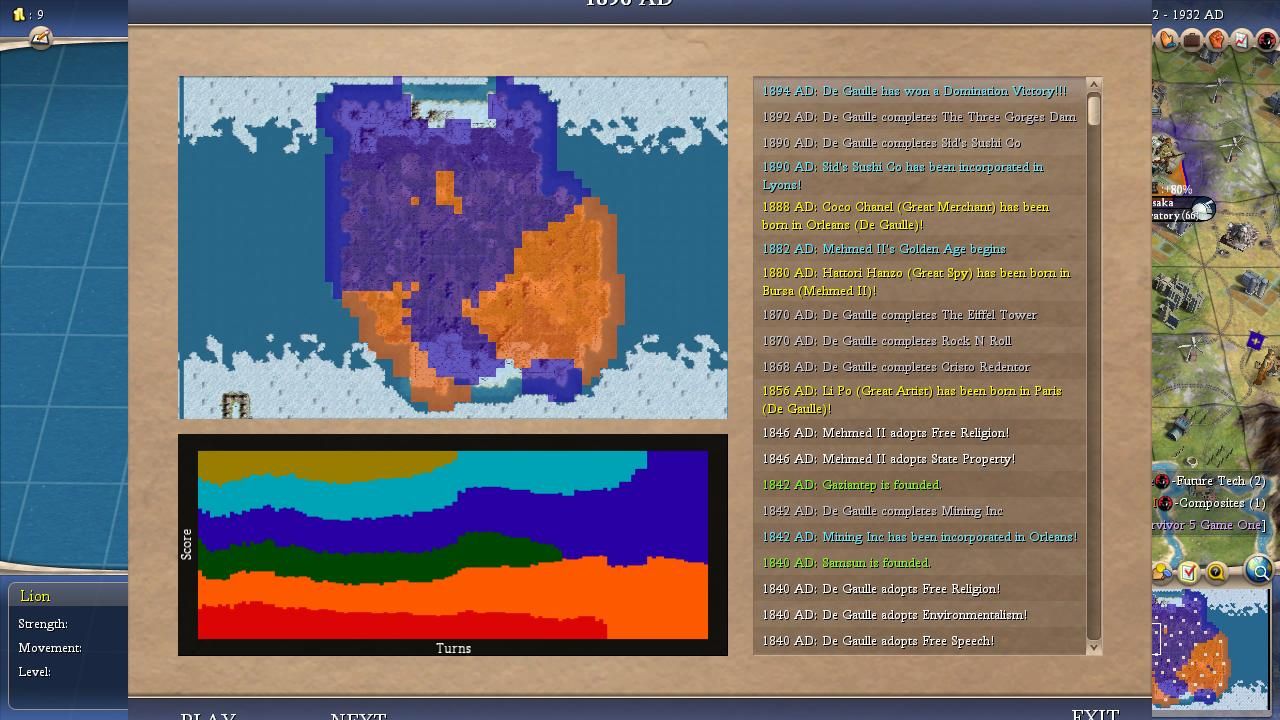
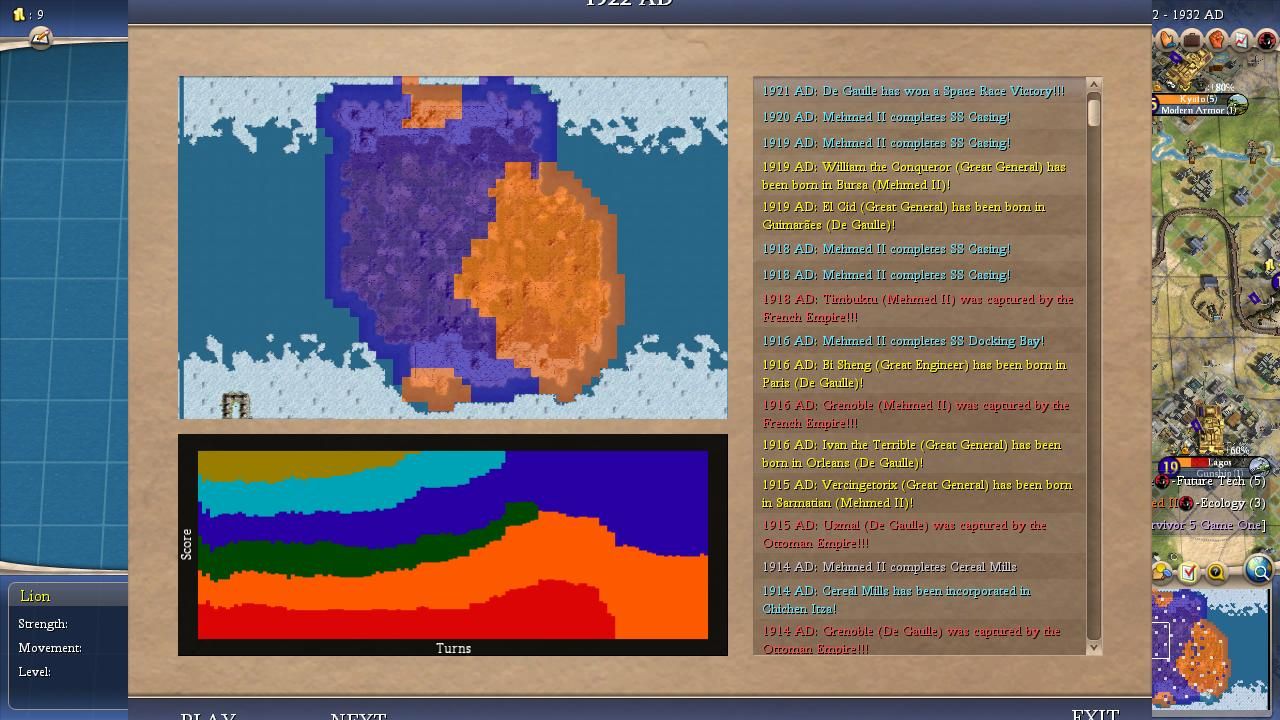
De Gaulle was probably the fifth-best AI leader on this map but graded out just slightly better than Joao thanks to a pair of unlikely victories. I think that his true odds of winning were lower than what we saw here and the two wins were a bit of a small sample size fluke. Game #1 was a match where the diplomacy kept breaking in De Gaulle's favor, first by swallowing up Mansa Musa and then taking part in a 3 vs 1 war against Tokugawa followed by a 2 vs 1 war against Pacal. Game #7 developed into a close 3 way race between Mehmed, Tokugama, and De Gaulle, followed by Tokugawa again dying in a 2 vs 1 war and then De Gaulle out-teching Mehmed to space. It wasn't very common for De Gaulle to get this kind of help and instead Tokugawa typically crushed his French opposition in most games. This was the biggest factor for De Gaulle as far as whether he lived or died: would Tokugawa attack him or attack Pacal instead. Japan had better land and better expansion prospects as compared to France which didn't leave De Gaulle with a lot of options. Sometimes Joao would join in the fun as well and De Gaulle would rapidly collapse under the combined Japanese/Portuguese assault. De Gaulle seems to be a poor leader for AI Survivor purposes and he wasn't holding an especially strong hand in this game either.
De Gaulle was the favorite in the picking contest as far as who would be First to Die on this map, and the repeated playthroughs of the scenario revealed that there was a lot of truth to this view. De Gaulle ended up being First to Die seven different times and nearly matched Mansa Musa in that category; we would need more tests to determine reliably who was more likely to get knocked out first. For someone who shared a low peace weight with Pacal/Tokugawa/Mehmed, the clear strongest leaders in this world, De Gaulle's repeated eliminations were a poor showing. The French leader didn't seem to do anything particularly well. He couldn't match Pacal in research, he lost badly to Tokugawa in terms of military strength, he seemed unable to forge the friendships that Mehmed enjoyed in game after game, and so on. I don't think it's a coincidence that De Gaulle could only beat Mehmed to the finish line in his two victories, not one of the stronger Tokugawa/Pacal pair. De Gaulle's five kills were another sign of his overall weakness as he wasn't knocking out his competitors very often. Even Joao nearly doubled his kill total, sheesh! This was a thoroughly unimpressive performance and I'm confident that other AI leaders could have accomplished more from this same starting position.

Joao of Portugal
Wars Declared: 26
Wars Declared Upon: 44
Survival Percentage: 25%
Finishes: 1 First, 3 Seconds (11 points)
Kills: 9
Overall Score: 20 points
I've remarked a number of times that Joao is one of the least interesting leaders in Civ4 and these alternate histories did nothing to change that opinion. Joao has middling scores in just about everything for his AI personality and comes off as a thoroughly bland individual. (He's practically the definition of "replacement level" for those familiar with advanced metrics in sports.) In this particular game, Joao was typically the second or third AI leader to be eliminated and rarely found himself in a position of strength. While this was due in part to his above average peace weight in a game of low peace weight competitors, Joao didn't do himself much in the way of favors either. He frequently targeted Mansa Musa with war declarations and therefore undercut one of the very few AI leaders who could have served as a natural ally. Joao's other big target was De Gaulle and he often found himself spinning his wheels in fruitless efforts clashing with his northern neighbor. It was only when Tokugawa joined the fighting and induced a rapid French collapse that Joao could acquire enough territory to emerge as a major threat. Most often, he sat in the corner doing practically nothing awaiting his demise at the hands of larger and stronger rivals.
To his credit, Joao did manage to win Game #19 by snowballing off a weak performance from De Gaulle. Then he worked together with Tokugawa and Mehmed to eliminate Pacal and found himself strong enough to outrace the two of them to the finish line from there. This was highly uncommon though as Joao was eliminated 15 times in 20 total games. He picked up a decent amount of kills thanks to having the good luck to start next to Mansa Musa; I'd estimate that about half of the Portuguese kill total came from whacking the last Malinese city at the right moment in time. It was more often for other leaders to be invading Joao than vice versa though, as demonstrated by the 26 offensive wars against 44 defensive wars in his tally. This was a classic portrait of a mediocre performer in AI Survivor terms, someone who could rarely come out on top if everything lined up correctly but generally ended up as a speedbump for the stronger leaders.

Mansa Musa of Mali
Wars Declared: 9
Wars Declared Upon: 60
Survival Percentage: 0%
Finishes: 0 Firsts, 0 Seconds (0 points)
Kills: 0
Overall Score: 0 points
Unfortunately for our Pool 1 leader, Mansa Musa couldn't even muster up the performance of De Gaulle or Joao. His position on this map was completely doomed and there was little that old Mansa Moneybags could do about it. This was mostly due to his peace weight score of 9, far higher than anyone else in the game and certain to draw aggression from the low peace weight leaders like iron to a magnet. Mansa's central starting position did him no favors in this regard as his borders were accessible by everyone else and they all took their turn having a swing at him. Mehmed was the most frequent invader and attacked in virtually every game but the others all got into the fighting as well at different times, even Joao who should have been more inclined to be friendly. If Mansa had been given a corner start then I think he might have stood a chance to make something out of this game. Instead, he was dogpiled again and again in every match. He suffered 60 war declarations in 20 games, a neat average of three per game despite also getting eliminated quickly most of the time. There was very little that any leader could do under these circumstances to stave off elimination.
I mentioned earlier that Mansa actually did top the scoreboard coming out of the landgrab phase on several different occasions. If the barbarian cities popped up elsewhere and he didn't face an invasion on Turn 60, Mansa was able to spread out and research effectively. There wasn't anything inherently wrong with this starting position and if we could flip Mansa's peace weight around to the bottom of the scale he probably would have been dominant. But the diplomatic situation was simply too brutal to be overcome this time around, 20 eliminations in 20 games and zero points scored. Poor Mansa!  He does appear to have suffered quite a bit from the removal of the free Deity starting techs since Mali's Mining/Wheel combo is one of the worst setups. Losing out on Agriculture/Hunting/Archery may have hurt him more than anyone else.

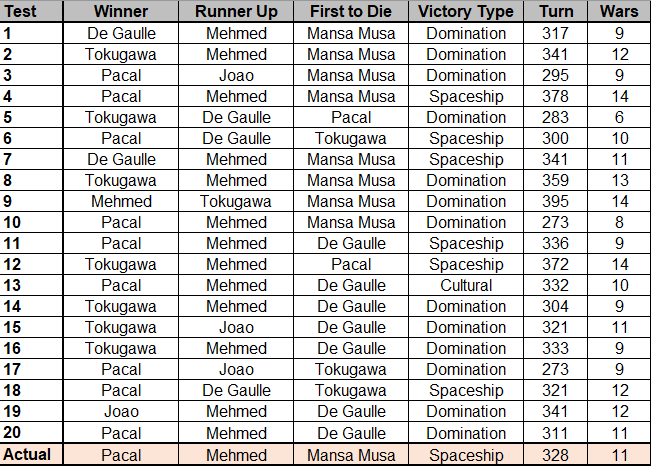
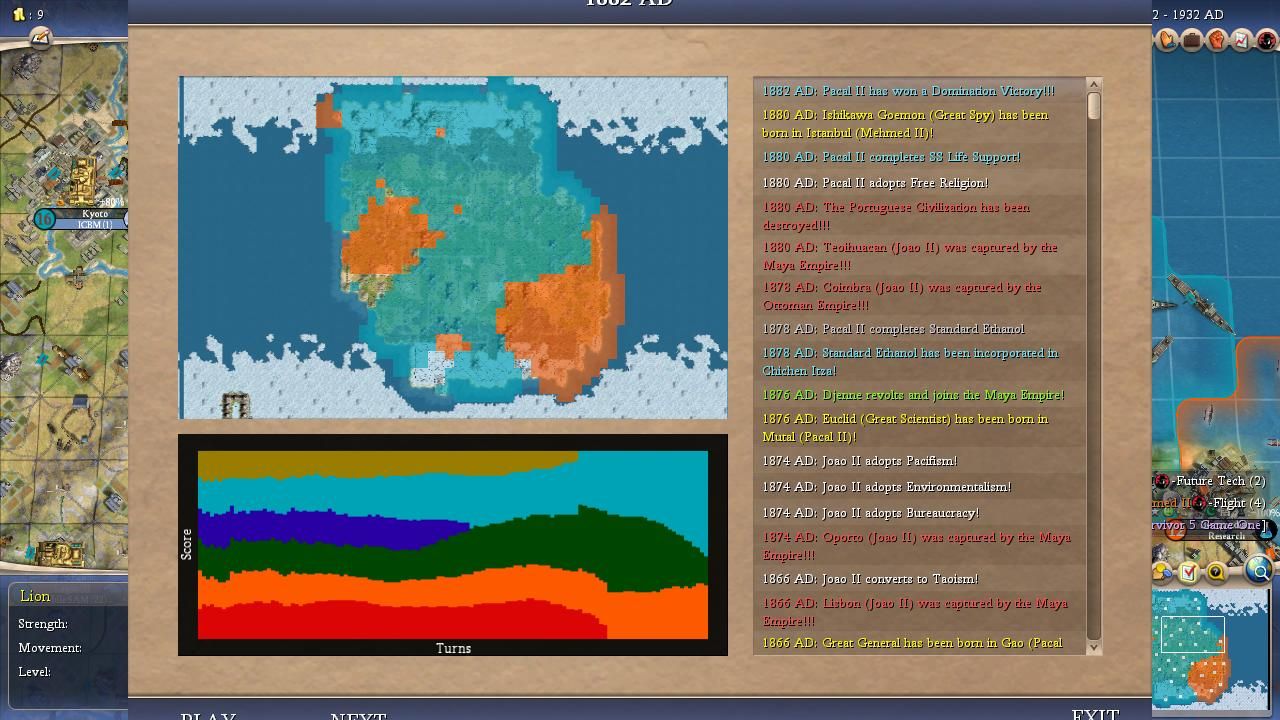
The actual outcome in Game One ended up matching the expected outcome perfectly, with Pacal in first place and Mehmed in second place and Mansa Musa as First to Die. You could argue that this missed the strength of Tokugawa on the map, but that's actually not true. Tokugawa survived to continue in the Wildcard game while scoring 2 kills in the process. Thus our AI leader scoring was 5 points for Pacal, 3 points for Mehmed, and 2 points for Tokugawa - a pretty good approximation of how these alternate scenarios played out. Pacal had the best teching, Tokugawa was the best fighter until getting eclipsed in technology, and Mehmed was somewhere in between the two of them racking up all those second place finishes. The finishing date (Turn 328) and number of wars (11) were also right in the middle of a bell curve distribution of repeat playthroughs of this map. The oddest thing was probably the Spaceship victory condition since most of these alternate histories ended by Domination, and even that was a close miss since Pacal was just short of going over the Domination limit. All in all, it was about as perfect of a representation of the typical case as we're likely to see. Mansa Musa was absolutely stuck in a hopeless starting position and everything else flowed naturally from there.
I plan to keep trickling out these alternate history investigations every few weeks to pass the time until the next season of AI Survivor begins. I hope they're fun to read - thanks for stopping by.


