

Game Four Alternate Histories Spreadsheet
One of the recurring features of past seasons of AI Survivor have been our "alternate histories", running additional iterations on the same maps to see if the same events would play out again. Game Four was the longest match of Season Five and turned into an extended lategame showdown between Saladin and Hannibal. Was that something which would unfold in each game? This was a topic that called for more investigation with alternate history scenarios. Following the conclusion of Seasons Three and Four of AI Survivor, I had gone back and investigated some of the previous games and found that they tended to play out in the same patterns over and over again. While there was definitely some variation from game to game, and occasionally an unlikely outcome took place, for the most part the games were fairly predictable based on the personality of the AI leaders and the terrain of each particular map. Would we see the same patterns play out again and again on this particular map?

The specific inspiration to run these alternate histories came from Wyatan. He decided to rerun the Season Four games 20 times each and publish the results. The objective in his words was twofold:
- See how random the prediction game actually is. There's a natural tendency when your predictions come true to go "See! Told you!", and on the contrary to dismiss the result as a mere fluke when things don't go the way you expected them to (pleading guilty there, Your Honour). Hopefully, with 20 iterations, we'll get a sense of how flukey the actual result was, and of how actually predictable each game was.
- Get a more accurate idea of each leader's performance. Over 5 seasons, we'll have a 60+ games sample. That might seem a lot, but it's actually a very small sample, with each leader appearing 5-10 times only. With this much larger sample, we'll be able able to better gauge each leader's performance, in the specific context of each game. So if an AI is given a dud start, or really tough neighbours, it won't perform well. Which will only be an indication about the balance of that map, and not really about that AI's general performance. But conversely, by running the game 20 times, we'll get dumb luck out of the equation.
Wyatan did a fantastic job of putting together data for the Season Four games and I decided to use the same general format. First I'll post the resulting data and then discuss some of the findings in more detail. Keep in mind that everything we discuss in these alternate histories is map-specific: it pertains to these leaders with these starting positions in this game. As Wyatan mentioned, an AI leader could be a powerful figure on this particular map while still being a weak leader in more general terms. Now on to the results (unfortunately the screenshots failed to take for Game One and Game Nine):
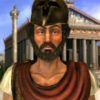
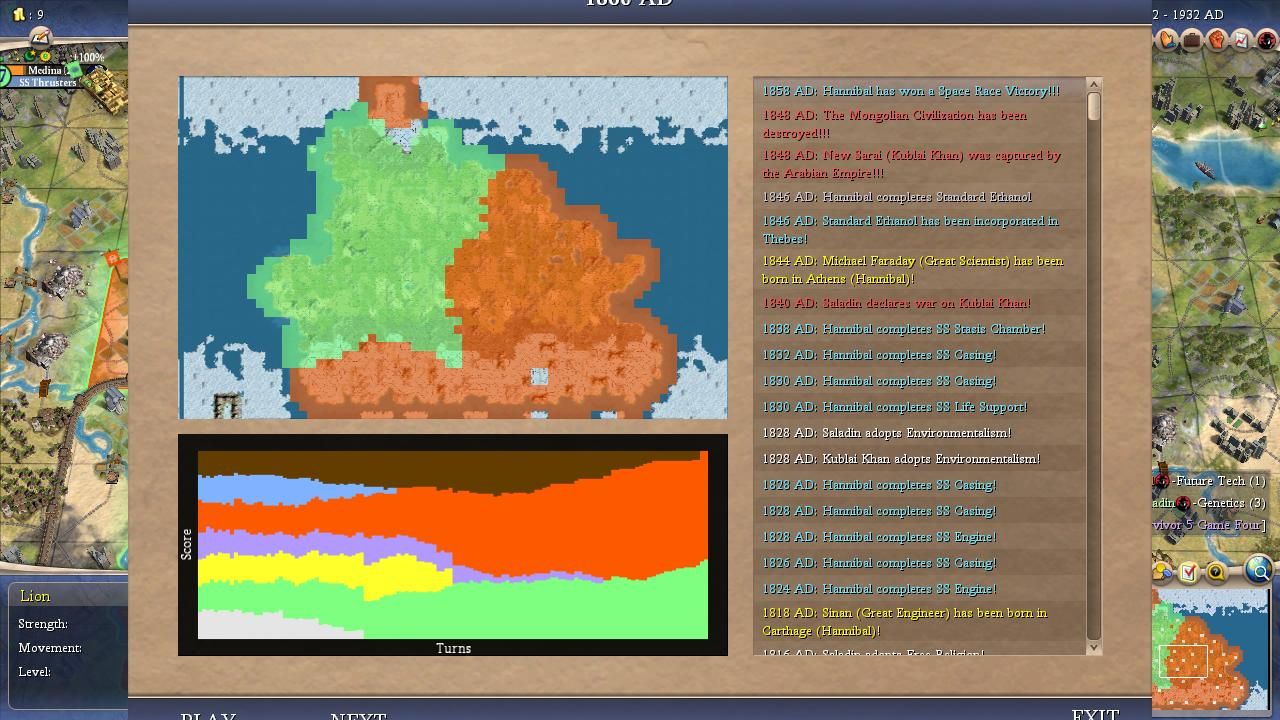
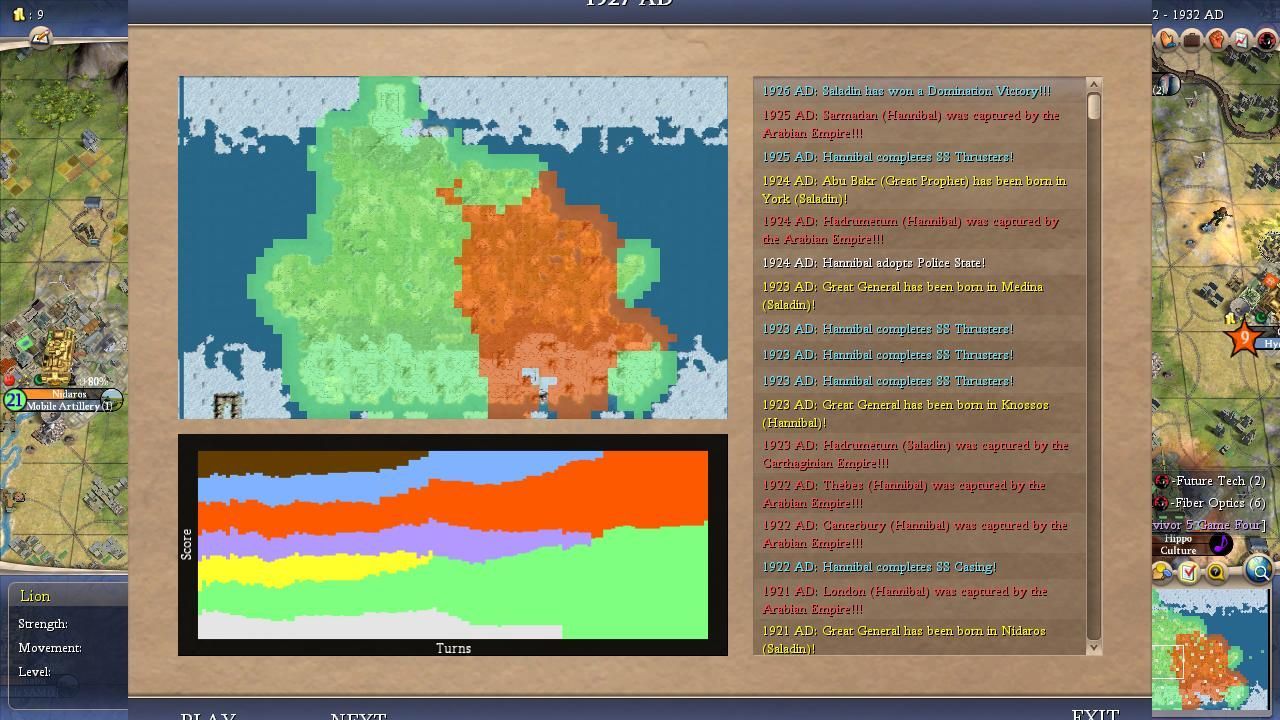
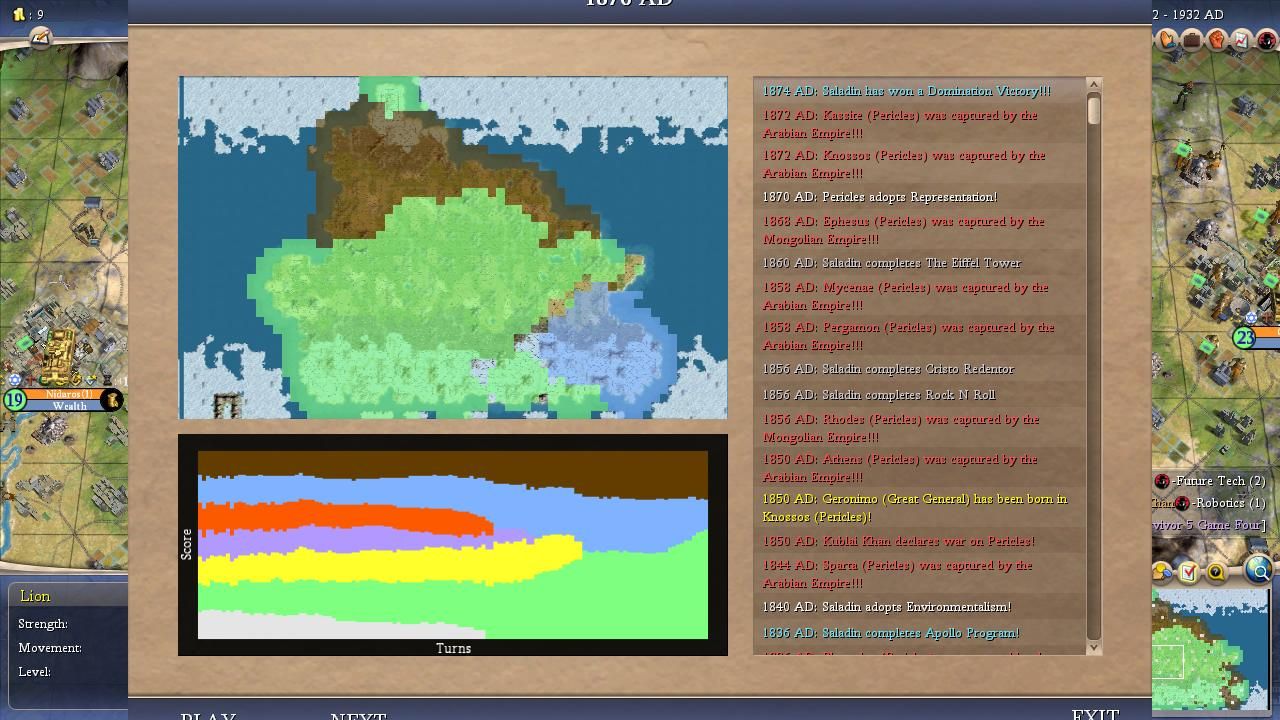
Game One | Game Two | Game Three | Game Four | Game Five
Game Six | Game Seven | Game Eight | Game Nine | Game Ten
Game Eleven | Game Twelve | Game Thirteen | Game Fourteen | Game Fifteen
Game Sixteen | Game Seventeen | Game Eighteen | Game Nineteen | Game Twenty


(Note : "A" column tracks the number of war declarations initiated by the AI, "D" the number of times the AI is declared upon, "F" the points for finish ranking, and "K" the number of kills.)
After running this scenario twenty additional times, it became clear that the game we had seen on Livestream with the Saladin/Hannibal finish had indeed been typical in terms of how it ended, but not in the path that it took to reach that point. There had been two unusual features in the match that we watched which caused it to drag out to a very late finishing date on Turn 421. The first of these was a lengthy conflict between Kublai Khan and Saladin from the early stages of the match, something that almost never took place in the alternate history scenarios. The Mongols were far more likely to attack Victoria or Ramesses than Saladin, with the net effect of England/Egypt dying much faster in most games rather than sticking around for an extended period. The other unusual feature was the war between Saladin and Hannibal right when the Carthaginians had been consolidating their early gains. While Saladin and Hannibal did fight occasionally, it was far more often for them to target their high peace weight opponents either to the north (Victoria/Ramesses) or to the east (Pericles). When the two of them didn't come into conflict with one another, they both tended to consolidate large and powerful empires at a much earlier date instead of the post-Turn 300 outcome that we watched in the actual match. We basically ended up at the same place but it took a much longer and more winding road to get there.
The data showed conclusively that Saladin and Hannibal were the two strongest leaders on this map. Each of them won eight times while the other leaders combined could only manage four victories between them. Saladin ended up with the higher point total because his survival rate was better and therefore he was able to score more total kills and second place finishes. Hannibal was slightly more of a boom-or-bust leader who was more likely to be eliminated if he didn't win the game in question. In fact, Hannibal only had a single game where he survived to the finish and didn't take home a top two spot (Game #17). By way of contrast, Saladin and Kublai Khan each managed this feat three different times. Hannibal's games and the wider outcome of the whole match often turned on one corner of the map:

That little cluster of resources with the copper/rice/silk tiles to the east of Hannibal's capital wound up being the key spot. If Hannibal settled there and secured control of the copper at an early date, he could sometimes build axes and run over Pericles before the Greeks managed to connect their own source of metals. Pericles did have an iron resource but it was located on the coast to the southeast and took longer to hook up to the Greek trading network. In the actual Game Four, Hannibal captured a border city off Pericles but the Greeks just barely managed to get their iron hooked up fast enough to stall out the remainder of the conflict. While Pericles did lose eventually, it took dozens and dozens of turns for the rest of the conquest to be completed. In some of the alternate history games, Hannibal simply rolled over Pericles and went on to achieve crushing victories. He eliminated Pericles on Turn 117, Turn 135, Turn 141, Turn 122, and a blazing Turn 86 in the final Game #20, with every single one of those outcomes resulting in a Hannibal overall victory. On the other hand, there were some scenarios where Hannibal didn't control that resource cluster at all, with a Greek city plopping down in that location instead. These were games where Hannibal tended to get squeezed on territory and ended up being irrelevant or eliminated. There was a surprising amount of variation in terms of where Pericles placed his second city in each game, which surprised me after we watched many AI leaders choose the same spot in every repeat viewing. For whatever reason he placed Sparta in some different spots from game to game.
As far as the rest of the leaders went, Kublai Khan scored two victories in the first six games that I watched and it looked like we might have a Big Three on this map. He was never able to replicate that success again though, never even coming close to winning another match, and I have to conclude that the Mongol wins were a bit of an outlier. Kublai had a good number of runner up finishes thanks to his low peace weight but he wasn't a good candidate to take home the victory. Ragnar was a far weaker version of Kublai, ending up with a scattering of second place finishes but never coming close to a win himself. He warred incessantly with everyone (including a bizarrely high number of cross-map attacks against Ramesses and Pericles), usually torpedoing his own game along with someone else's at the same time. There were many games where Saladin repeated his successful conquest of Ragnar and used that to snowball the rest of the map.
The high peace weight leaders all performed horribly on this map which seemed to be stacked against them. Yes, there were some highly unlikely outcomes where they could snag a victory, best seen in Game #10 and Game #17 where Ramesses and Pericles respectively took home wins. Both of these games saw Pericles control the disputed copper from the start and conquer Hannibal while Game #10 had an equally strange Victoria conquest of Kublai. These were clear outlier results, however, with the high peace weight leaders only managing to win something like 1 in 10 games and that percentage felt about right. All three of these leaders were eliminated in 80-90% of the total matches and largely served as food for their low peace weight competitors. Victoria was widely predicted to be First to Die and the community was once again proven correct on repeat viewings; she was knocked out first in eight games which was more than double anyone else. Here's another fun stat: the low peace weight leaders combined for 80 kills while the high peace weight leaders combined for 6 kills. The balancing scales were pretty lopsided in this world.
Now for a look at the individual leaders:

Saladin of Arabia
Wars Declared: 52
Wars Declared Upon: 45
Survival Percentage: 85%
Finishes: 8 Firsts, 5 Seconds (50 points)
Kills: 35
Overall Score: 85 points
Saladin graded out as the top-performing leader on this map to back up the victory that he won in the actual Game Four. While Saladin hadn't accomplished very much in past seasons of AI Survivor, he was well-positioned here to take advantage of his central starting position by making conquests in seemingly every direction. Out of all the AI leaders in this game, Saladin was the one with the most available options. He frequently joined with Kublai to invade Victoria and steal land to the north, or he could also partner with Hannibal in dismantling Ramesses. Both of Arabia's rivals to the north tended to be weak civs which could be eliminated and used to snowball ahead in population and territory. Saladin also had the opportunity to expand to his west against the psychopathic Ragnar as we watched in the actual Game Four. Ragnar would almost always self-destruct in spectacular fashion and Saladin was frequently able to pick up a safe backlines region via the conquest of Scandinavia. The curse of the central starting position is that you can be attacked from all sides but conversely it also provides more potential targets if the early game goes well. Saladin almost always landed that strong early game thanks to picking up a religion and controlling the nearby gold resources on the map. This was sufficient to carry him into the dominant position in game after game.
There were very few games where Saladin performed poorly since he was only eliminated on three occasions and had a top two finish in 13 out of 20 games. When he did get into trouble, it tended to be caused by a wider implosion of the low peace weight leaders across the whole map, as took place in the weird Game #10 and Game #17. The only other game where Saladin suffered elimination was Game #20 where Hannibal steamrolled Pericles before Turn 100 and then headed west conquering everything in sight. Saladin's Islamic religion tended to help him a lot more than it hurt him in this game, as he could usually make some friends by spreading the faith to nearby leaders. The other early game religion was usually founded by Victoria or Ramesses or Pericles (with their culture-inclined research preferences) and that only made the high peace weight leaders that much more doomed down the road. Saladin wasn't an especially good researcher and only one of his victories ended in Spaceship while the rest came from Domination. This is a sign that he generally can't compete with the best AI leaders on other maps even though he had more than enough here. All in all, this was pretty much a perfect map for Saladin. He had outstanding finish results, the most kills by a wide margin, and almost never suffered elimination. He was a deserving winner of Game Four.

Hannibal of Carthage
Wars Declared: 55
Wars Declared Upon: 27
Survival Percentage: 60%
Finishes: 8 Firsts, 3 Seconds (46 points)
Kills: 24
Overall Score: 70 points
Hannibal was the other dominant leader on this map and the outcome very commonly came down to whether Saladin or Hannibal could cross the finish line first. The Carthaginians tied the Arabians with eight victories apiece and the points for finishes were nearly identical between Hannibal and Saladin, 46 points against 50 points. It was a lot of fun to watch the two of them dueling across repeated iterations of this map, a bit like watching a best of seven series in basketball as two teams keep going at it. They were neck-and-neck with one another until Saladin picked up three consecutive victories in Games #13-15 and Hannibal was never quite able to close the gap on points afterwards. Saladin ended up with the higher point total largely because he had 11 more kills than Hannibal, and this was no coincidence because Saladin's survival rate was quite a bit better than Hannibal's. Carthage was more of a feast-or-famine civilization on this map with their fate tied to the outcome of their warring against Pericles. When Hannibal won this war convincingly, he pretty much always ran away with the rest of the game en route to Spaceship or Domination. If the war stalemated or protracted, Hannibal often ended up as more of a second-tier leader who watched from the sidelines as Saladin took home the victory. On the rare occasions where Hannibal actually lost to Pericles, well, those were the games responsible for his 40% elimination rate. Carthage played a risky game that resulted in a lot of wins but also a surprisingly high number of eliminations for a low peace weight leader on this map.
While Hannibal was knocked out a fair number of times, he was almost never the first leader to be eliminated and only suffered the First to Die fate a single time. He had quite a few late eliminations which came at the hands of Saladin or occasionally Kublai and (in one game) Ramesses. On the other hand, if Hannibal split the map with Saladin and they both went to the extreme lategame, Hannibal's Financial trait was enough to prove the difference in most cases. He outraced Saladin to space in both Game #11 and Game #16 which produced final maps that looked strikingly similar to our actual Game Four. This was an excellent series of performances from Hannibal overall that continues to suggest he's an above average leader for AI Survivor.

Kublai Khan of the Mongols
Wars Declared: 42
Wars Declared Upon: 35
Survival Percentage: 60%
Finishes: 2 Firsts, 7 Seconds (24 points)
Kills: 10
Overall Score: 34 points
No one else looked particularly good in comparison to the Saladin/Hannibal duo on this map. However, Kublai Khan ended up being the best of the rest with a pair of victories and a series of runner up finishes. It's too bad that the ending screenshot didn't take from Game #1 because that was Kublai's best outcome, a runaway performance where he faced down a 1 vs 3 scenario in the lategame and still managed to win. The Mongols were a bit less dominant in Kublai's other victory in Game #6 while still having a clear score lead at the time when an unlikely Diplomatic win occurred. Anyway, the biggest issue for Kublai on this map was a lack of good opportunities for him to gain additional territory. His best chance came from fighting against Victoria but that was a conflict that the Mongols generally weren't able to win in a straight up 1 vs 1. As we watched on Livestream, the Kublai/Victoria warring generally tended to stalemate if no one else was involved. Mongolia's tundra-heavy land wasn't strong enough to emerge as a consistent winner against the English. Instead, it typically took another leader helping out against Victoria and that meant divided spoils that too often didn't end up in Kublai's hands. Saladin's strong culture very often meant that Arabia would claim most of the benefits from Victoria's demise. It was only too common for Kublai to exhaust himself in a long war and then have Saladin swoop in and grab all the rewards for his effort. This was a major factor in Kublai's modest performance on this map.
Outside of Victoria, there weren't many other options available for Kublai. Ragnar would have been a perfect target but Mongolia's borders often didn't reach down to Scandinavia as Arabian culture blocked a clear path forward. And of course any conquests down there in the southwest would also be swamped by the ever-present Arabian culture pumping out from Saladin's cities. Going to war with Saladin himself was almost always a losing proposition since Arabia tended to be the strongest empire on the map. The net result was a lot of a distant second place performances from Kublai Khan, riding the coattails of Saladin or occasionally Hannibal without having any real chance for the Mongols to win. Kublai specializes in this sort of runner up performance and he was in his element once again on this map. It was probably the best that he could manage from his position and it would have been good enough to advance to the playoffs roughly half the time. While Kublai definitely isn't among the very best AI leaders, once again he reinforced the notion that he's a solid performer and very good at finding a way to advance to the next round.

Ragnar of the Vikings
Wars Declared: 49
Wars Declared Upon: 13
Survival Percentage: 30%
Finishes: 0 Firsts, 3 Seconds (6 points)
Kills: 11
Overall Score: 17 points
Ragnar is a total nutcase and he still couldn't manage to achieve much of anything despite a favorable diplomatic environment. Don't be fooled by Ragnar's 17 points, he gained the bulk of them from kills and did very little in terms of finish results. Three second place performances was downright sad on a map where the low peace weight leaders were completely dominant; given this setup, he should have managed to stumble into at least one victory at some point. But nope, Ragnar's insane aggression meant that he needlessly antagonized leaders who should have been allies while launching pointless cross-map invasions again and again. The local terrain admittedly wasn't great for Ragnar in this game, with frequent barbarian cities to contend with and Saladin's strong civilization blocking expansion to the east. Ragnar wasn't helped either by peace weight concerns repeatedly pulling him to attack Victoria or Ramesses or Pericles, opponents where he was unlikely to gain much of anything in terms of spoils. Still, I would have expected him to do at least a little bit better given how the high peace weight leaders were getting destroyed in game after game. There's no reason why he should have been eliminated 70% of the time when Saladin/Hannibal/Kublai were winning basically every scenario. Even the other warmongers thought that Ragnar was crazy and wanted him out of there! 
The Vikings were absurdly aggressive on this map, starting 49 wars while being declared upon only 13 times. Obviously this endless fighting meant that Ragnar's cities were always lacking in infrastructure and the Vikings were usually lagging well behind the leaders in tech. This did result in Ragnar picking up more kills than Kublai Khan despite being eliminated far more often and the Vikings sometimes ending up with bizarre conquests in the far east from Pericles or Ramesses. Ragnar's best game oddly ended up being Game #17 where the high peace weight leaders dominated, as he finished second behind Pericles with a substantial empire. But there were zero scenarios where Ragnar was a serious threat to win the game and he was always a distant trailer even in his best performances. Ragnar was more likely to be First to Die which he managed three times despite this favorable map setup. We've seen pretty consistently that the warmongers at the very top of the aggression scale usually fare poorly and Ragnar's results in this game add further evidence to that notion.
Pericles of Greece
Wars Declared: 18
Wars Declared Upon: 43
Survival Percentage: 15%
Finishes: 1 First, 0 Seconds (5 points)
Kills: 2
Overall Score: 7 points
Pericles was the victim of a map setup that didn't allow him to pursue his favorite strategy of cultural development. He came under attack from Hannibal in pretty much every single game and usually came out on the losing end of that clash. Even on the rare occasions where Pericles overcame Hannibal, he tended to find himself confronting a runaway Saladin who already had most of the rest of the world either allied or under his direct control. This was Pericles' fate in both of the games where he survived without winning, Game #13 and Game #18, as he successfully overcame Hannibal only to get attacked and thoroughly manhandled by Saladin. It was only in Game #17 where Pericles was able to come out on top thanks to the Greeks controlling the disputed copper spot and then Saladin warring with the rump Carthaginian state to further weaken both of them. Needless to say, these outcomes were rare and I almost never saw Pericles in a position of strength.
Even though it's not particularly reflected in the scoring, Pericles was pretty clearly the strongest of the three high peace weight leaders. He actually did come out on top occasionally in his duel with Hannibal and there were four or five games where Pericles was one of the score leaders. It wasn't really his fault that Saladin snowballed faster and harder in most of those games and therefore Pericles wasn't able to get any points out of them. Pericles did a nice job of developing his cities and on the rare occasions where he wasn't being attacked he had a solid tech rate. He could have easily won by Spaceship in Game #16 where he scored his only victory but decided to drag things out until Turn 445 by opting into an extremely slow Cultural victory instead. I guess it still got the job done. The big weakness of Pericles was his lack of aggression, as he picked up a mere 2 kills and didn't take action to advance his position on the few occasions where he was on top. A more capable leader would have wrapped up Game #16 dozens and dozens of turns sooner. Past AI Survivor history suggests that Pericles is one of the better leaders at the peaceful victory conditions and he can be a threat to win if drawn into a field of high peace weight leaders. However, his pacifistic outlook generally doesn't perform very well when confronted with a set of opponents like the ones here.

Victoria of England
Wars Declared: 18
Wars Declared Upon: 48
Survival Percentage: 10%
Finishes: 0 Firsts, 2 Seconds (4 points)
Kills: 3
Overall Score: 7 points
Although Victoria tied with Pericles at 7 points across these alternate histories, I believe that she was the weakest of the three high peace weight leaders and the worst of the whole group on this map. She was the only one of the three high peace weight leaders that didn't win a game and furthermore Victoria never came close to winning a game either. That's due at least in part to the fact that she only survived to reach the finishing date in two games while suffering elimination in fully 90% of these scenarios. To her credit, Victoria did come in second place in both of those matches and she ended up with a large empire in Game #10. However, even in that game she had no chance of beating Ramesses to either culture or space, and her only other survival in Game #19 was a distant finish behind Saladin thanks to having the good fortue to share his religion. Victoria's paltry score was heavily based on landing 3 kills which were due at least in part to the dumb luck of who managed to "last hit" an enemy capital at the correct moment. Along with Ragnar, she was the only leader who didn't seem to have any clear path to winning the game and she didn't have Ragnar's friendly diplomatic environment to fall back upon.
Victoria was the runaway winner in the First to Die category, suffering that ignominious fate eight different times. Her eliminations came early and often including Turn 98, Turn 112, Turn 135, Turn 129, and Turn 138. The picking contest was completely correct to identify her as the leader most likely to make a quick exit. Victoria had the bad fortune to pull aggression from both Kublai Khan and Saladin over and over again in these games. She was also a target of Ragnar more often than not and even faced attacks from Ramesses on occasion. Yes, the Victoria/Ramesses duo did themselves no favors by squabbling in more games than I expected to see, typically when they ended up with different religions and a lot of border tension. This was a rough position for Victoria with low peace weight rivals on three different sides and relatively little room for expansion. It was expected that she would perform poorly from this spot and that's exactly what happened.

Ramesses of Egypt
Wars Declared: 13
Wars Declared Upon: 37
Survival Percentage: 10%
Finishes: 1 First, 0 Seconds (5 points)
Kills: 1
Overall Score: 6 points
Ramesses had a single victory in the wacky Game #10 and otherwise was crushed in basically every single scenario. Even in the one other game where he survived (Game #13) Egypt had a single city remaining deep in the southern tundra and enemy soldiers racing towards it when Saladin hit the Domination threshhold. Ramesses had a cramped position on this map and he compounded that problem by doing a poor job of expanding. Over and over again he tied up his cities on wonder builds rather than prioritizing settling the map. The result was that he was frequently left with a mere four or five cities as the other competitors gobbled up the open land, leaving him with far too few cities to be competitive in the long run. Hannibal frequently attacked Ramesses either before or after running over Pericles and the Carthaginians were usually too much larger than Egypt for Ramesses to stand much of a chance. He was also attacked by Saladin and Kublai in many different games, and even Ragnar went charging across the map to take a swing at poor Ramesses on multiple different occasions. Some tough breaks here for the pharoah.
The one exception to this rule was Game #10 where Pericles defeated Hannibal and Victoria eliminated Saladin. Those wars lasted long enough that Ramesses was able to get ahead in tech and then conquer the Greeks after they had been thoroughly exhausted from fighting. From that point, Ramesses kept teching and building wonders until he found himself winning via culture. This was an extremely unlikely outcome, however, and it was not repeated in any of the other alternate histories. It was far more common to see Ramesses getting thoroughly bullied and eliminated at an early date. The strong Ramesses who temporarily over took the scoreboard lead during the actual Game Four was a major exception that basically never happened on replays of this map. He was eliminated a dozen different times before Turn 200 arrived, indicating that he wasn't even remotely close to being competitive. Ramesses initiated the fewest wars (13) of any leader and also managed the least kills (1) out of this group, further signs of his general weakness in this scenario. I think that Victoria was a slightly worse leader but there wasn't much gap between the two of them. They were equally terrible performers.

The actual Game Four therefore mostly ended up proceeding according to form. We had one of the Saladin/Hannibal duo coming in first place and the other one finishing in second, with both of them deservedly advancing to the playoff round. Pericles dying before Victoria was a bit of an oddball result but not something that was out of left field. Perhaps the oddest thing that we saw in the actual Game Four was the Spaceship victory condition, as repeated tests of this map showed that Domination was by far the most likely outcome. Domination outscored Spaceship by a margin of 12-5 in the games that I watched thanks to Saladin pushing for that condition over and over again. Generally poor teching for everyone other than Hannibal was a major contributor to that outcome. I picked Hannibal/Kublai/Victoria for this game and I was pleased to see that these picks were confirmed as solid choices from the replays of this map. We might get something weird for an individual game but the alternate history scenarios can pin down what the best choices happen to be for each setup. As always, I hope this was interesting stuff to consider - thanks for reading.


