
Playoff Game One Alternate Histories Spreadsheet
One of the recurring features of past seasons of AI Survivor have been our "alternate histories", running additional iterations on the same maps to see if the same events would play out again. Playoff One saw Ramesses absolutely dominate the field while everyone else just sort of... sat around not doing very much. Was that something which would unfold in each game? This was a topic that called for more investigation with alternate history scenarios. Following the conclusion of previous seasons of AI Survivor, I had gone back and investigated some of the completed games and found that they tended to play out in the same patterns over and over again. While there was definitely some variation from game to game, and occasionally an unlikely outcome took place, for the most part the games were fairly predictable based on the personality of the AI leaders and the terrain of each particular map. Would we see the same patterns play out again and again on this particular map?

The original inspiration to run these alternate histories came from Wyatan. He decided to rerun the Season Four games 20 times each and publish the results. The objective in his words was twofold:
- See how random the prediction game actually is. There's a natural tendency when your predictions come true to go "See! Told you!", and on the contrary to dismiss the result as a mere fluke when things don't go the way you expected them to (pleading guilty there, Your Honour). Hopefully, with 20 iterations, we'll get a sense of how flukey the actual result was, and of how actually predictable each game was.
- Get a more accurate idea of each leader's performance. Over 6 seasons, we'll have a 75 game sample. That might seem a lot, but it's actually a very small sample, with each leader appearing 5-10 times only. With this much larger sample, we'll be able able to better gauge each leader's performance, in the specific context of each game. So if an AI is given a dud start, or really tough neighbours, it won't perform well. Which will only be an indication about the balance of that map, and not really about that AI's general performance. But conversely, by running the game 20 times, we'll get dumb luck out of the equation.
Wyatan did a fantastic job of putting together data for the Season Four games and I decided to use the same general format. This particular set of alternate histories were run by Amicalola - many thanks for spending so much time on this task!  Amicalola posted the resulting data from the alternate histories and then discusses some of the findings below in more detail. Keep in mind that everything we discuss in these alternate histories is map-specific: it pertains to these leaders with these starting positions in this game. As Wyatan mentioned, an AI leader could be a powerful figure on this particular map while still being a weak leader in more general terms. Now on to the results:
Game One | Game Two | Game Three | Game Four | Game Five
Game Six | Game Seven | Game Eight | Game Nine | Game Ten
Game Eleven | Game Twelve | Game Thirteen | Game Fourteen | Game Fifteen
Game Sixteen | Game Seventeen | Game Eighteen | Game Nineteen | Game Twenty
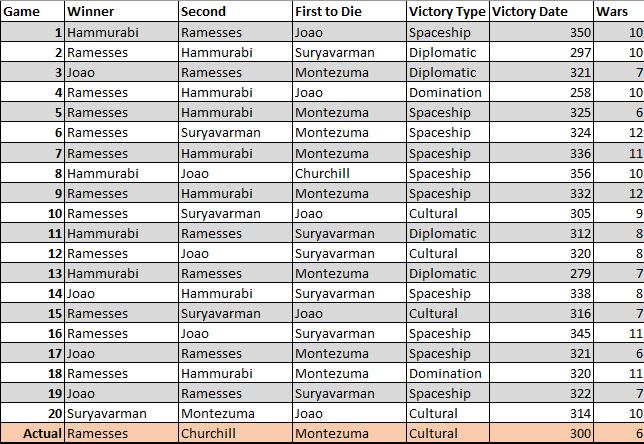
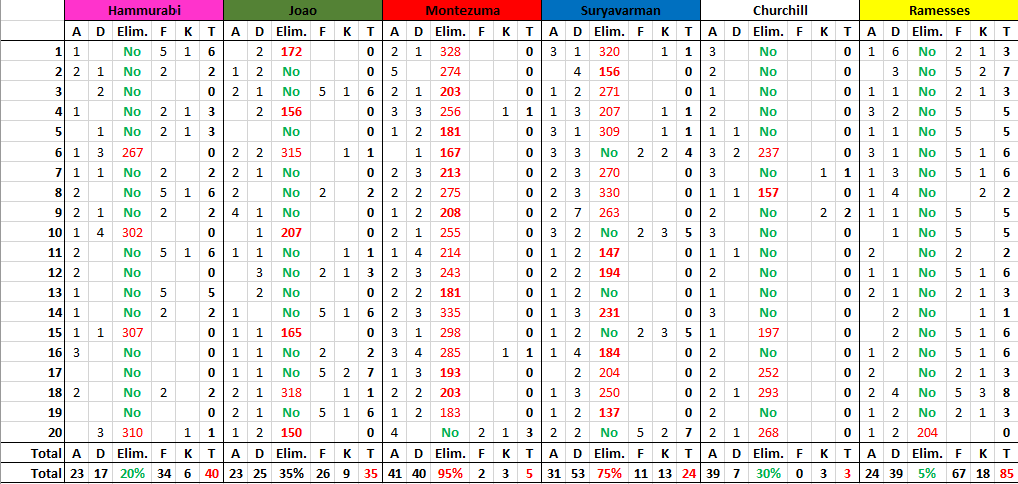
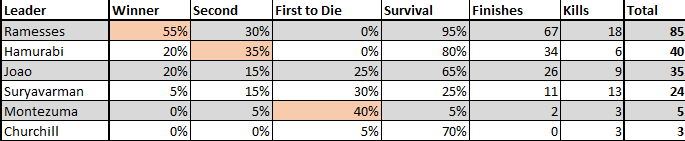
(Note : "A" column tracks the number of war declarations initiated by the AI, "D" the number of times the AI is declared upon, "F" the points for finish ranking, and "K" the number of kills.)
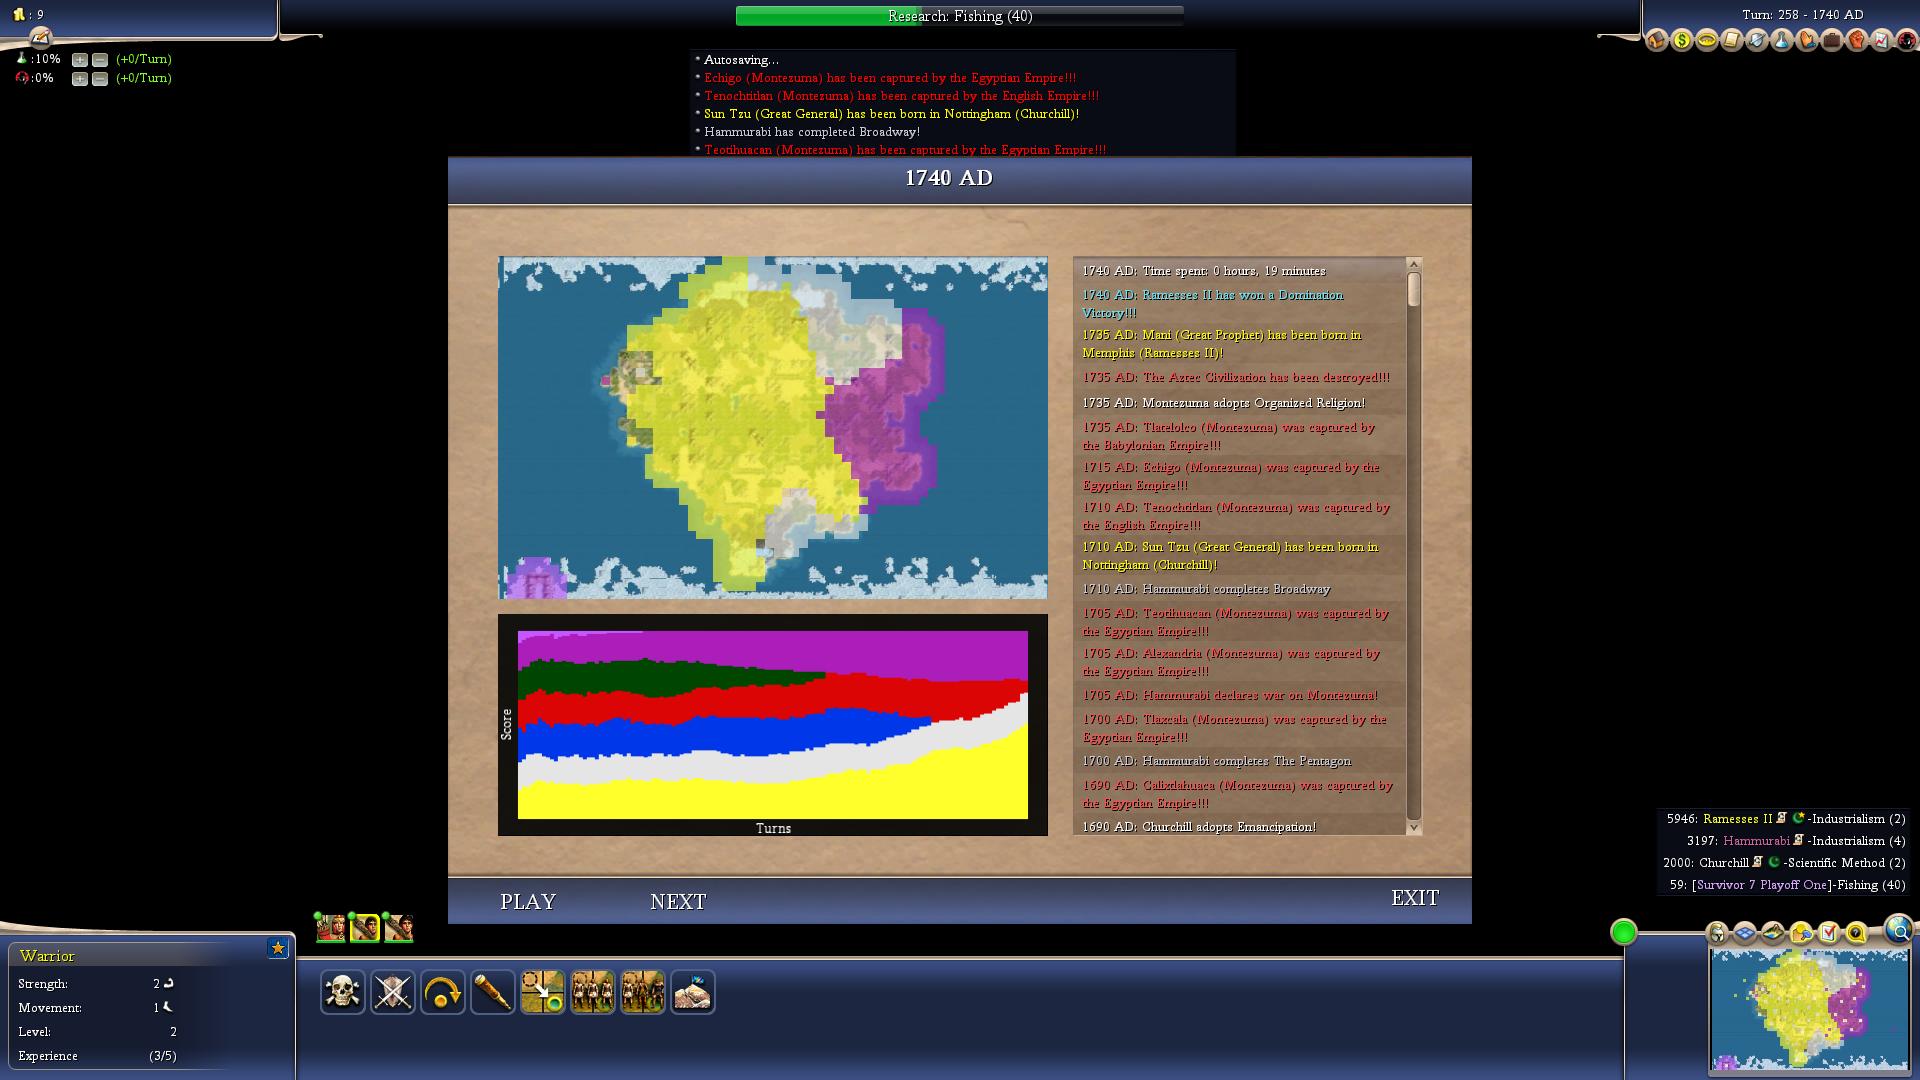
Amicalola: This game was characterized by the unusual case of a large group of high peace weight leaders overrunning and dominating a couple of low peace weight ones. This dynamic was consistent across the games, with the low peace weight leaders of Montezuma and Suryavarman only winning one game (Game 20) between them. The games played out this way for a few reasons. The first reason was unity. Montezuma and Suryavarman fought a lot, maybe in half the games, whereas the high peace weight leaders rarely fought at all (occasionally Churchill would randomly suicide into someone, but that was about it). Both of them exited the landgrab in good positions usually, particularly Montezuma who was usually second on the scoreboard behind Ramesses. However, he always found some way to screw it up - usually this was by picking a fight with Ramesses, who was almost always stronger, and typically able to bring in at least one ally in Churchill or Hammurabi. Joao was occasionally also an ally, however more often than not he was unavailable for Aztec Cleanup Duties because he was busy cleaning up Suryavarman instead. Hammurabi, Churchill, or Ramesses could usually be recruited for help here as well, as the game really did feel like a 4v2 most of the time.
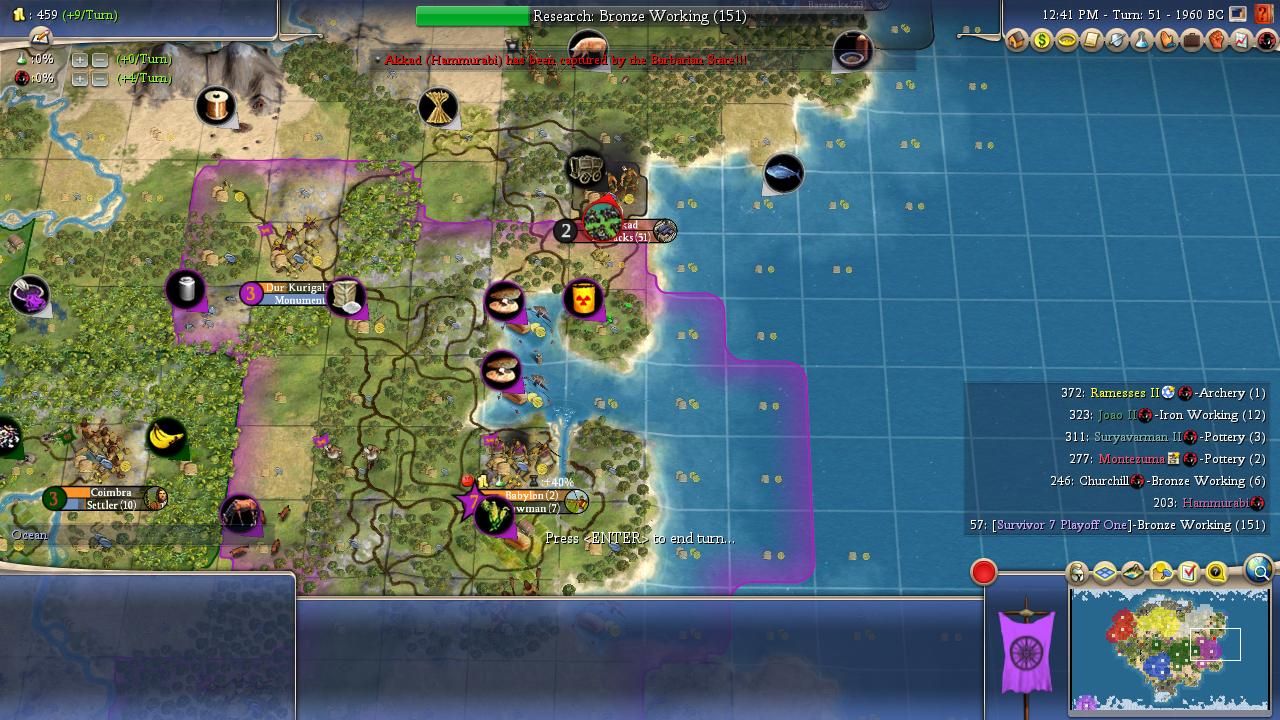
Now, none of this is to say that it was ice cream and roses for all four of the high peace weight leaders, with three distinct tiers of success shown here. At the top was Ramesses, who dominated this map (although not to the extent that I'm guessing many people expected; his Season Three performance had more wins, hilariously). Ramesses was dominant because of a starting position that beautifully suited his strong starting techs; a lack of Mysticism leaders (he usually split the early religions with Montezuma); and because he started next to Montezuma, which as covered, was basically a free second core. From there, Ramesses would be twice as strong as every other leader, as no one else could consistently snowball to form any kind of credible threat to the Egyptian monster. Ramesses also benefited massively from another neighbour's extreme weakness, as Churchill turned out to be incredibly bad on this map. He was extraordinarily lucky to have advanced into the Championship, a feat that he could not replicate even once across this Alternate History set. It was easy to see why the Livestream game diverged so strongly from this set though - Hammurabi lost his second city to the barbs very early on, which not only slowed his expansion curve drastically, but crucially blocked his path into the north-eastern coast. In every single alternate history game, it was Hammurabi who claimed the fertile coastline above Akkad, while on livestream, Churchill was able to 'steal' around 2-3 cities worth of land, a massive ~5 city differential to the norm. This was enough to catapult him from Garbage Status into mediocrity, and that was enough to backdoor a second championship appearance, but it was entirely undeserved.
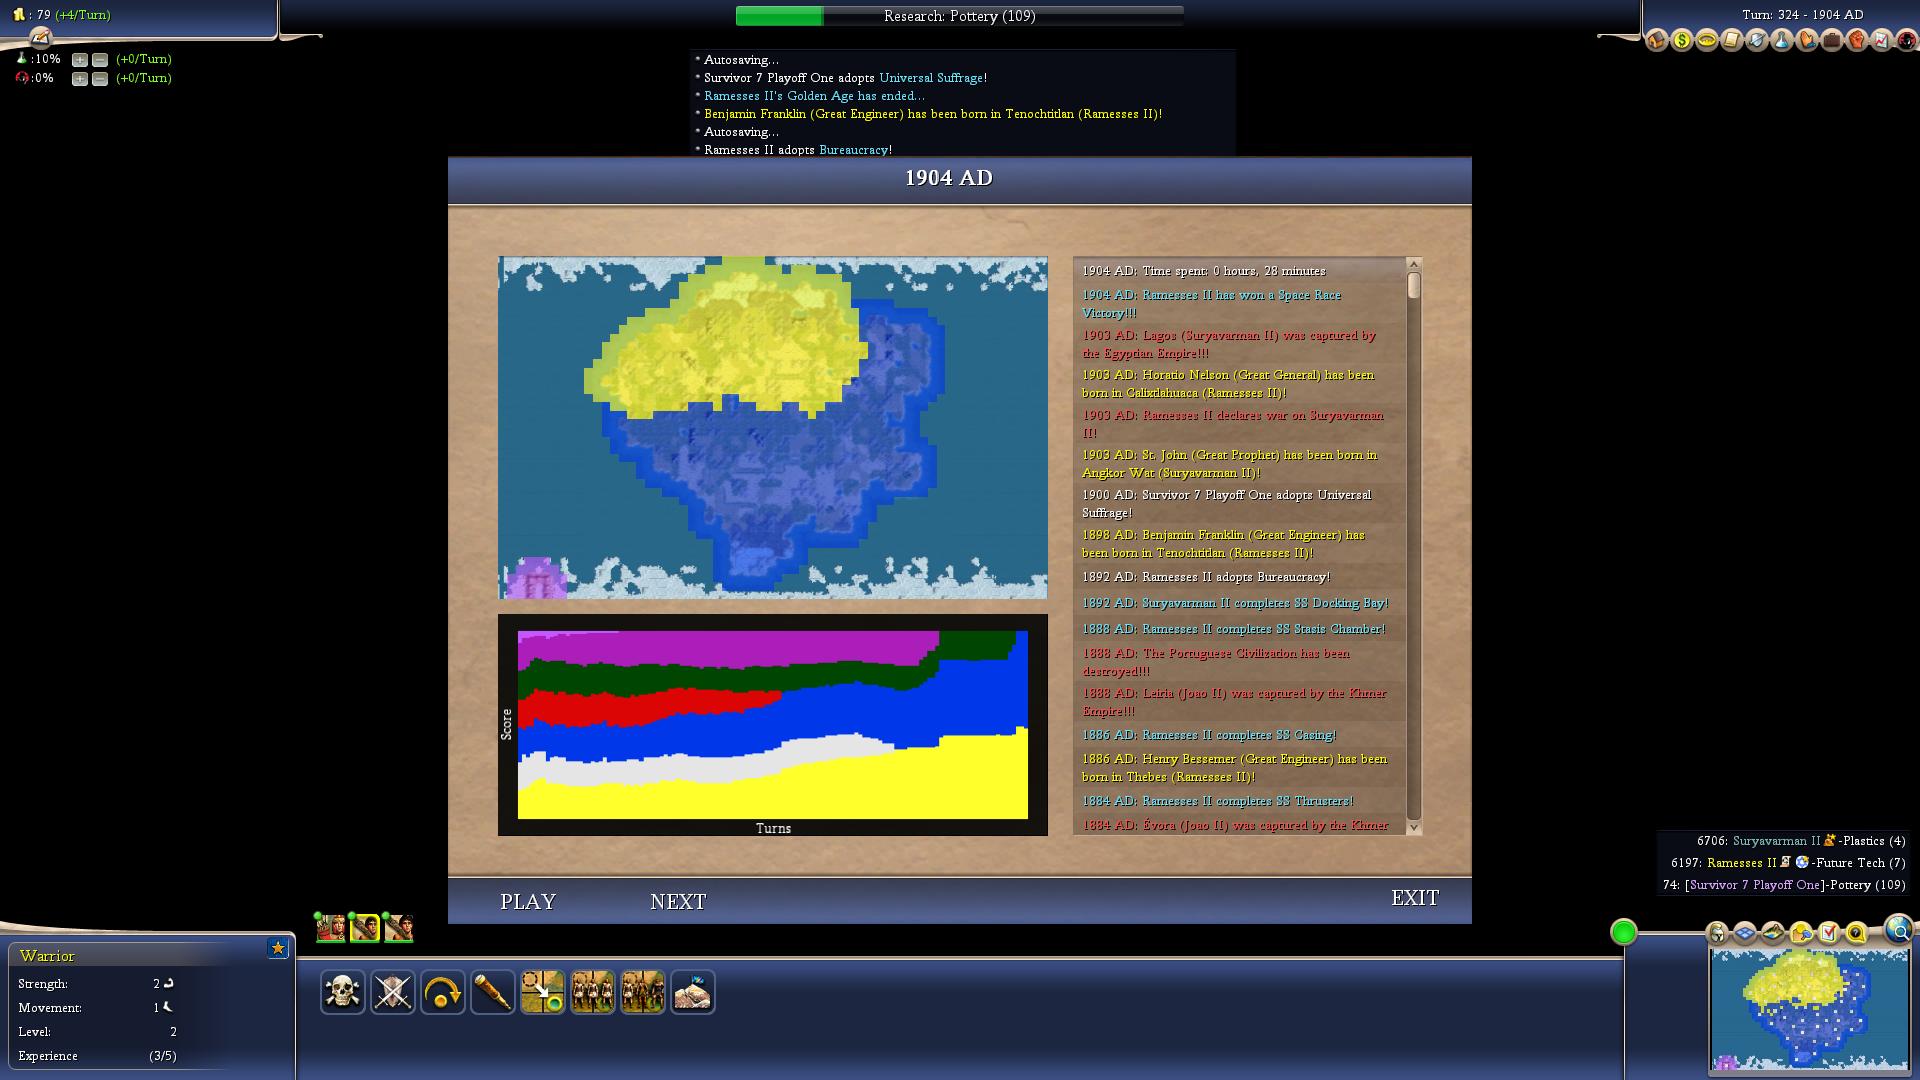
Anyway, Ramesses was the clear dominant leader, while Churchill and Montezuma were the clear runts. The other three leaders were more complicated, and lay somewhere in between. Hammurabi did the best, although he and Joao were very close, and to be honest, we've pretty much already covered the reason for this discrepancy with the livestream game - losing Akkad was a massive blow for the Babylonians. Hammurabi was the most peaceful of all the leaders, and typically just sort of sat in the corner building. This was enough for seven second place finishes, almost all behind Ramesses. Hammurabi was also able to win a few games, although this was usually because Ramesses had been dogpiled by a few leaders, rather than because Hammurabi had actively pursued any sort of victory condition himself. Joao was a lot more fun to watch, as he had to fight hard for his four wins. Joao had a cramped central position, and his tendency to ignore culture didn't exactly help when Suryavarman, Hammurabi, and Ramesses were his neighbours. Joao's game pretty much revolved directly around his inevitable showdown with Suryavarman, as the two leaders could never survive the same game. In every game Joao was first to die, Suryavarman was the one who killed him (and Sury scored all of his podium finishes in these games), and similarly all of Joao's wins featured a conquest of Suryavarman that allowed him to snowball past Ramesses. Joao had to conquer at least one neighbour to have a shot, but if he did that, he could absolutely snowball past what was, to be honest, a very stagnant field of leaders.
Finally, Suryavarman was the game's wildcard. He usually got ganged up on and massacred once Montezuma was dead, and contrary to what I was expecting (considering his traits and strong land), didn't emerge as much of a frontrunner after any of the landgrab phases. His main path to success was bumrushing Joao and crippling him before the Portuguese leader could get any culture in his cities, which did happen in multiple games (e.g. Games 15 and 20). However, more often than not, Suryavarman was totally unable to get any sort of snowball running, with this game being yet another example in a season full of them that floodplains carry definite weaknesses, as well as strengths, when played by the Civ4 AI. In sum, Ramesses' win was very expected, and the game generally played out in the same way as these ones did, with the clear exception of Churchill's strength and Hammurabi's weakness - at least those were easy to explain!
Now for a look at the individual leaders:

Ramesses of Egypt
Wars Declared: 24
Wars Declared Upon: 39
Survival Percentage: 95%
Finishes: 11 Firsts, 6 Seconds (67 points)
Kills: 18
Overall Score: 85 points
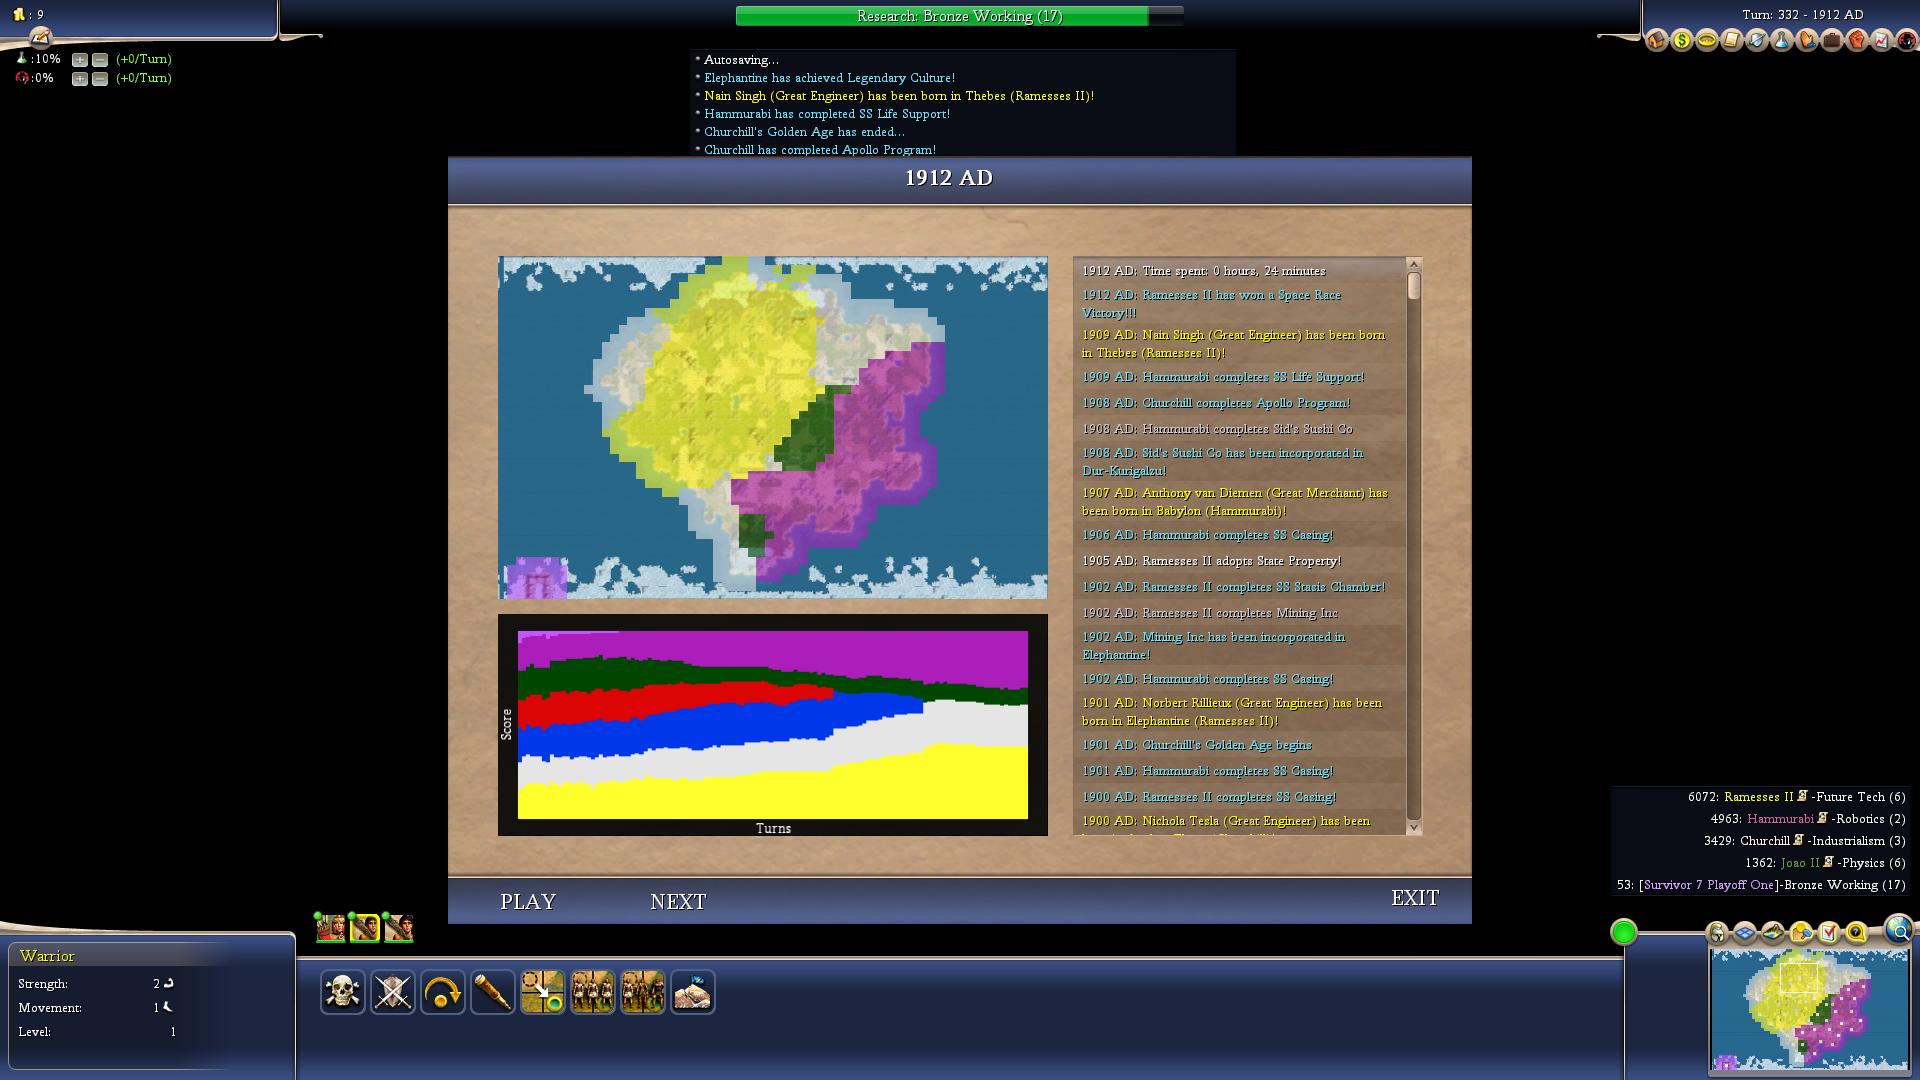
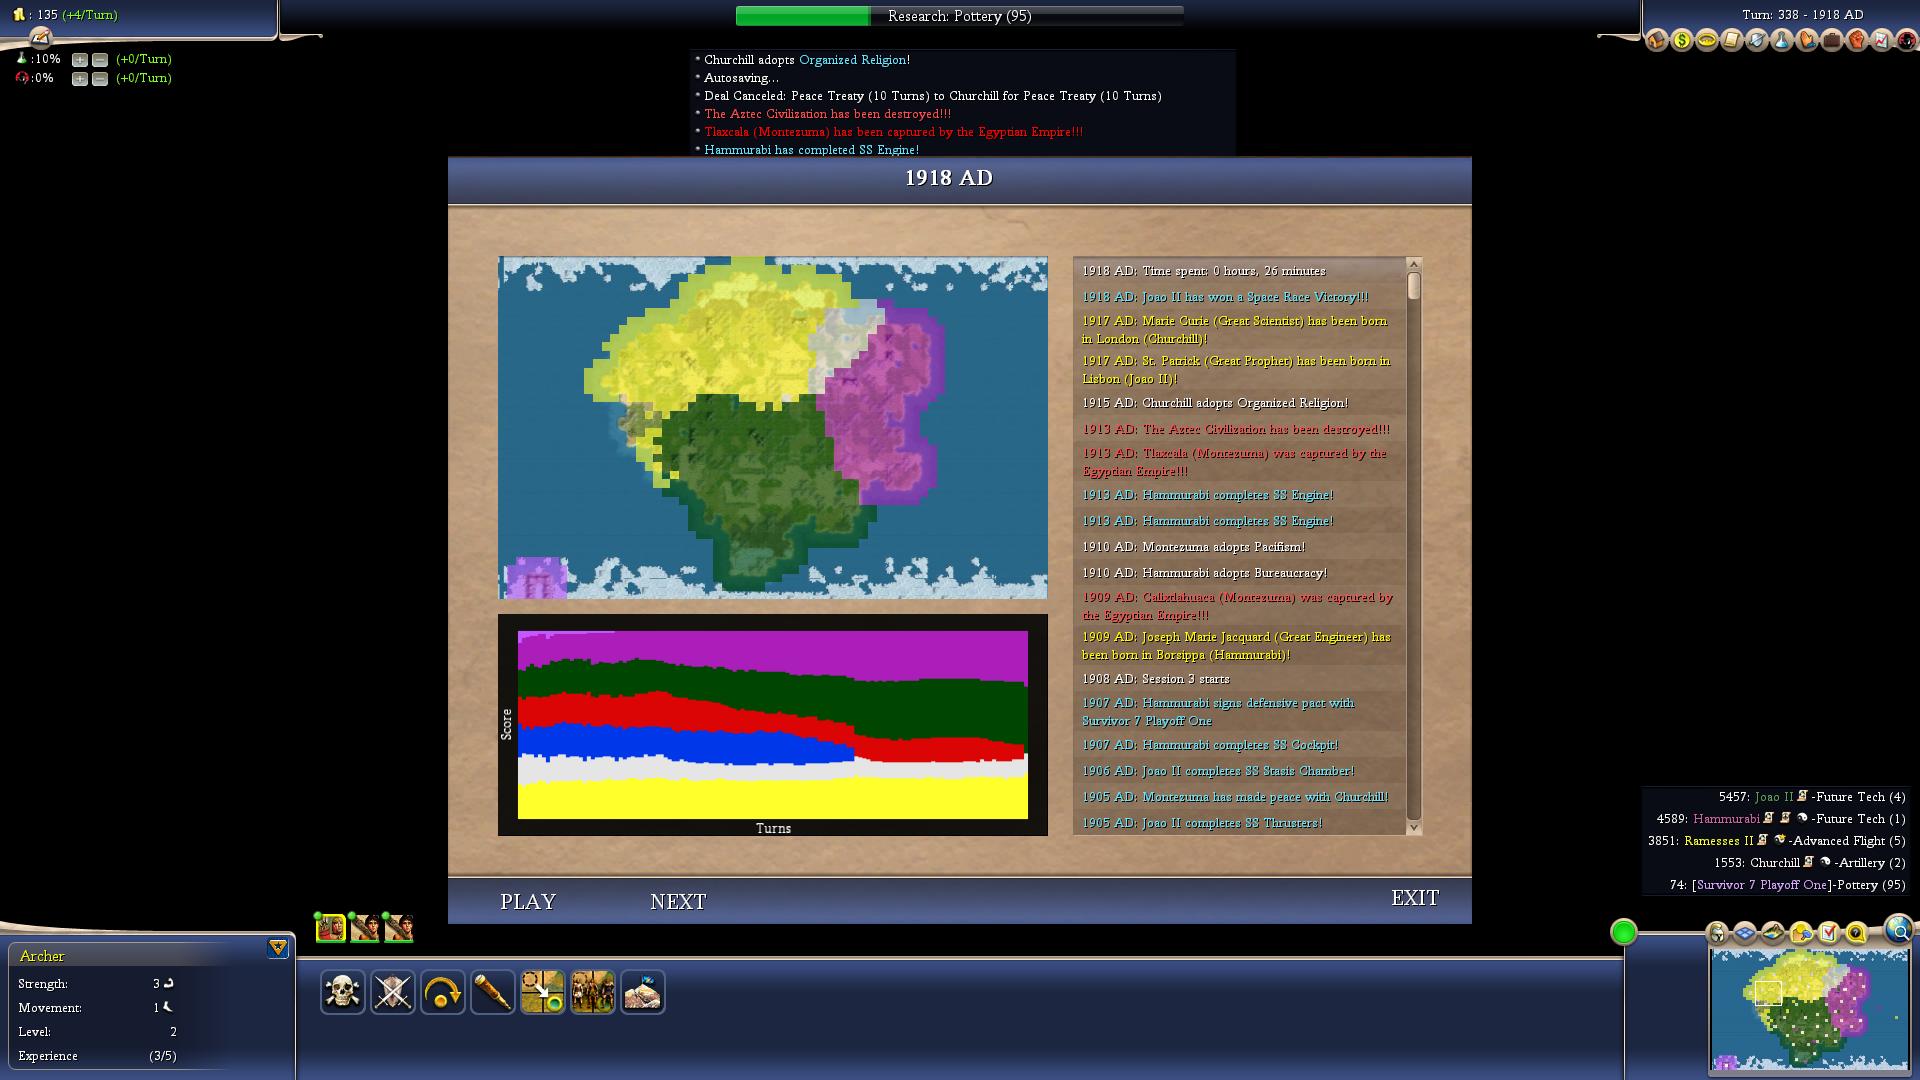
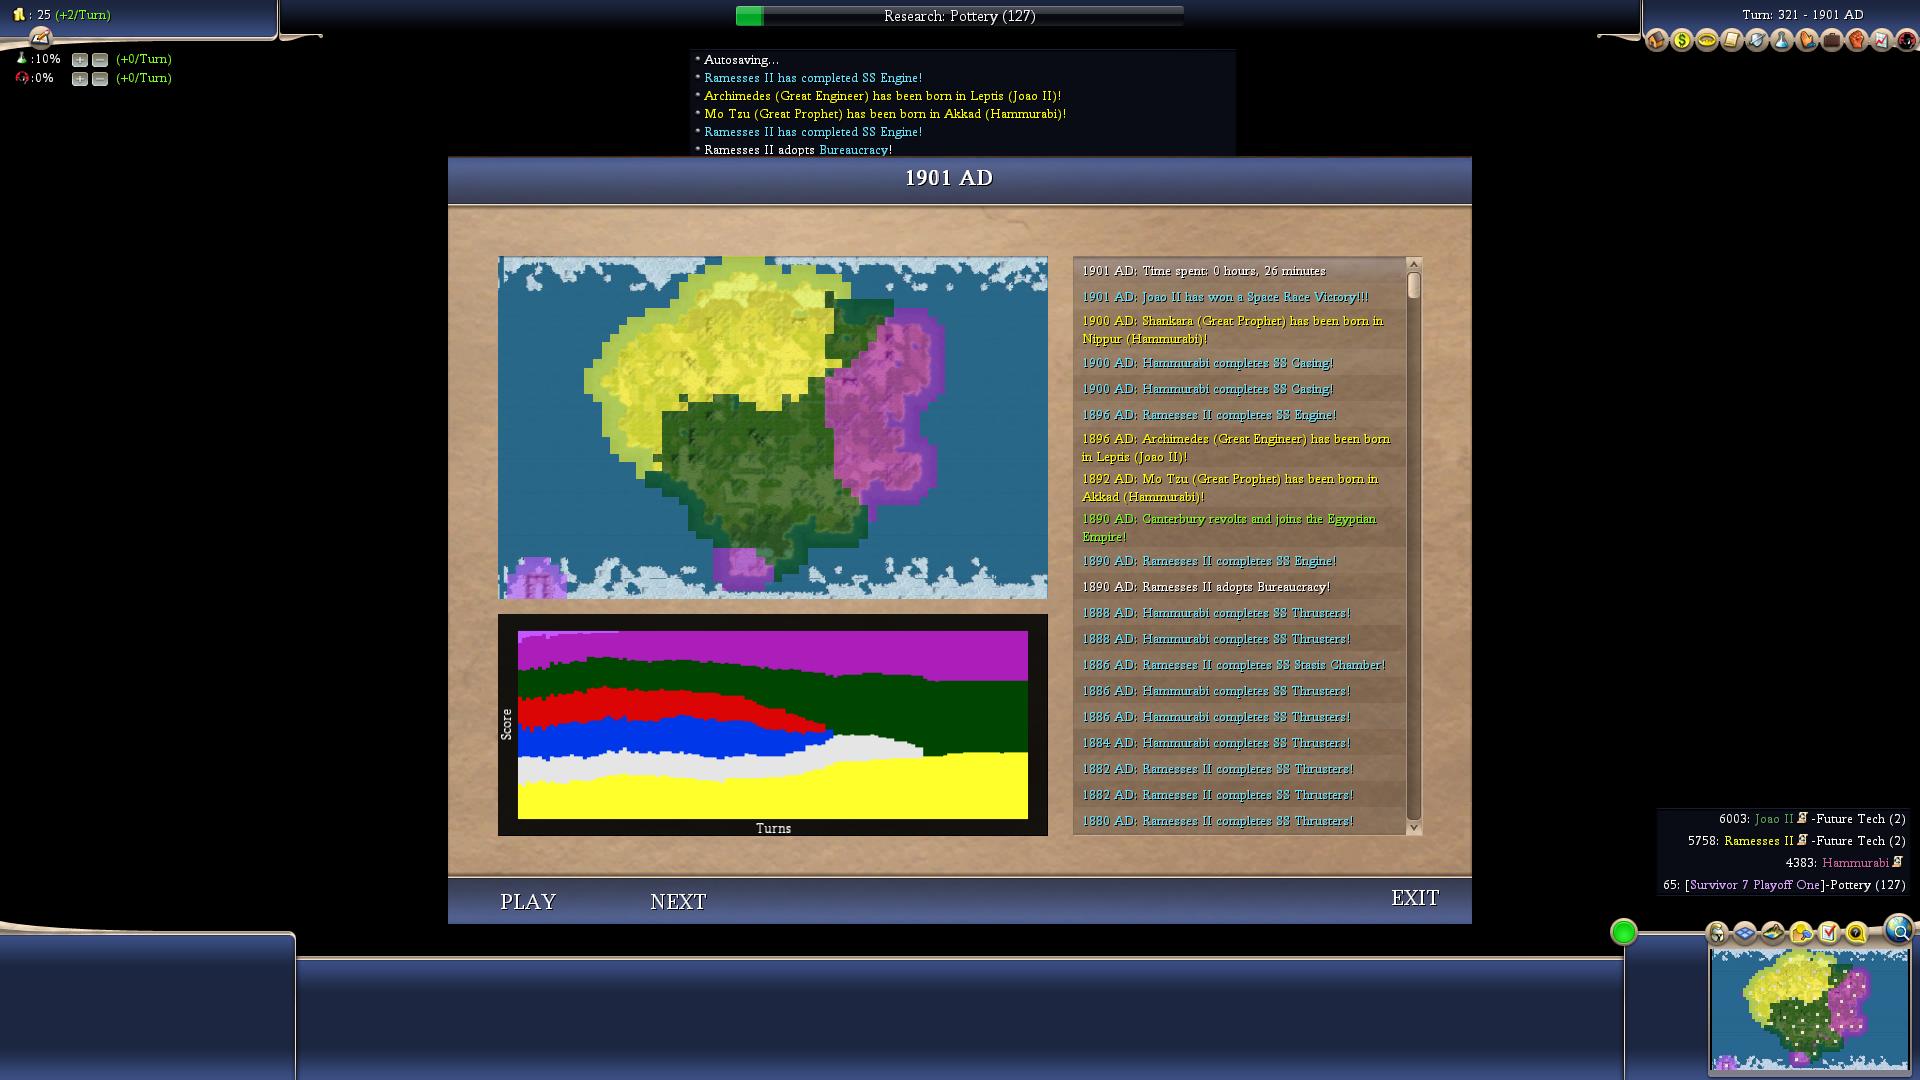
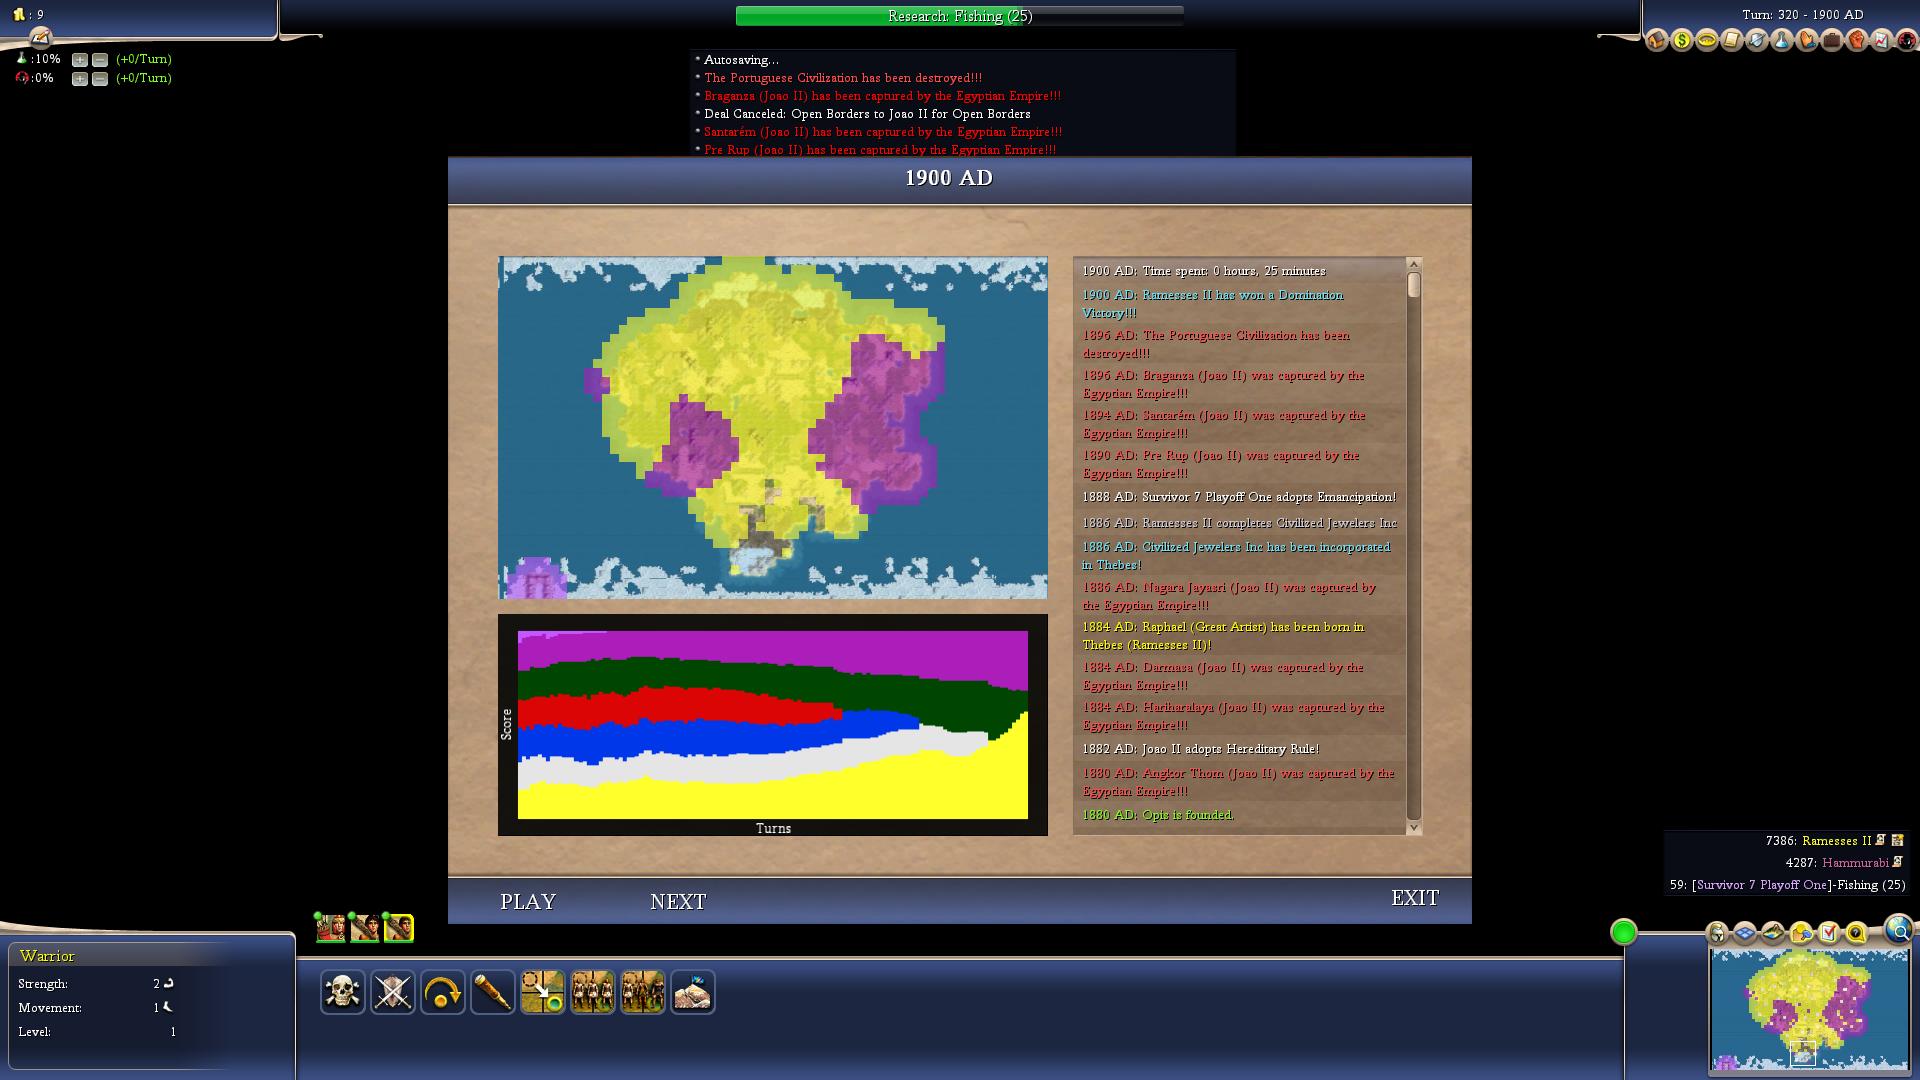
Ramesses was obviously a beast on this map, winning over half of the time, and coming second nearly all of the rest - indeed, there were only three games where Ramesses wouldn't have made the Championship, and only one (Game 20) where he died outright. I've covered the reasons for Ramesses' success above, but it basically boils down to a combination of a strong start, and weak neighbours. Montezuma's start was excellent, but he was horrifically incompetent economically, which meant Ramesses could always run him down in the midgame. Meanwhile, Churchill was comically weak on this map, far worse than even Monte, and certainly wasn't causing Ramesses any grief from the other side (indeed, he tended to do the Egyptians a favour by committing suicide into them during the late game). This meant that Ramesses usually had the most land in the midgame, and then the stagnant nature of the game played itself out with an Egyptian win. The ways that Ramesses could lose were by being dogpiled (e.g. Games 1 and 8), although this never actually killed him outright, or by failing to snowball at the same time as another leader managed to (e.g. Game 20, where Suryavarman and Montezuma bulldozed poor Ramesses in the midgame). In particular, there were a few games where the 'good' leaders fell to infighting instead of the 'bad' ones, again like Game 20, which was disastrous for Ramesses due to his central position. Most of the time though, Ramesses was the obvious winner here, and the people who realized that in the picking contest should give themselves a pat on the back.

Hammurabi of Babylon
Wars Declared: 23
Wars Declared Upon: 17
Survival Percentage: 80%
Finishes: 4 Firsts, 7 Seconds (34 points)
Kills: 6
Overall Score: 40 points
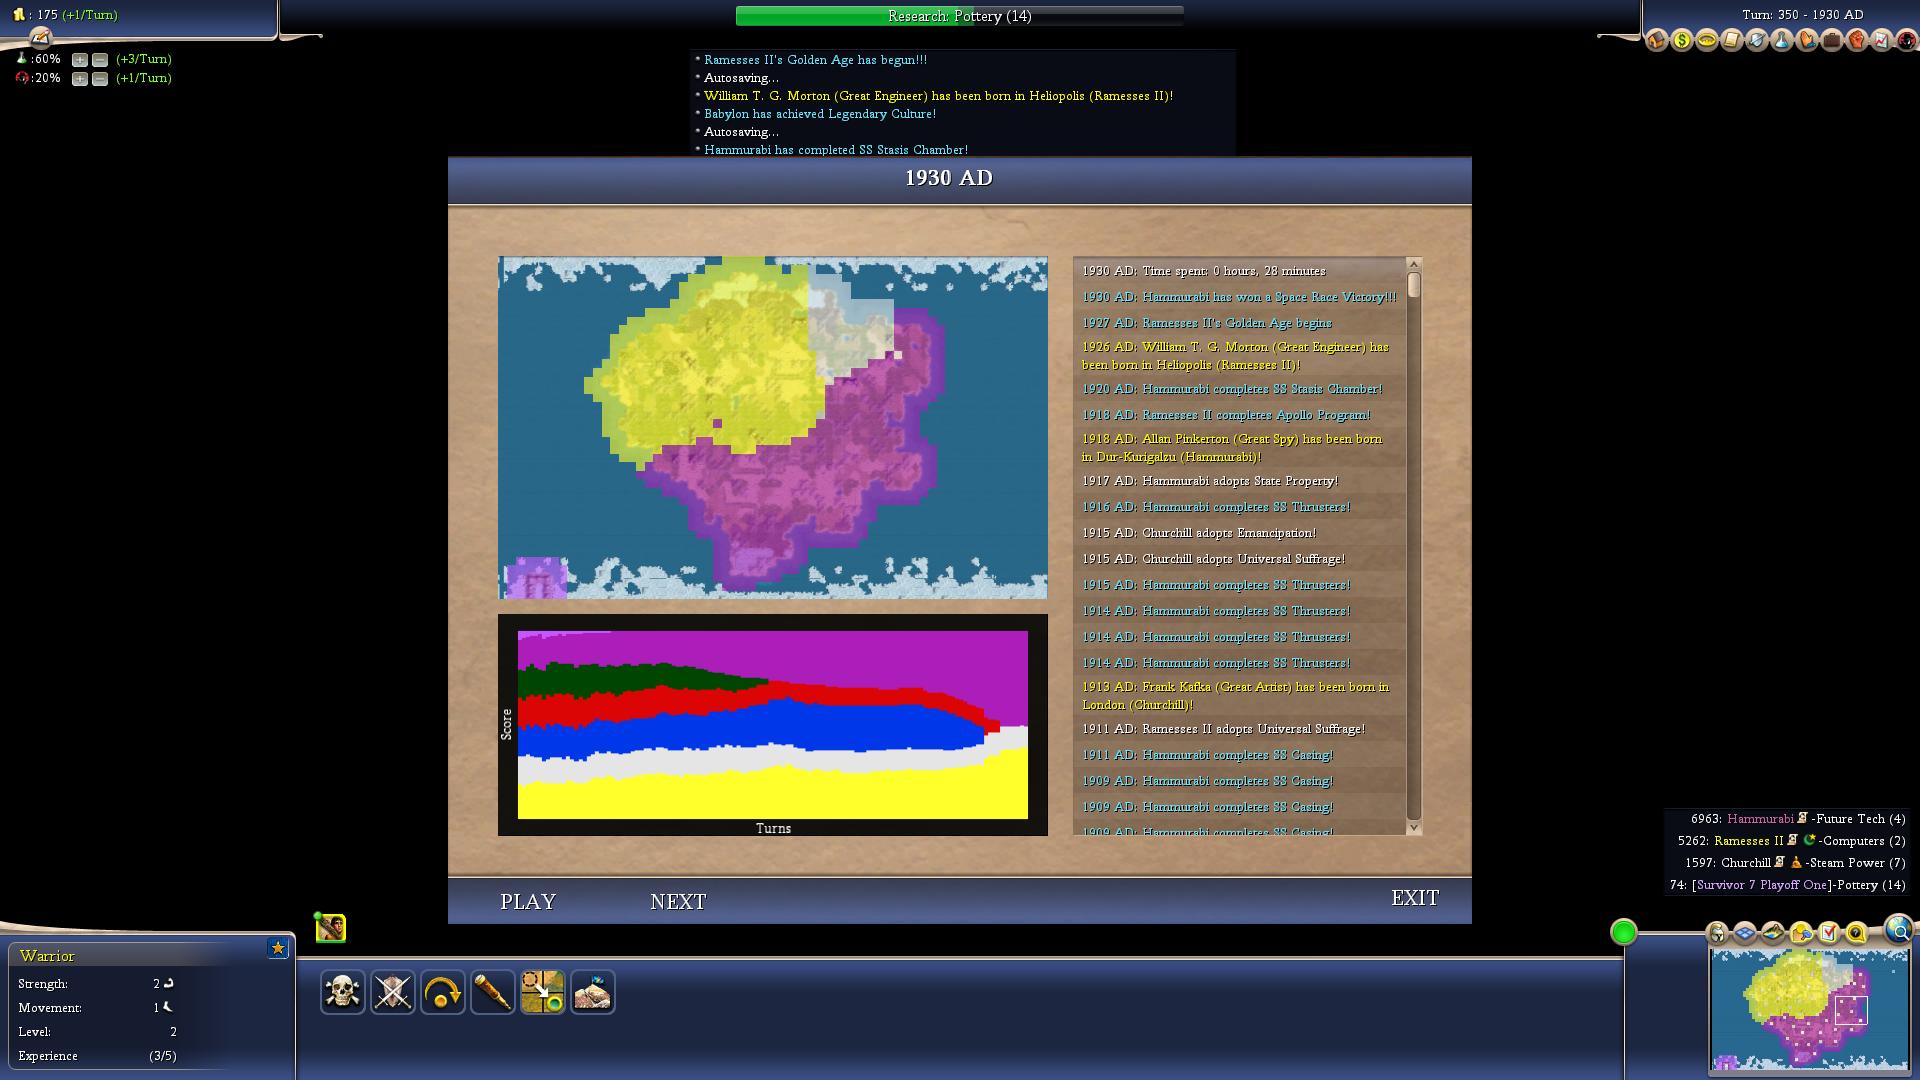
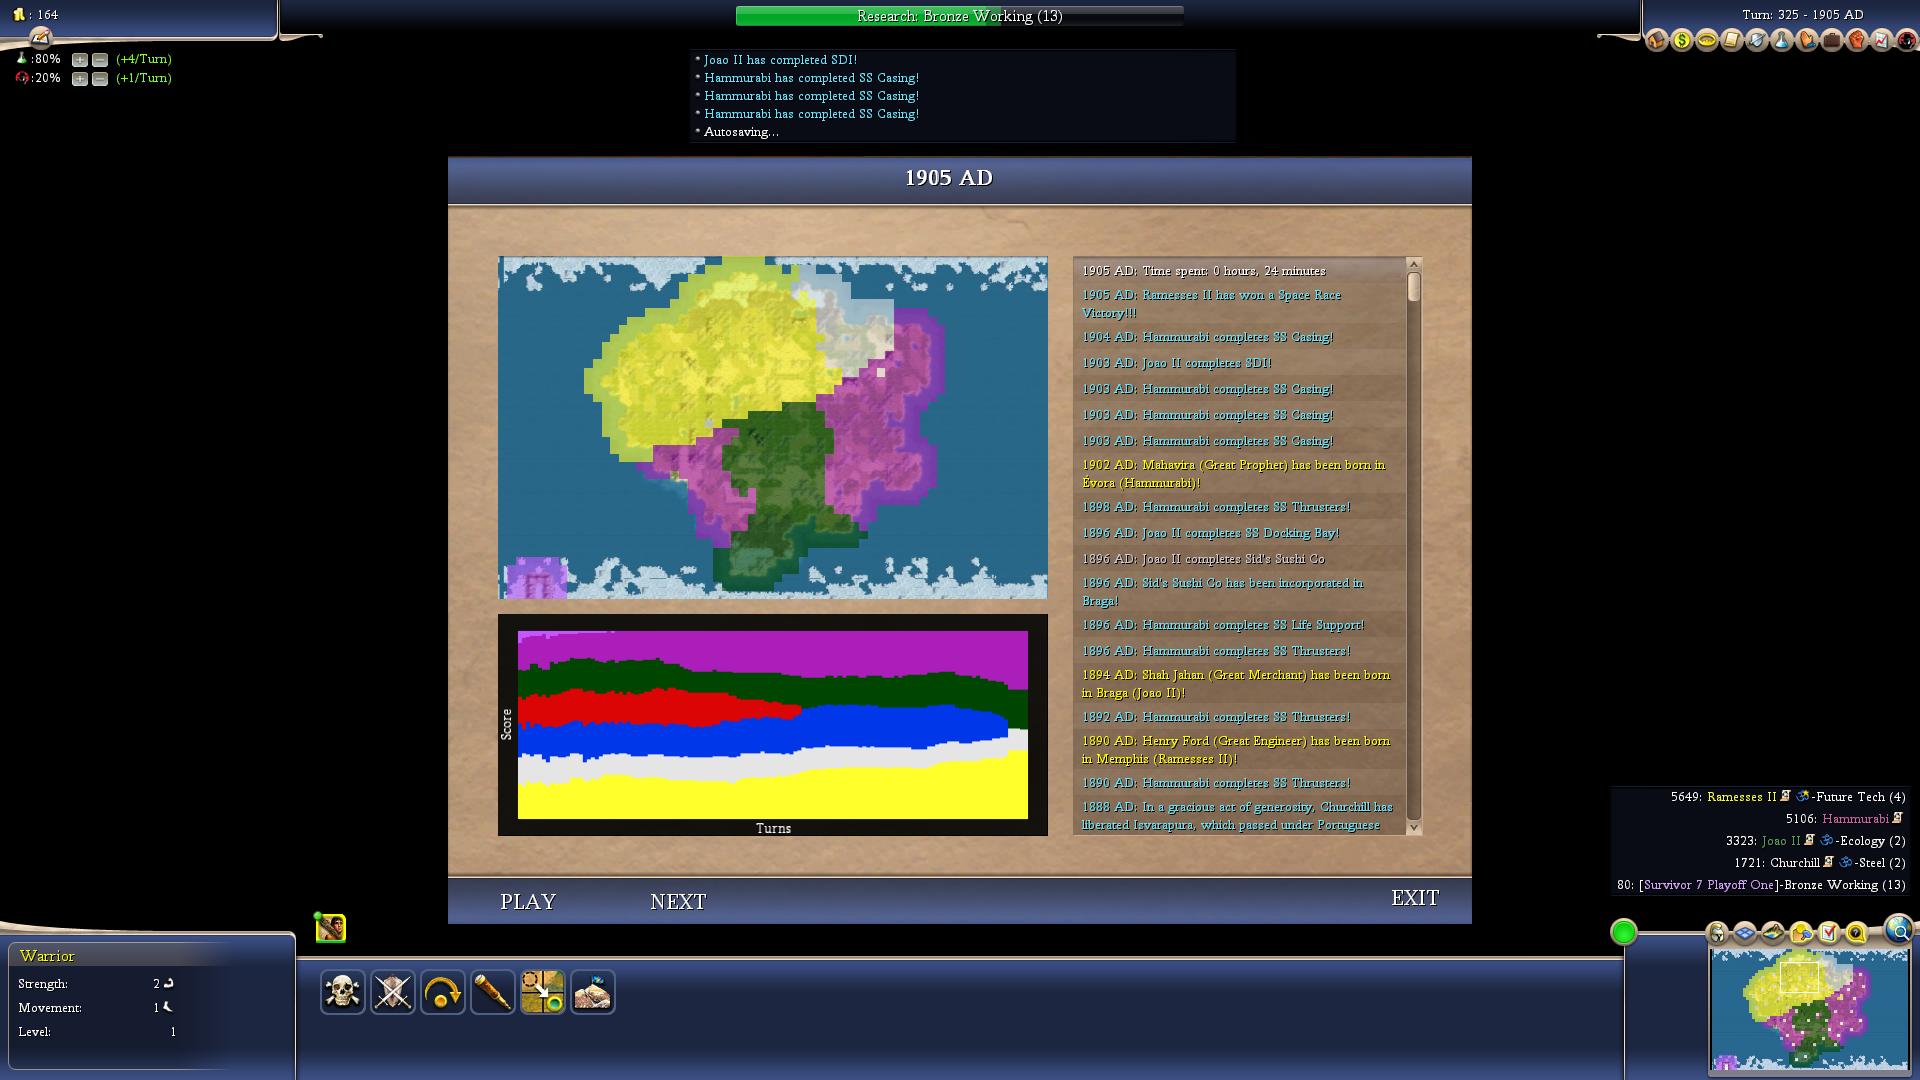
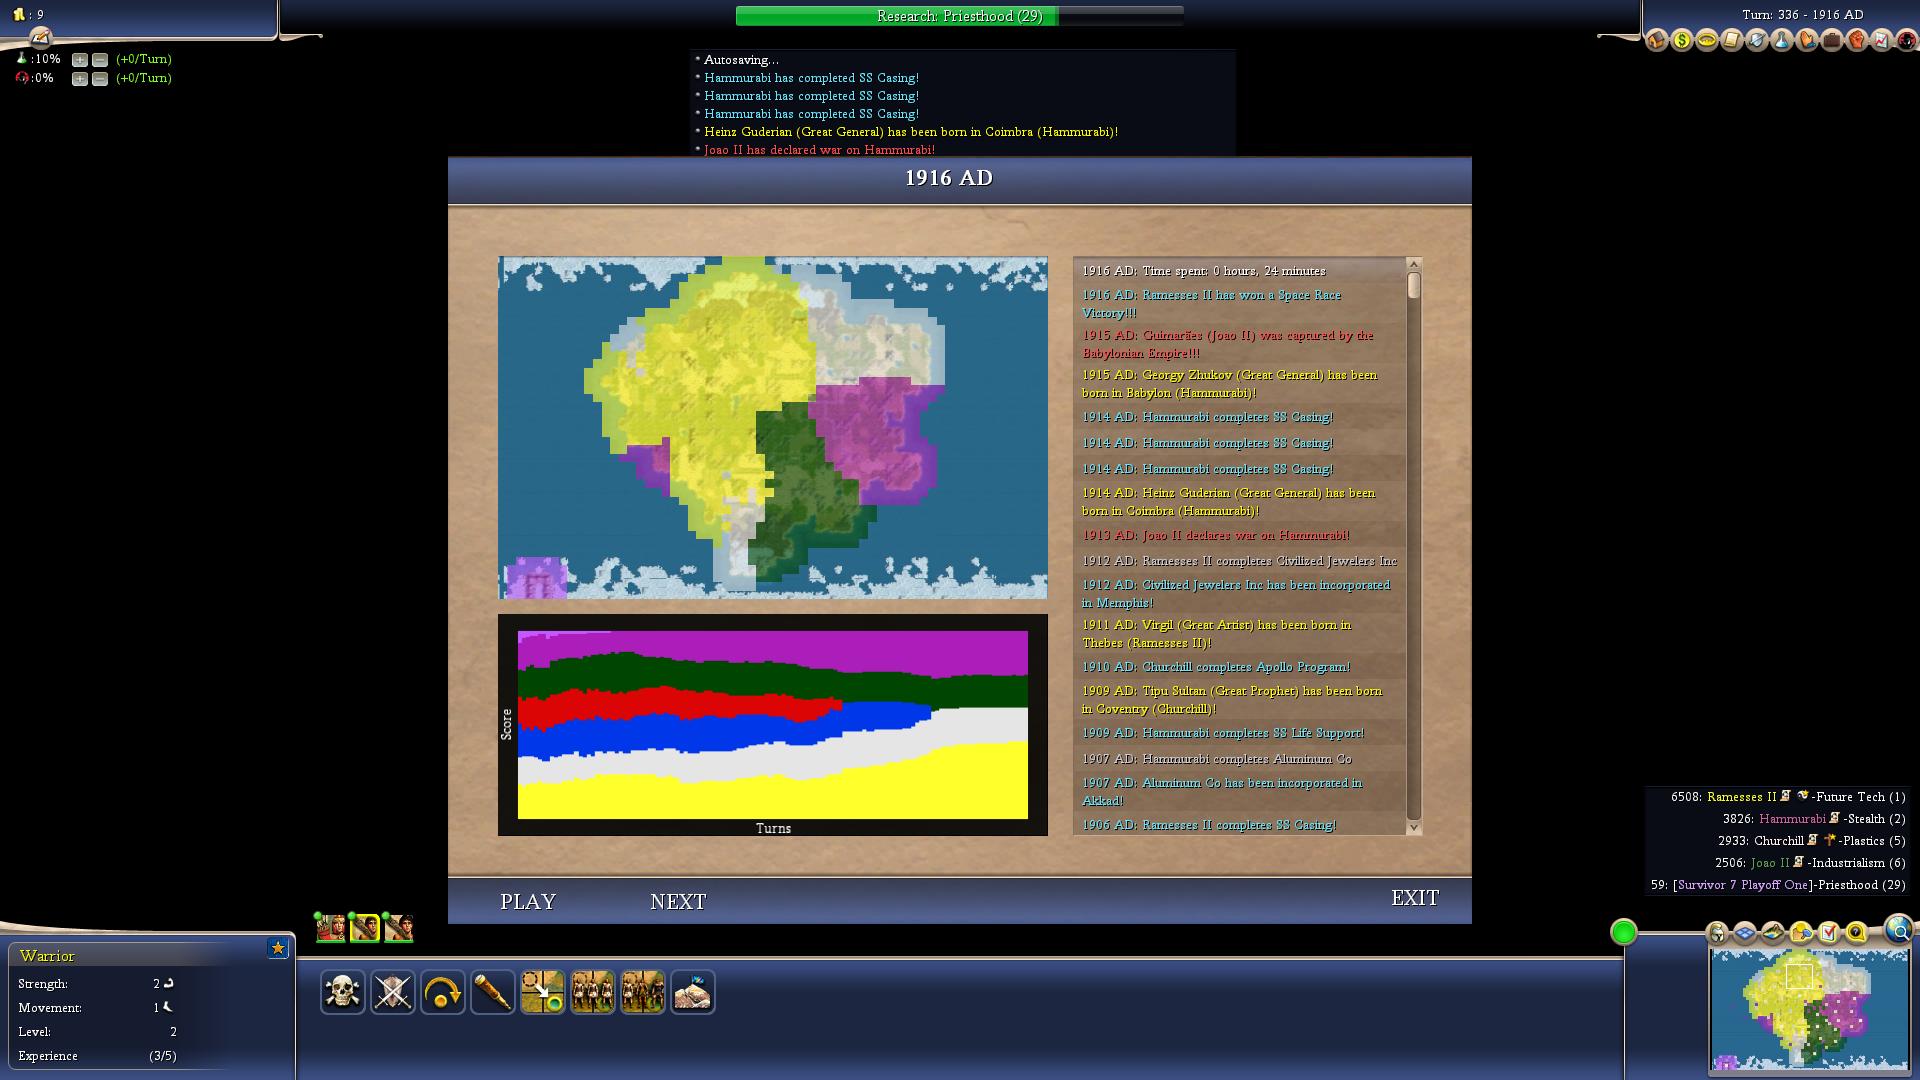
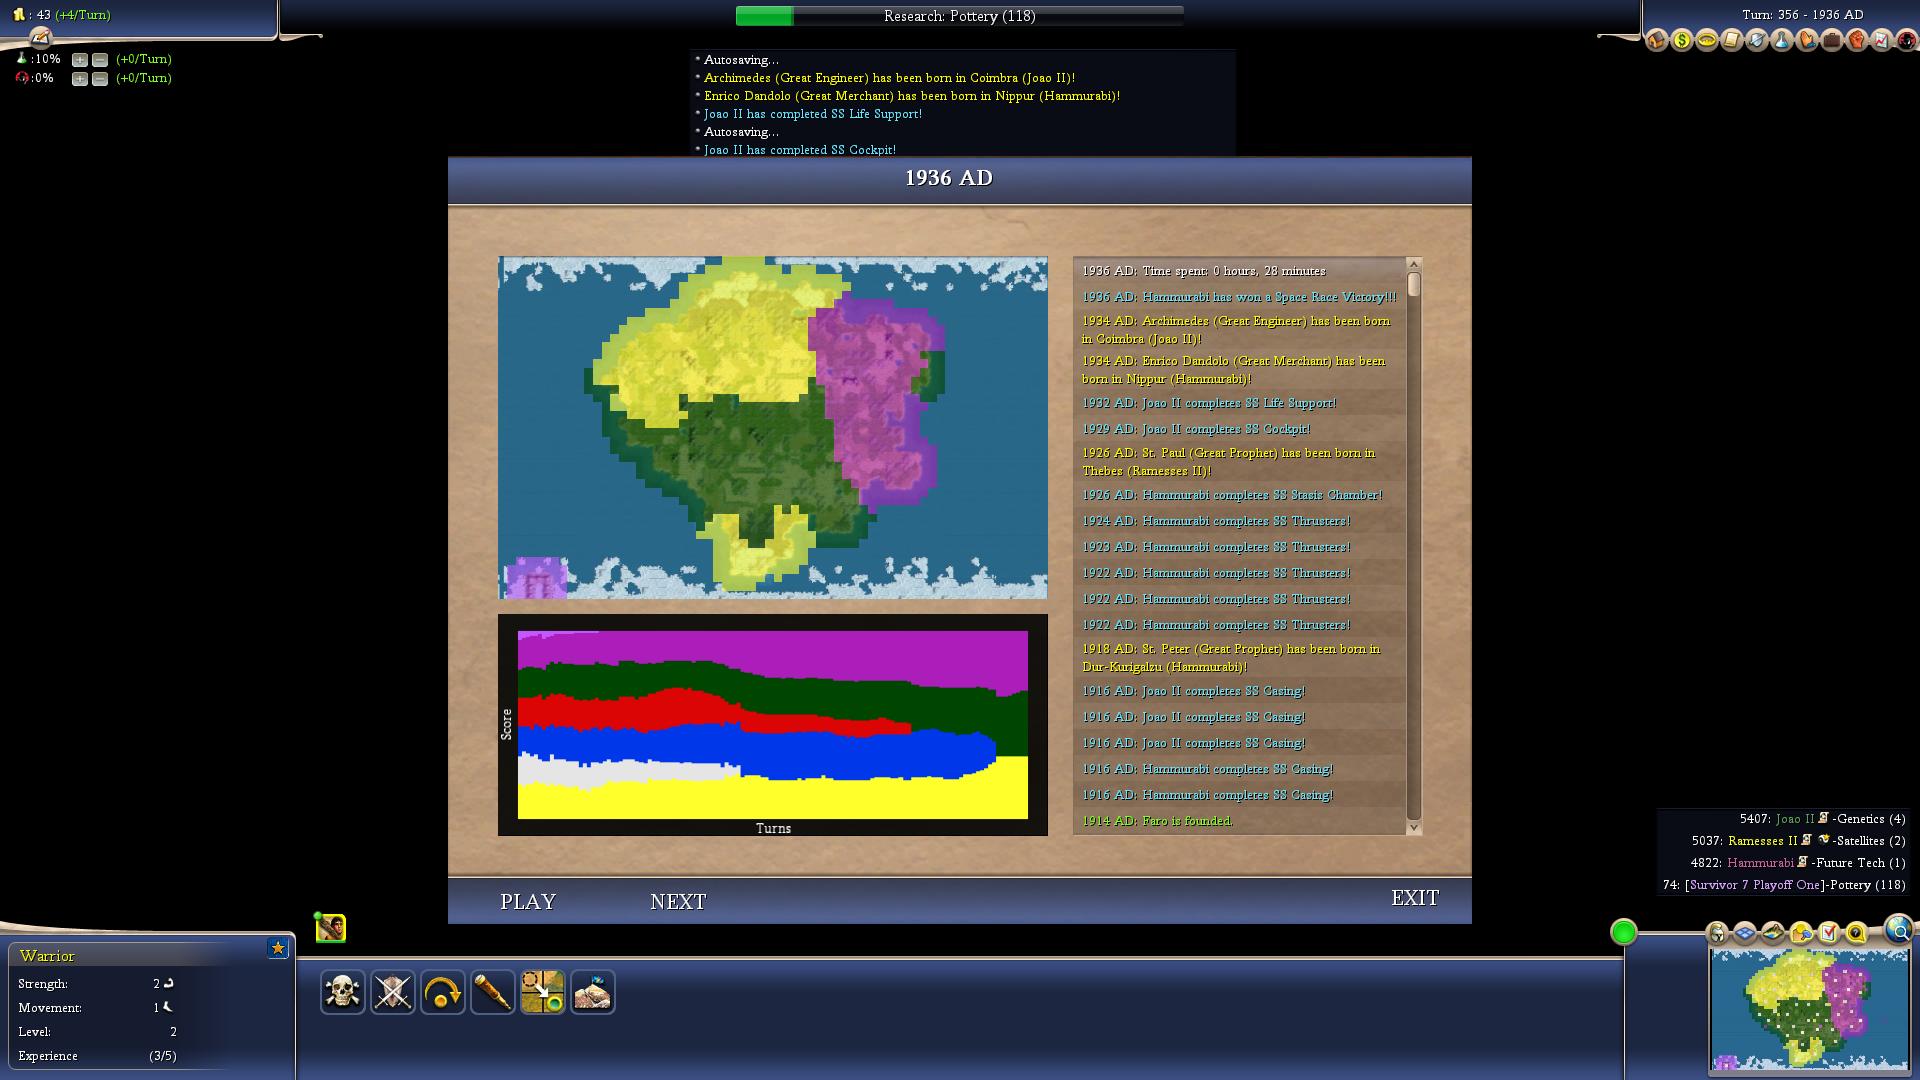
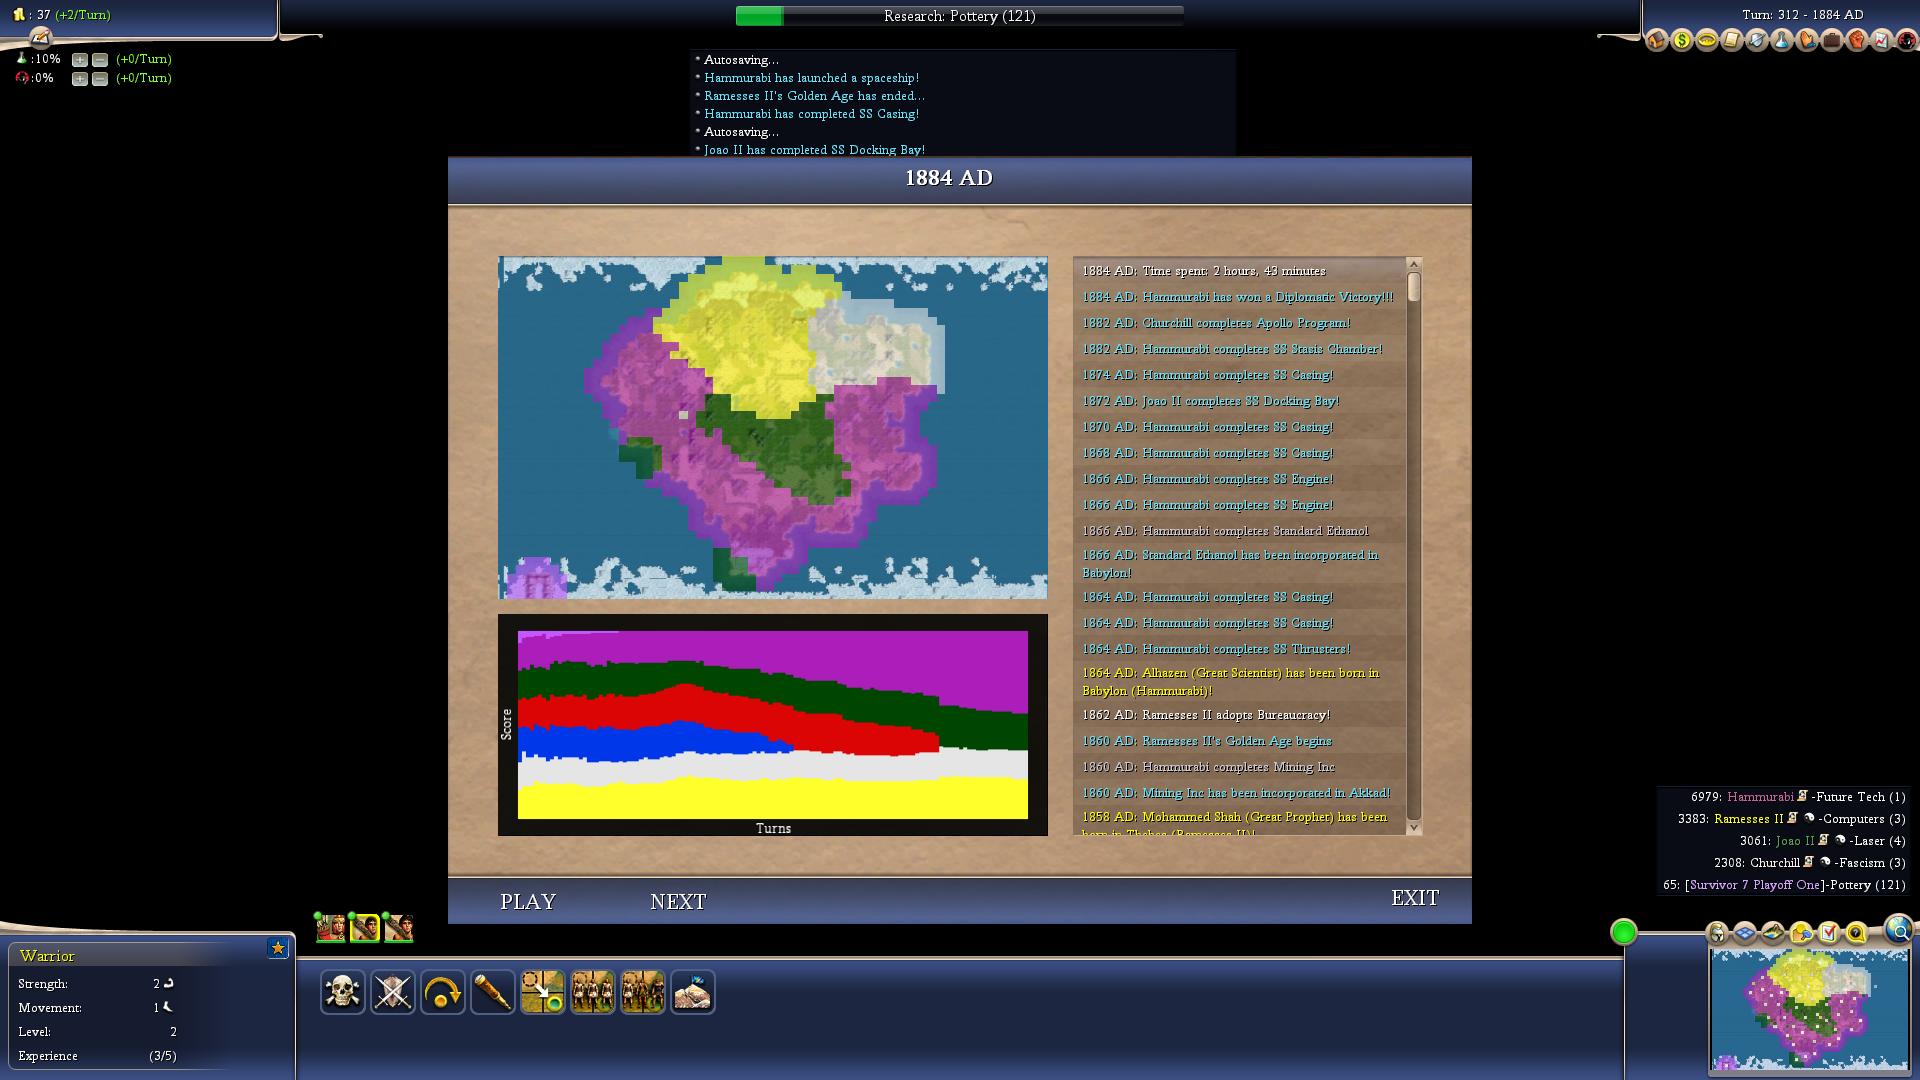
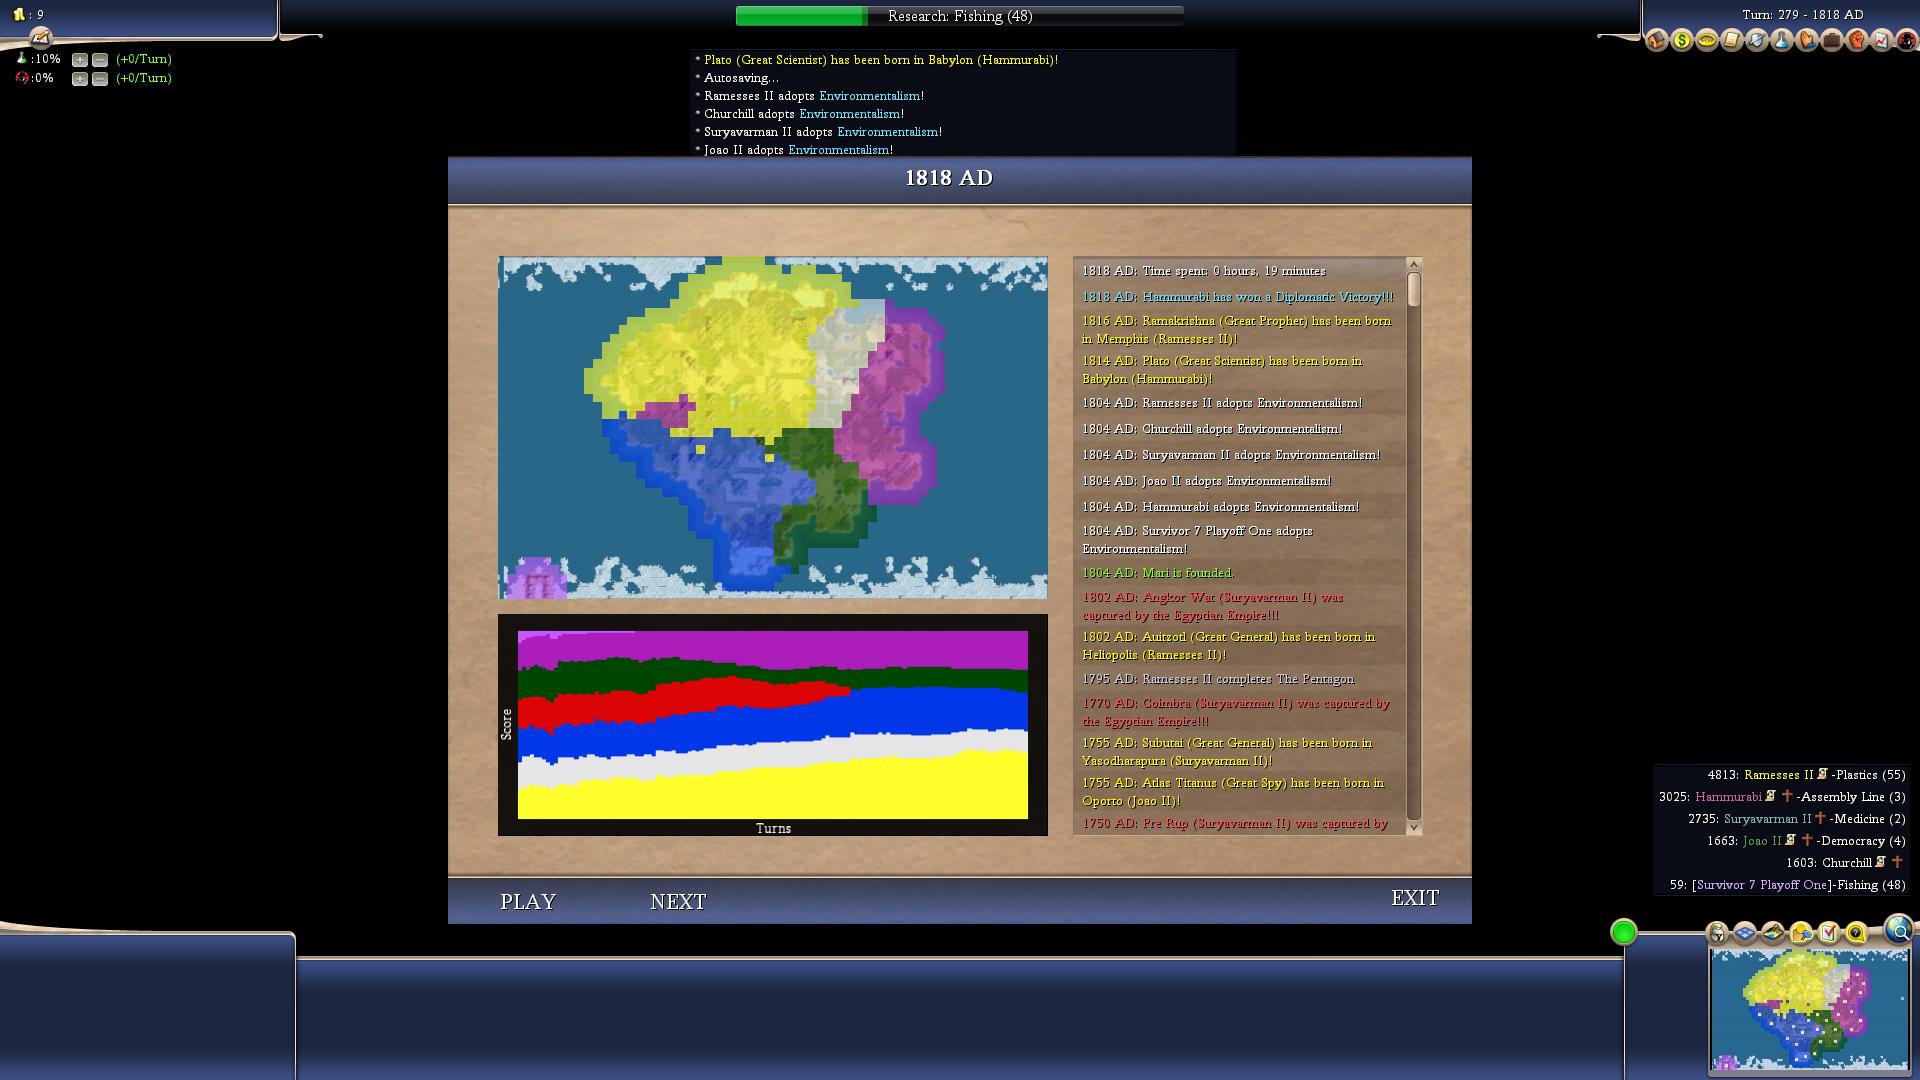
Hammurabi was, frankly, a very boring leader on this map. Despite this, he managed to win nearly a quarter of the games, and advance in over half of them, in complete contrast to his woeful Livestream performance. As mentioned, the reason he performed so badly on Livestream was clearly the loss of Akkad to the barbarians, and this was never repeated in the alternate histories. The only other games that Hammurabi really performed badly were the ones where Suryavarman was able to snowball and roll over the southern half of the map (Games 6, 10, 15, and 20). Otherwise, Hammurabi would peacefully expand over most of the east (it's really hard to overstate how awful Churchill played here), and just sort of… sit around? Amazingly, he declared the least wars, and faced the second-least defensive wars, but that turned out to be a decent strategy here. Usually, Ramesses would snowball and kill everyone else, leaving Hammurabi in second place by default, and occasionally, the rest of the world would stagnate in conflict, which left peacefully-stagnant Hammurabi in a strong position to tech up to a late spaceship win (Games 1 and 8), or scam a diplomatic win from a stronger opponent (Games 11 and 13). So sure, Hammurabi did alright, I guess, but this is probably the clearest example I've ever seen of a leader doing well because everyone else sucked, rather than because they did anything impressive themselves. I, at least, will be taking this one with a grain of salt.

Joao of Portugal
Wars Declared: 23
Wars Declared Upon: 25
Survival Percentage: 65%
Finishes: 4 Firsts, 3 Seconds (26 points)
Kills: 9
Overall Score: 35 points
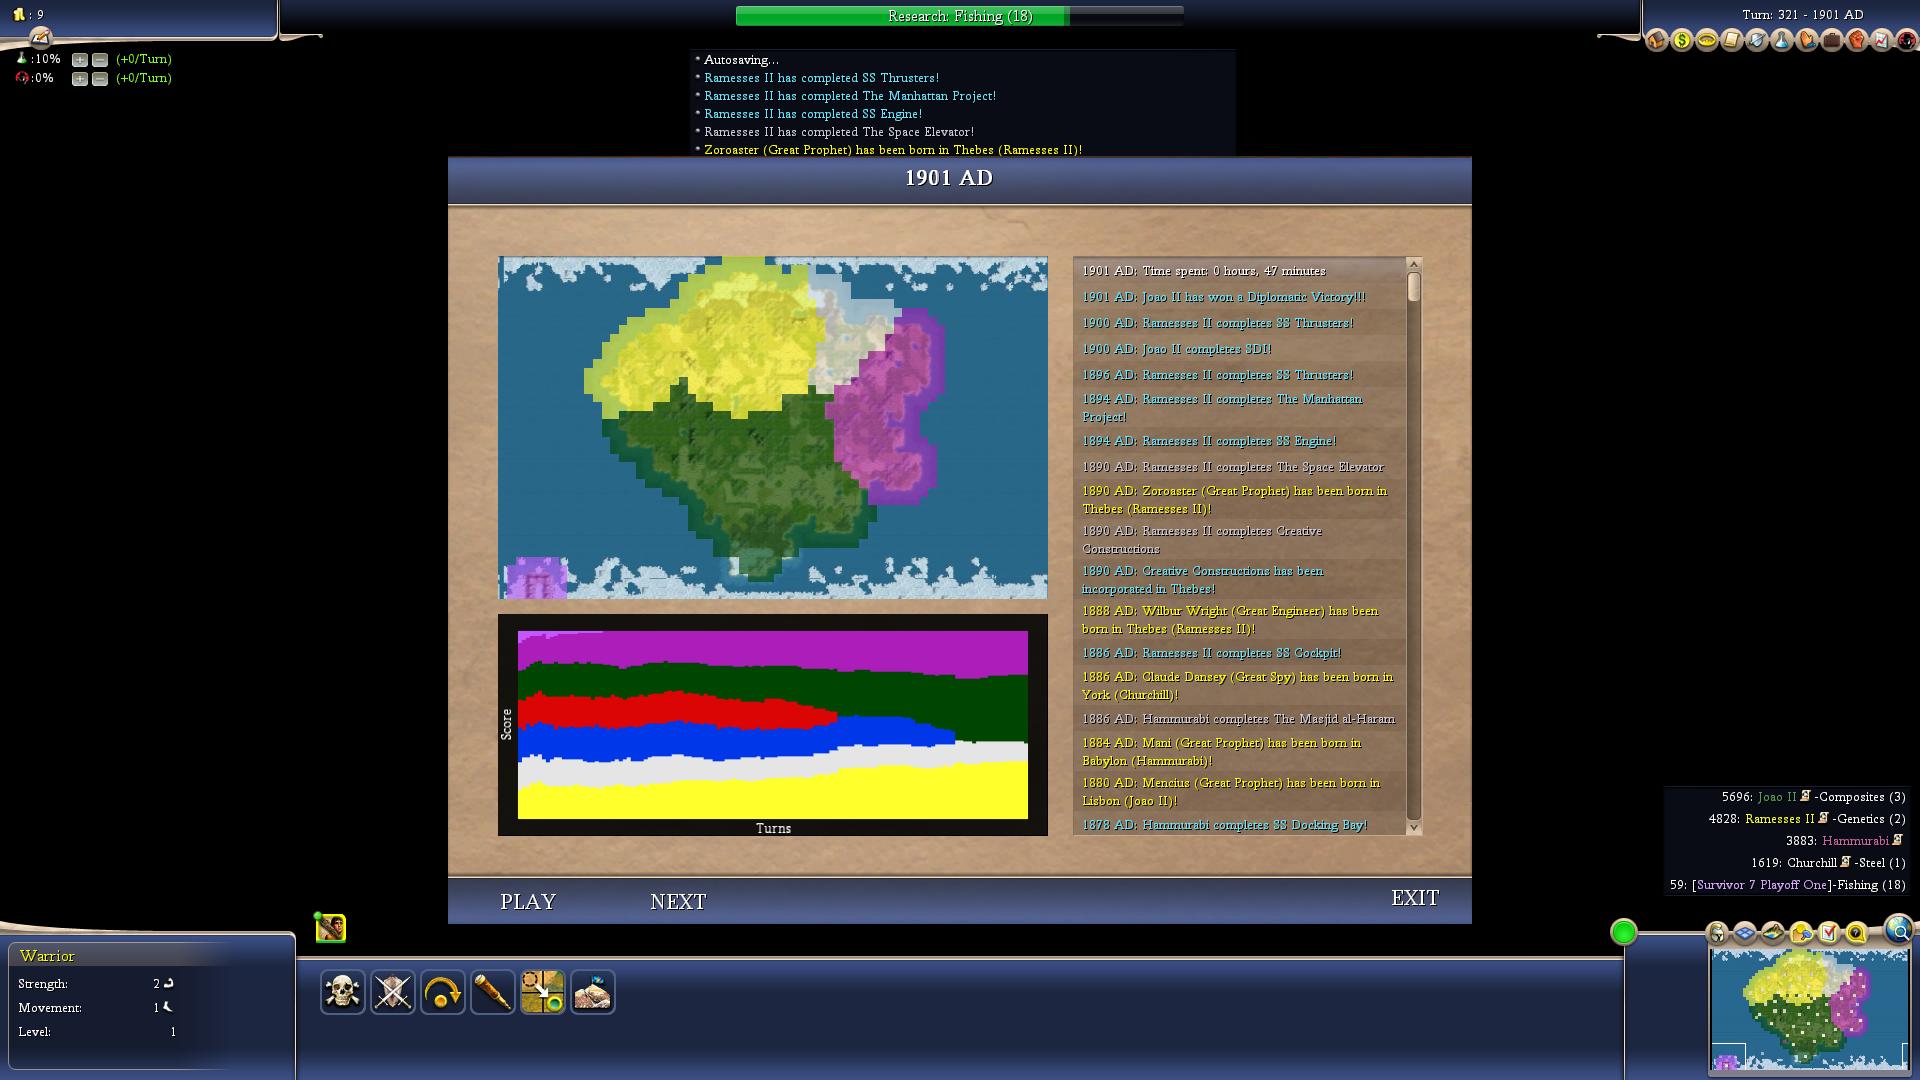
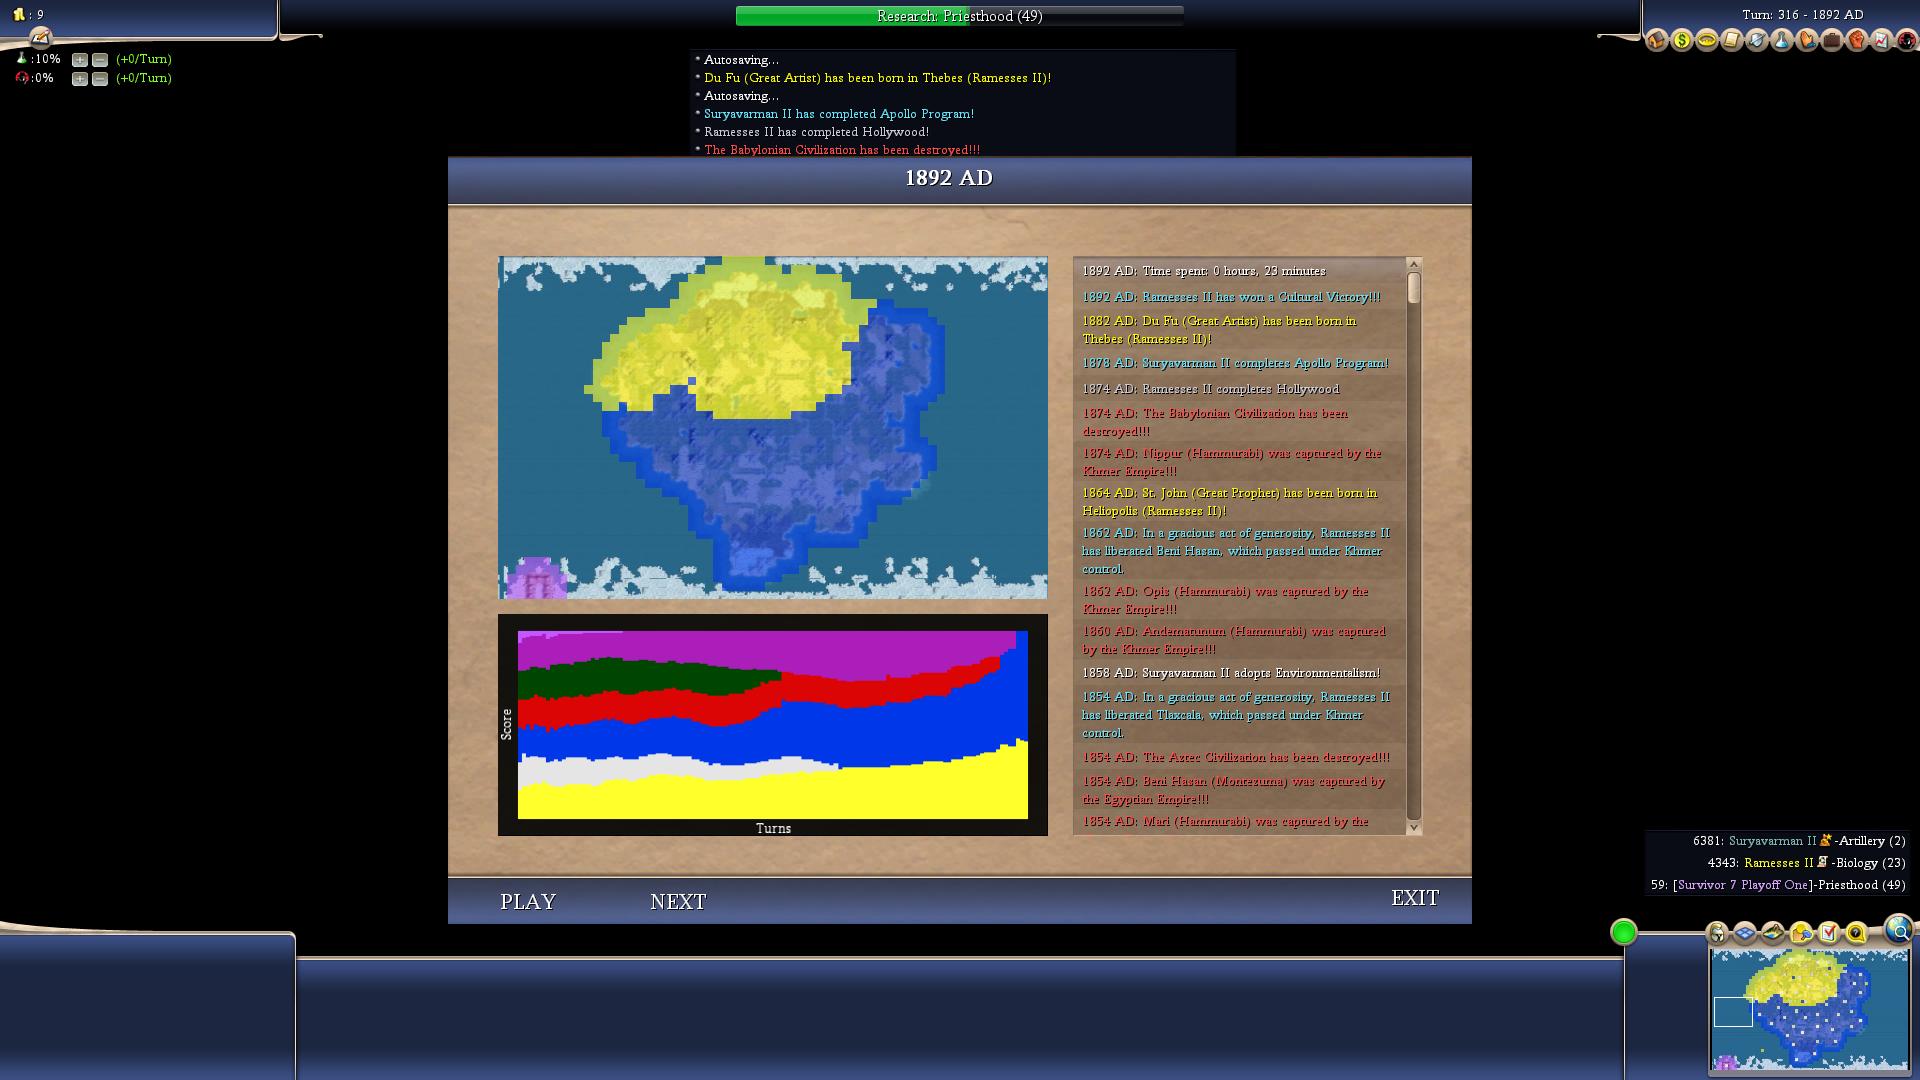
Joao performed slightly worse than Hammurabi, which is a shame because he was certainly a lot more interesting to watch. Joao's games were pretty much inverse to Suryavarman's, as he either died to a Khmer rush (Games 1, 10, 15, and 20), overwhelmed the Khmer with weight of numbers (Games 3 and 19), or they stagnated, in which case Joao would survive without advancing, and Suryavarman would die to an Eastern coalition (most other games). When he was able to conquer Suryavarman, Joao was the only other leader capable of competing with Ramesses on a semi-consistent basis, as the powerful Khmer floodplains powered many villages and towns in the later stages of the game. Admittedly, Joao would usually spend the rest of the game just teching up like the other 'good' leaders anyway, but at least he'd have done something exciting to get to that point! Joao's bad games came when he crashed his economy or neglected culture, which were usually tied together. This happened a lot, and as Joao was caught between three of the heaviest culture-emphasisers in the game, it was usually disastrous, with cities being flipped, or otherwise unable to work first-ring tiles. Joao also got himself into two-front wars quite often, usually caught between Hammurabi and Suryavarman, who would split him like a log. However, when he had time to build up, and wasn't attacked on multiple sides (Hammurabi was surprisingly willing to attack the Portuguese), Joao was a genuine threat to win, and that was enough to score a convincing third place here.

Suryavarman of the Khmer
Wars Declared: 31
Wars Declared Upon: 53
Survival Percentage: 25%
Finishes: 1 First, 3 Seconds (11 points)
Kills: 13
Overall Score: 24 points
Suryavarman was a sad figure in these games. He was expected to be very strong by most of the community, including me, due to his luscious starting position surrounded by floodplains and food resources. However, it turned out that as we've seen repeatedly this season, there is such a thing for the AI as too much food. Suryavarman didn't expand very well, as he didn't have the hammers to build his cheap granaries and units, and his cities were constantly rioting with unhappiness. It didn't help that Suryavarman was highly liable to be dogpiled, along with Montezuma, as the high peace weight leaders were able to consistently form a coalition against the two evil Westerners. There were a few games that Suryavarman was able to get something cooking. These typically saw two things happen: firstly, Suryavarman would rush Joao out of the game before the Portuguese leader could catch up from his disastrous cultural ignorance. Secondly, the high peace weight leaders would need to fight - this happened in several of Sury's second place finishes, and also in Game 20 (Suryavarman's only victory), where Hammurabi fought Joao, and Churchill fought Ramesses. A lot needed to go right for Suryavarman to have much of a shot at winning though, as due to his production issues, he could rarely keep even a 1v1 fight going in the lategame, let alone the dogpiles he usually faced. It would have been an interesting scenario to swap Joao and Suryavarman's map positions, as it felt like Suryavarman's personality using Joao's land could have created a dominant leader. Alas, each leader was stuck with only half the puzzle, which condemned both to mediocrity.

Montezuma of the Aztecs
Wars Declared: 41
Wars Declared Upon: 40
Survival Percentage: 5%
Finishes: 0 Firsts, 1 Second (2 points)
Kills: 3
Overall Score: 5 points
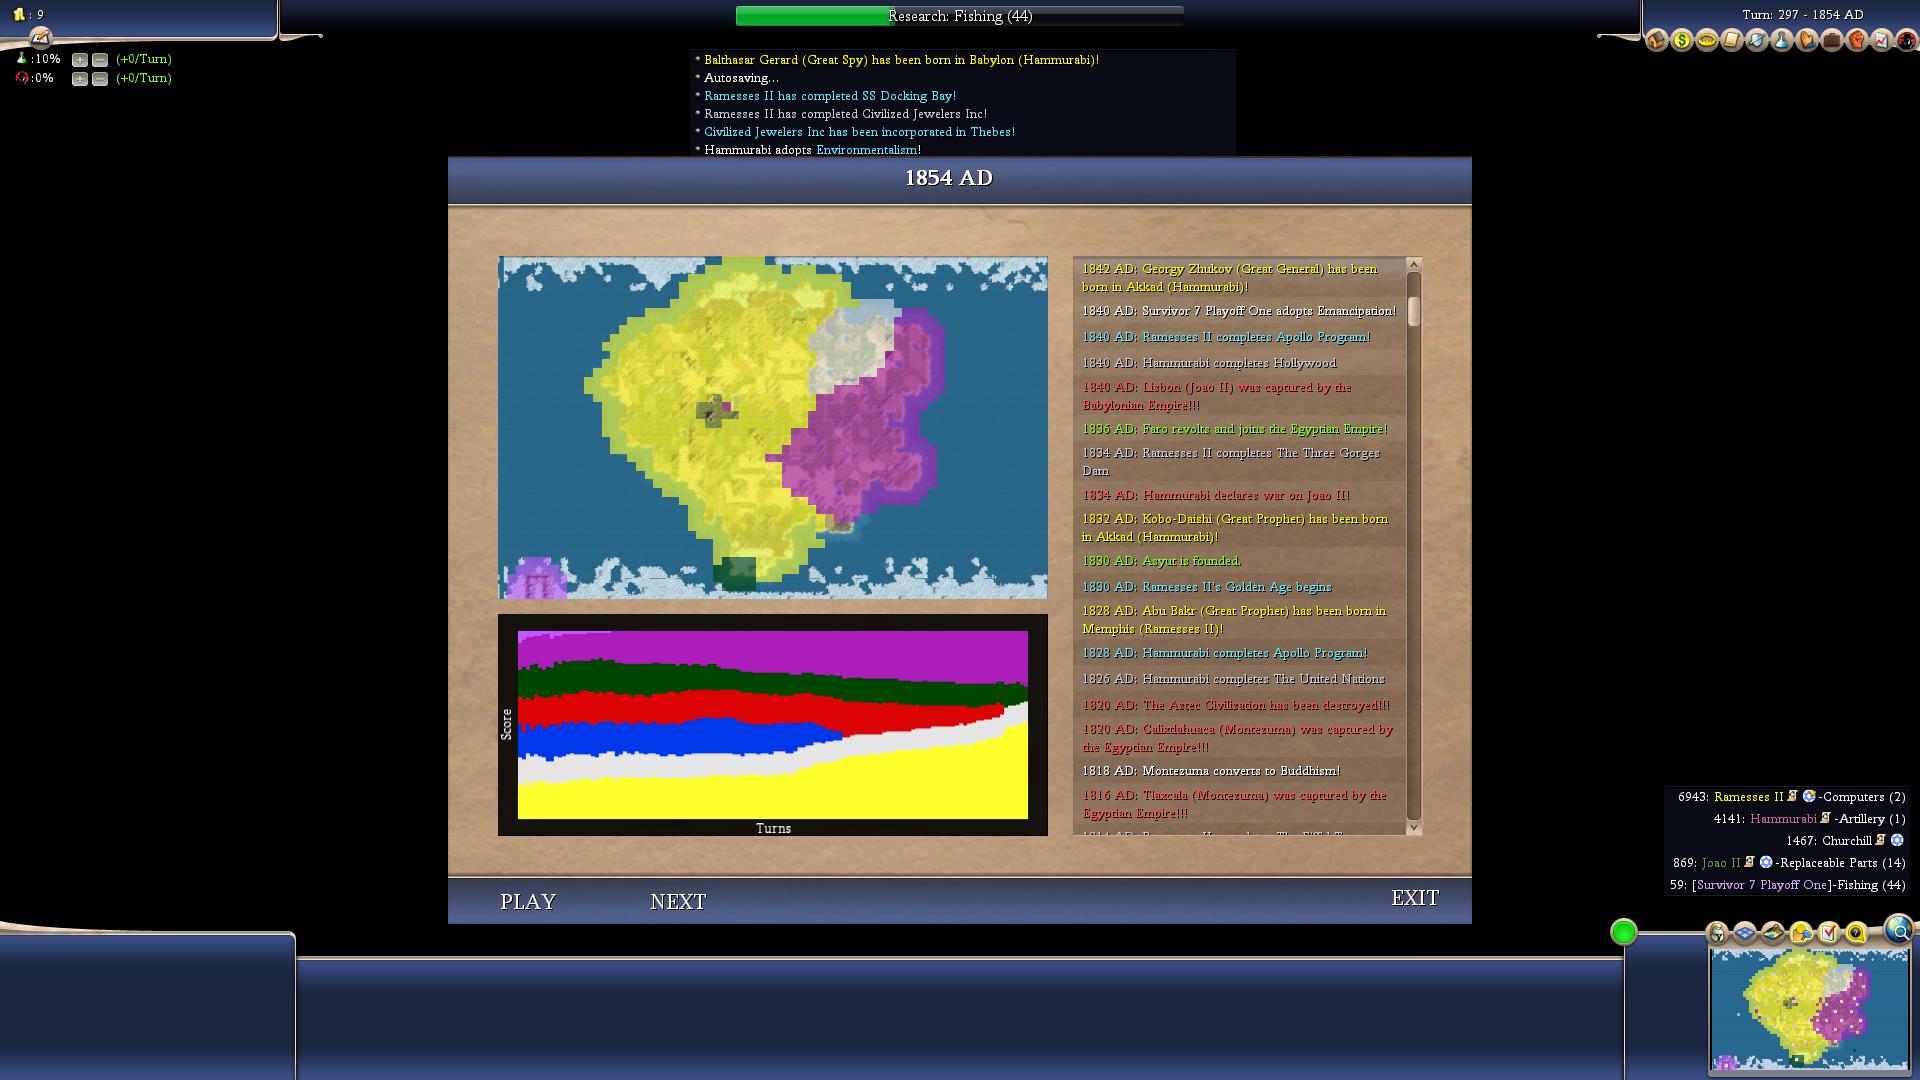
I get that the AI Survivor community all already know that Montezuma is a bad leader for our purposes here. But I don't think I quite realized just how bad he was until watching these games back.  Montezuma's start was either the best or second-best here (behind Ramesses'), and early on he was usually atop the scoreboard alongside the Egyptian Empire, but wow did it always fall apart quickly after that! In fairness to Montezuma, that wasn't always his fault: he was railroaded into a conflict with the only leader stronger than him (Ramesses - and yes, I think this might have happened at least once in literally every game), and he was the most likely leader to be targeted by Hammurabi and Churchill in their regular cross-map crusades. However, Montezuma also did just about everything wrong. This included researching slower than crippled-from-the-start Churchill, despite having some of the best land on the map, and absolutely refusing to ever build a wonder. It also included some of the most hilarious diplomatic misplays I've ever seen the AI make. Montezuma attacked Suryavarman (his only natural ally) in at least half of these games, which always tanked both of them. It seemed like the Montezuma AI was incapable of staying at peace for more than 10 turns, which meant that once he and a prior opponent signed a peace treaty, he had to start plotting on someone else while the treaty was still in effect. This, in turn, got Montezuma stuck in two-front wars constantly, in most games for sure. Montezuma's only successful game was the very final one, Game 20, where he and Suryavarman were able to prey on a rare instance of high-peaceweight infighting. Despite claiming as much land as Sury, and capturing most of the game's wonders from Ramesses' territory, Montezuma still fell hopelessly behind in tech, and when this is the best game that the leader in a strong position can muster, you know something is seriously wrong. Without that final game, Montezuma would have done even worse than Churchill, and I certainly know who my new pick for 'worst leader in a vacuum' is now.

Churchill of England
Wars Declared: 39
Wars Declared Upon: 7
Survival Percentage: 70%
Finishes: 0 Firsts, 0 Seconds (0 points)
Kills: 3
Overall Score: 3 points
Well, I talked a lot of smack about Montezuma, but that leaves us with the question: what can we say about a leader who somehow did even worse? I've been very kind to Churchill over the last few Alternate Histories he's featured in, and my impression of him had gone up considerably over the course of the year… only for it to come crashing back down to rock bottom after watching this game. Churchill expanded appallingly across these games, only getting 4-5 cities in most of them - it turns out that he was very lucky to be relevant on Livestream at all, thanks to Hammurabi losing Akkad to the barbarians. Without a major outlier like that occurring, Churchill was simply dead on arrival here, and that was reflected in his finishing statistics, where he failed to advance even a single time. Churchill had an excellent diplomatic outlook in this game, surrounded by friends and only dying 30% of the time. In fact, he only recorded 7 defensive wars across the entire set - that's an average of about one every three games!! Churchill should have been dominating from this position, able to pick and choose his wars, and rarely under threat from any other leader. Instead, he failed utterly, unable to advance even a single time, and producing what has to be the most embarrassing Alternate Histories performance I've seen thus far. His technology was woeful, he couldn't expand, he couldn't fight effective wars - Churchill just couldn't really do anything. This has become the new benchmark of 'awful' for me when watching AI Survivor, and I honestly think it will be a long time indeed before another leader crosses it.
This was not one of the more interesting Alternate Histories I've run, to be honest. It followed a pretty basic pattern of 'Ramesses wins unless something weird happens, and Hammurabi comes second behind him unless Joao/Suryavarman kill each other,' and there honestly wasn't much variation beyond that. There was the occasional outlier game, like Suryavarman's victory in Game 20, but even those were very basic snowball victories - nothing particularly unpredictable to write home about. As far as whether we got the expected result, I think it's pretty clear that in some ways we did (Ramesses dominated the Livestream and the AH, and Montezuma died first), and in other ways we didn't (Churchill failed to place even a single time here!). Overall, though, barring the extreme Churchill/Hammurabi outlier, this was a fairly typical game, with the most important thing being that Ramesses advanced, the high peaceweight leaders performed well, and the low peaceweight leaders got dogpiled out of the game. It's a shame Ramesses couldn't make anything more of the Championship, given he's dominated a few Alternate Histories now. On the bright side, that will be the game we explore next time!
Cheers ~ Amicalola 


