Game Six Alternate Histories Spreadsheet
One of the recurring features of past seasons of AI Survivor have been our "alternate histories", running additional iterations on the same maps to see if the same events would play out again. Game Six surprised everyone as Gandhi won a seemingly unlikely victory against a field of low peaceweight opponents. Was that something which would unfold in each game? This was a topic that called for more investigation with alternate history scenarios. Following the conclusion of previous seasons of AI Survivor, I had gone back and investigated some of the completed games and found that they tended to play out in the same patterns over and over again. While there was definitely some variation from game to game, and occasionally an unlikely outcome took place, for the most part the games were fairly predictable based on the personality of the AI leaders and the terrain of each particular map. Would we see the same patterns play out again and again on this particular map?
The original inspiration to run these alternate histories came from Wyatan. He decided to rerun the Season Four games 20 times each and publish the results. The objective in his words was twofold:
- See how random the prediction game actually is. There's a natural tendency when your predictions come true to go "See! Told you!", and on the contrary to dismiss the result as a mere fluke when things don't go the way you expected them to (pleading guilty there, Your Honour). Hopefully, with 20 iterations, we'll get a sense of how flukey the actual result was, and of how actually predictable each game was.
- Get a more accurate idea of each leader's performance. Over 6 seasons, we'll have a 75 game sample. That might seem a lot, but it's actually a very small sample, with each leader appearing 5-10 times only. With this much larger sample, we'll be able able to better gauge each leader's performance, in the specific context of each game. So if an AI is given a dud start, or really tough neighbours, it won't perform well. Which will only be an indication about the balance of that map, and not really about that AI's general performance. But conversely, by running the game 20 times, we'll get dumb luck out of the equation.
Wyatan did a fantastic job of putting together data for the Season Four games and since then we've continued to use the same general format. First I'll post the resulting data and then discuss some of the findings in more detail. Keep in mind that everything we discuss in these alternate histories is map-specific: it pertains to these leaders with these starting positions in this game. As Wyatan mentioned, an AI leader could be a powerful figure on this particular map while still being a weak leader in more general terms. I also made sure to load these alternate histories from the Worldbuilder savefile as we've learned over time that there are some hidden factors (like peaceweight) that can vary from game to game and won't change if always reloading the same savefile.
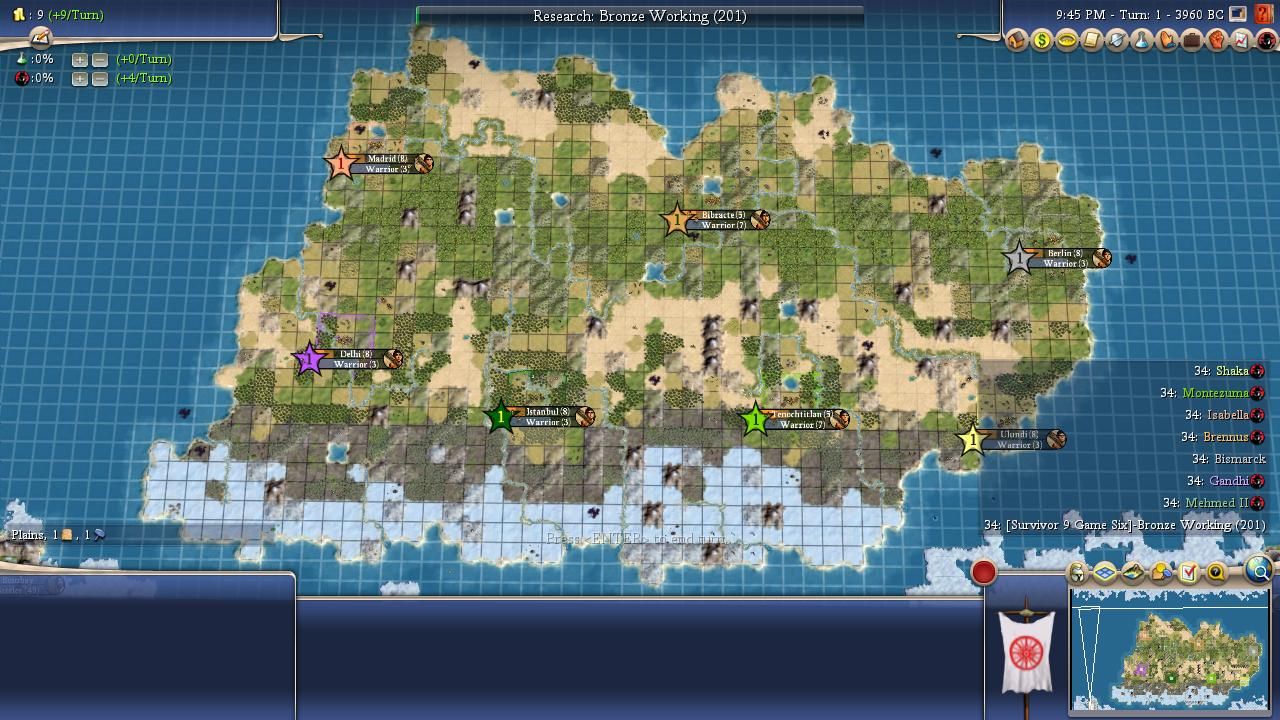
This was an "emergency" alternate histories done mid-season due to my frustration with how Game Six had played out. As a refresher, it felt as though a crazy number of things had needed to break in Gandhi's favor for him to pull off his Cultural victory against a group of low peaceweight opponents. There had been the perfectly timed backstab war declaration by Brennus against Mehmed, hitting the Ottoman leader just as it seemed as if he was going to start conquering Indian cities. Then there had been the invasion of Spain, in which Brennus inexplicably chose not to attack Isabella's border cities and instead punched deep inside Spanish territory. This combined with a well-timed attack from Gandhi resulted in three different holy cities somehow ended up under the control of Gandhi, with the Indians gaining control of nearly all of Spanish territory despite starting the war at a later date and fighting with a much smaller army. This was followed by Bismarck attacking Brennus on the very next turn after the Spanish war ended, eventually dying to the Celts but buying juuuust enough time for Gandhi to flip on the culture slider and hit 50k culture in three cities. Brennus and Montezuma were at war with Gandhi when the victory arrived and as little as 5-10 more turns would have resulted in Gandhi dying, since his Rifling-less empire was collapsing around him during the final turns.
This certainly felt like a really, really lucky turn of events in Gandhi's favor. But was that truly the case or was I simply feeling a case of sour grapes from having picked Brennus to win this game? See for yourself:
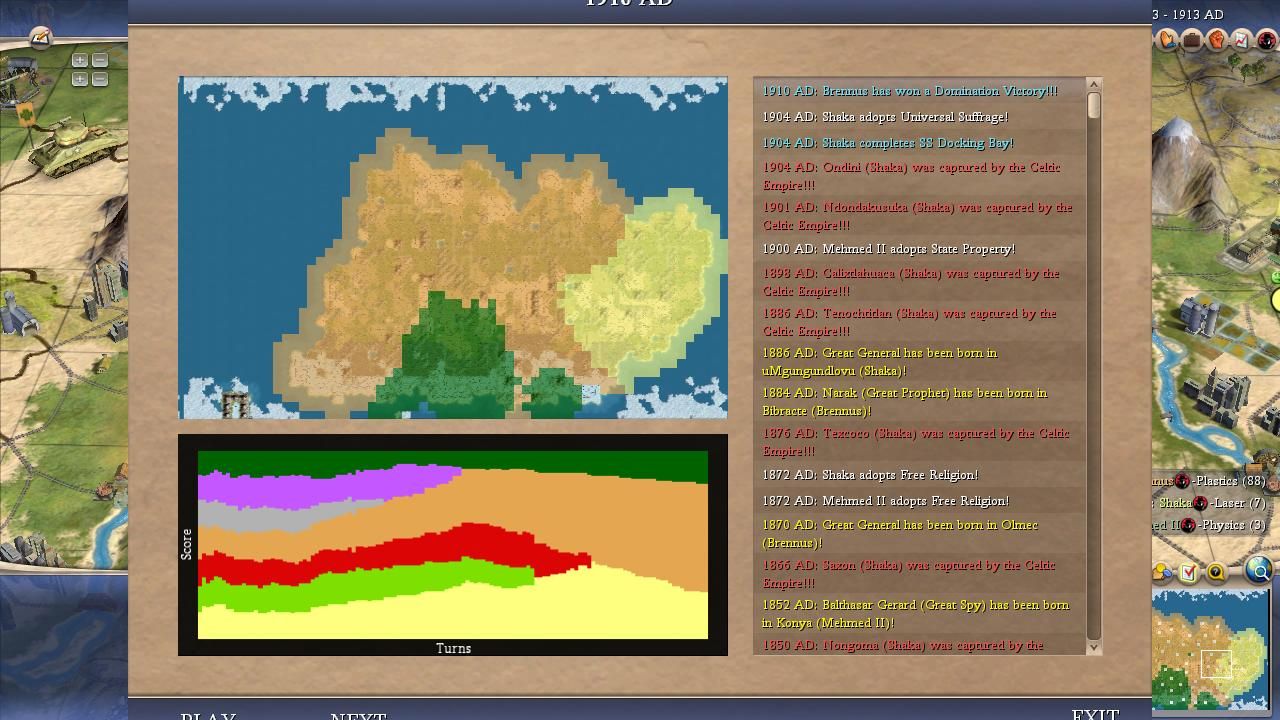
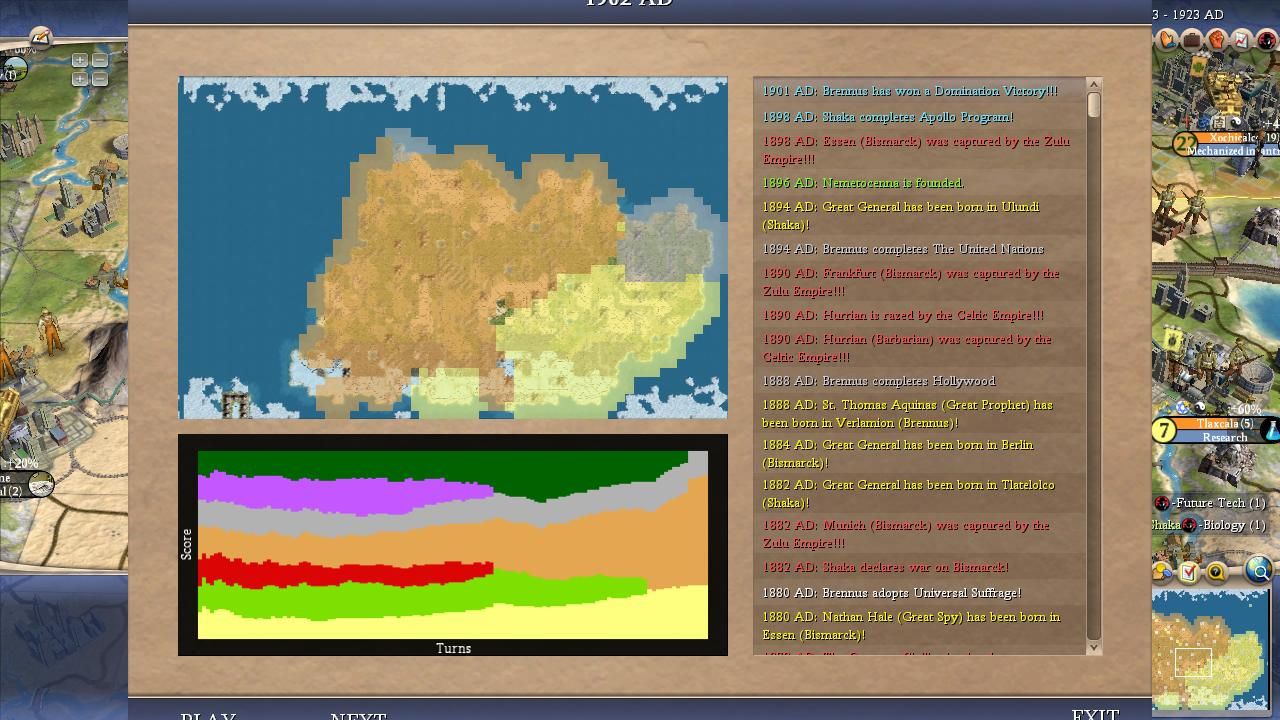
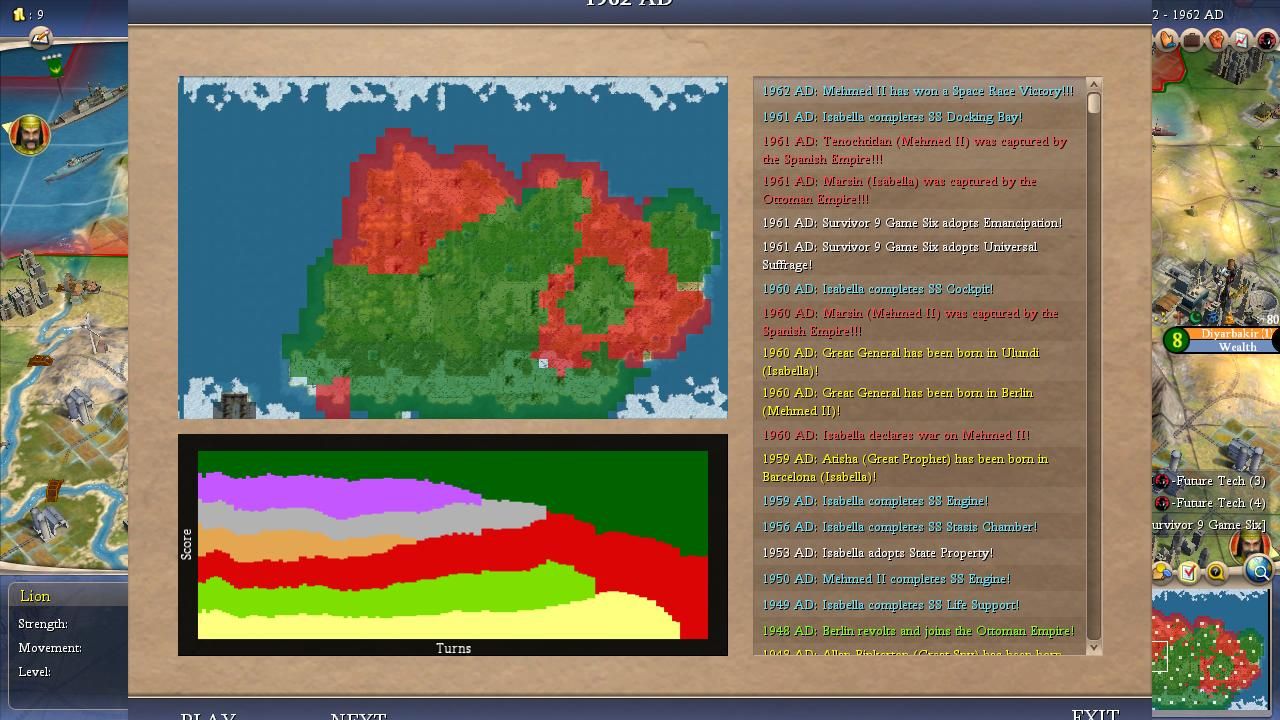
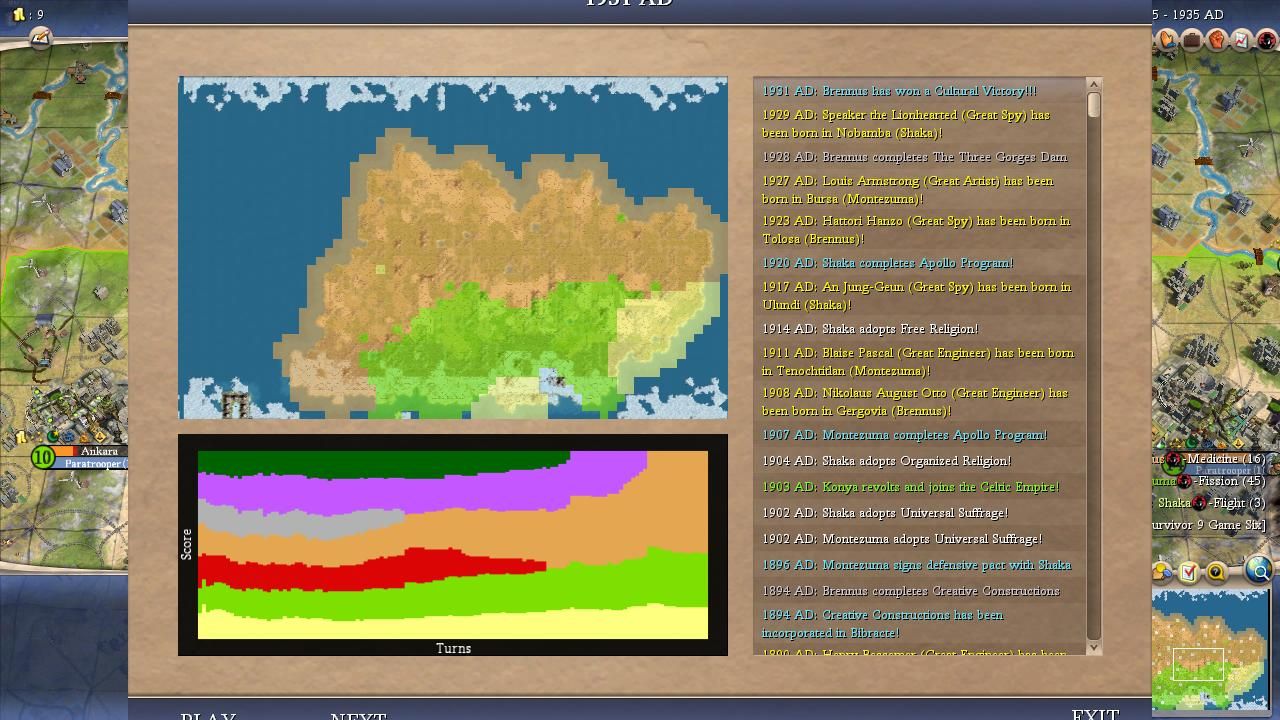
Game One | Game Two | Game Three | Game Four | Game Five
Game Six | Game Seven | Game Eight | Game Nine | Game Ten
Game Eleven | Game Twelve | Game Thirteen | Game Fourteen | Game Fifteen
Game Sixteen | Game Seventeen | Game Eighteen | Game Nineteen | Game Twenty
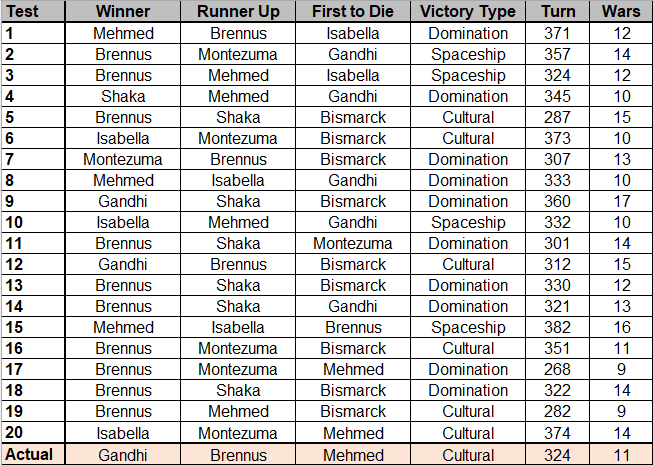
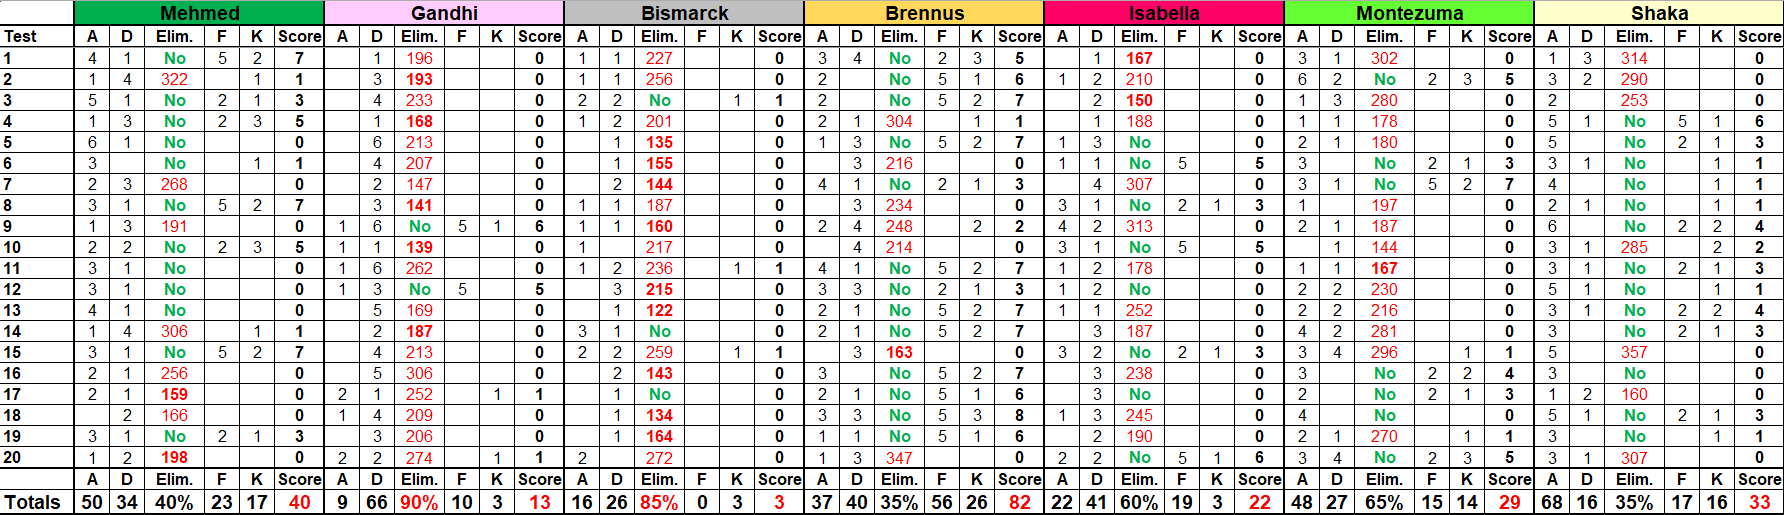
(Note : "A" column tracks the number of war declarations initiated by the AI, "D" the number of times the AI is declared upon, "F" the points for finish ranking, and "K" the number of kills.)
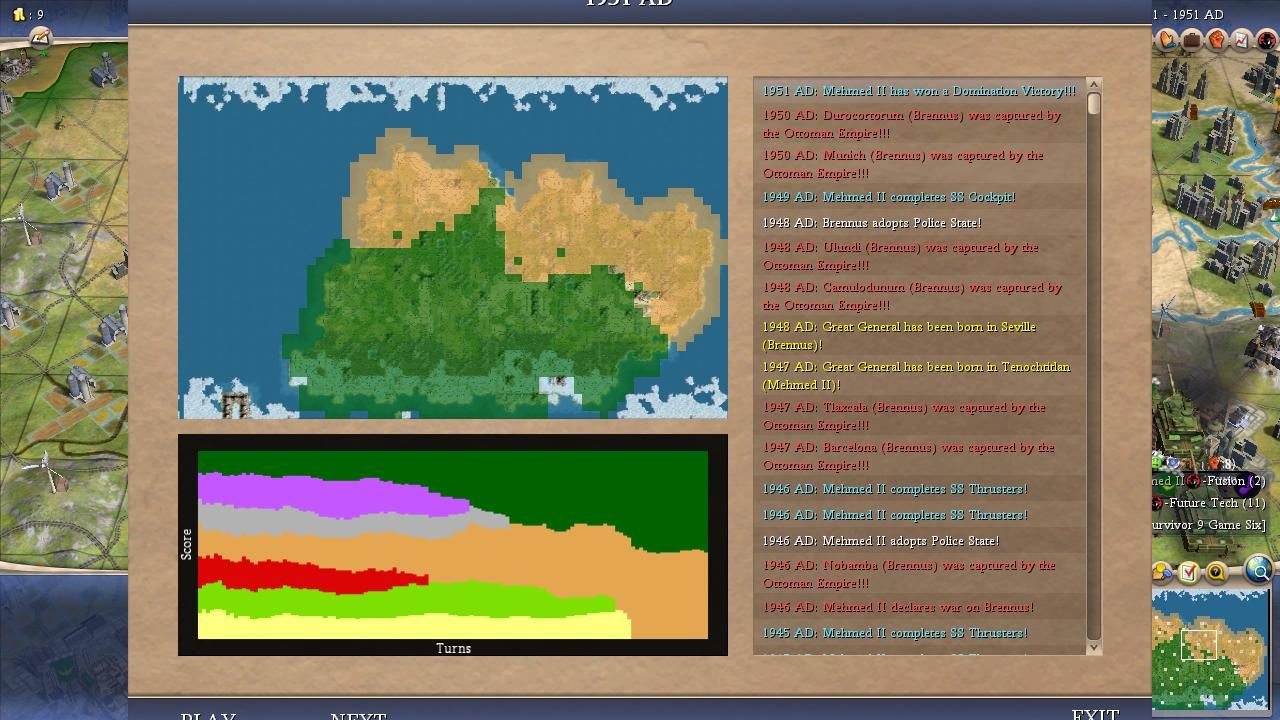
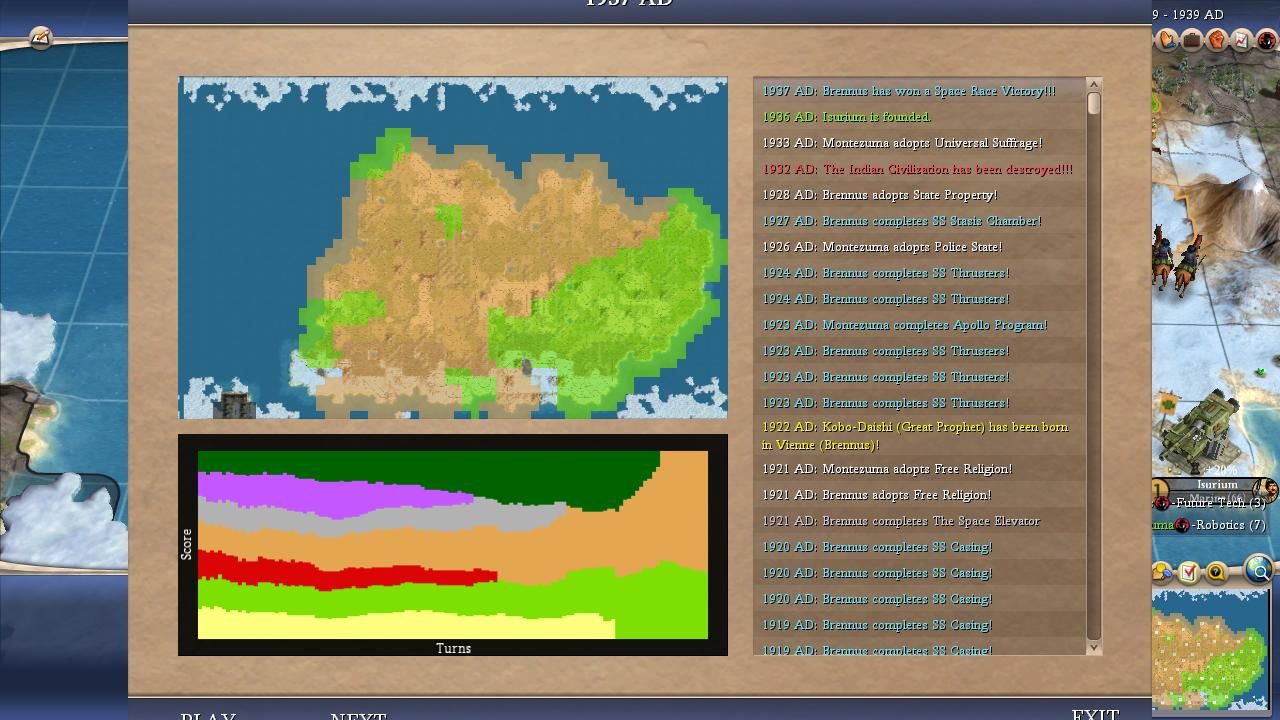
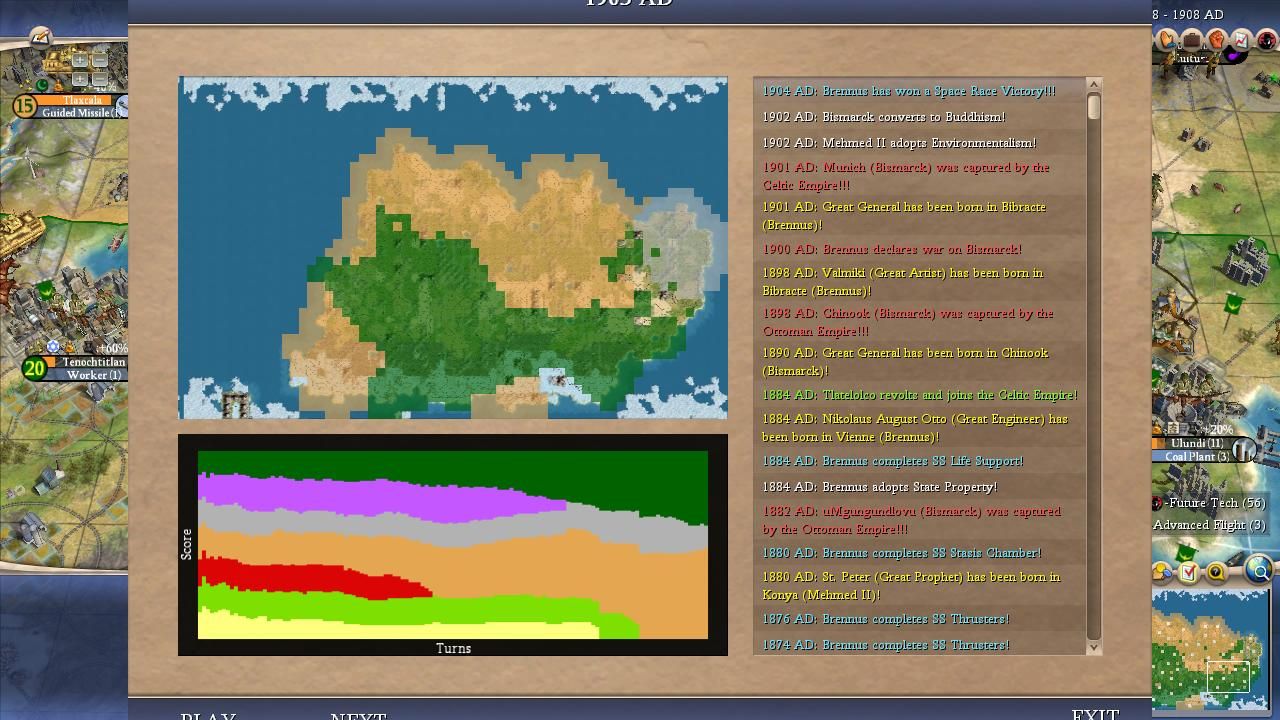
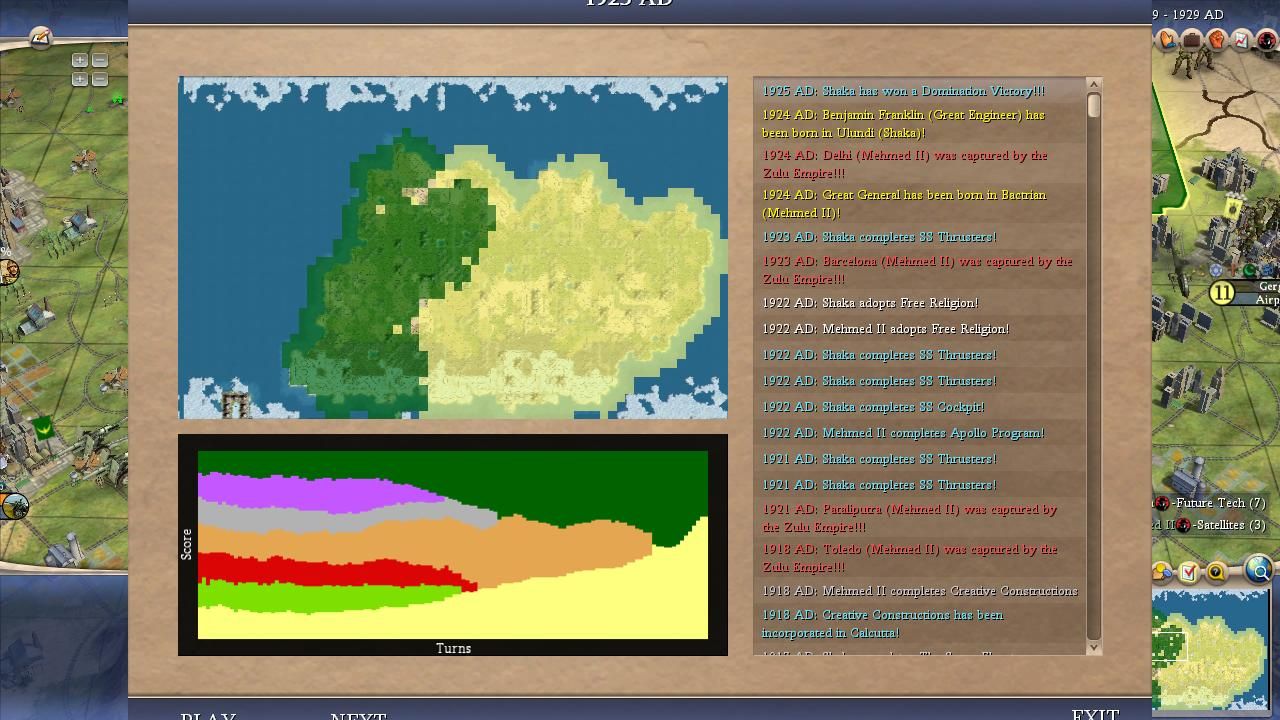
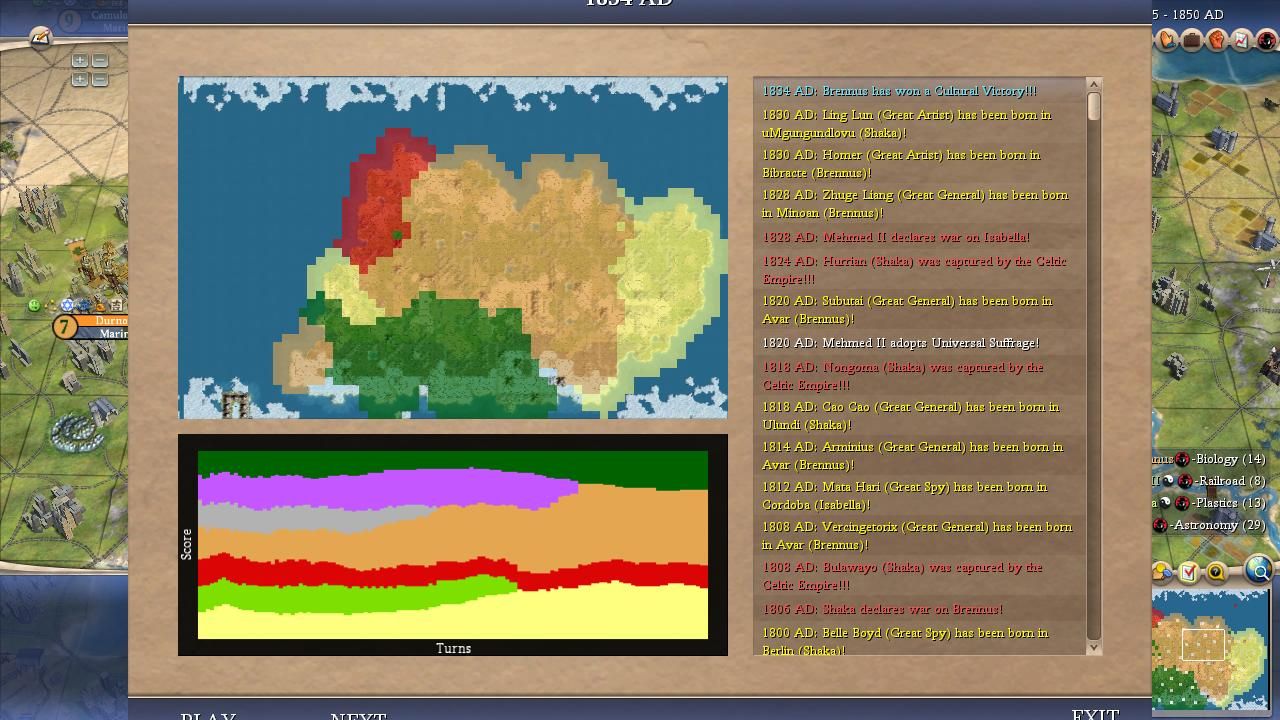
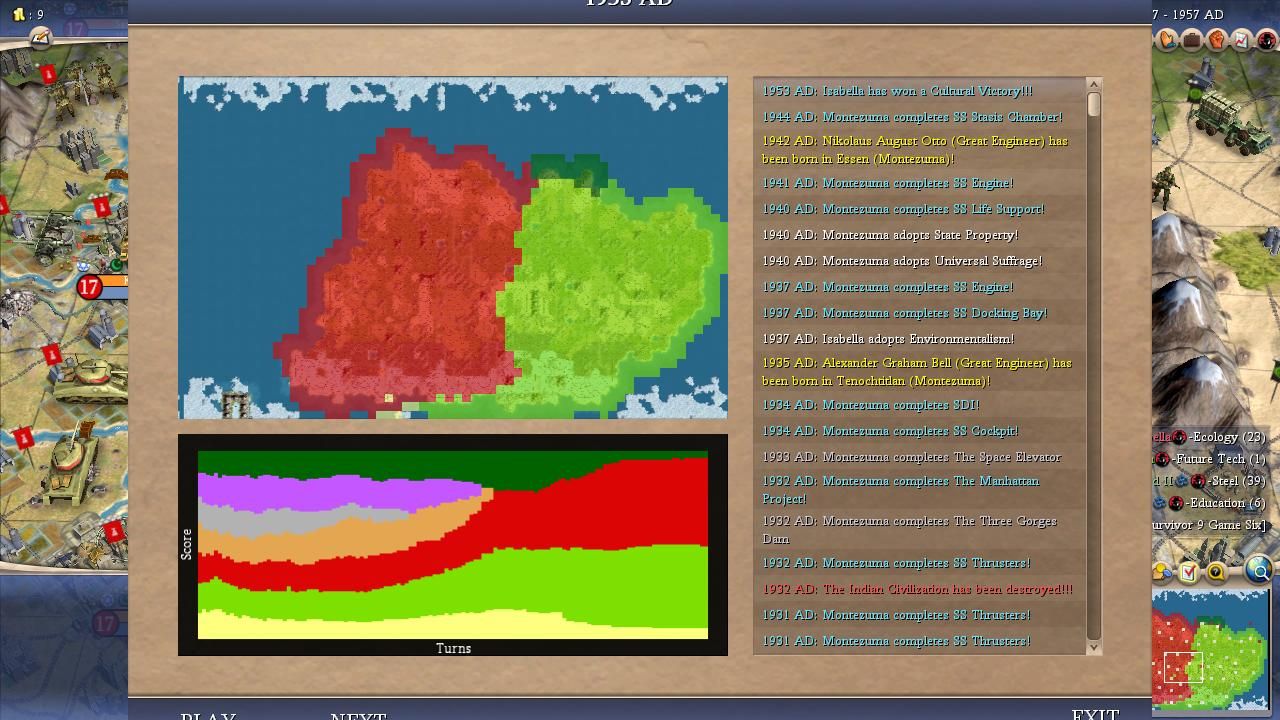
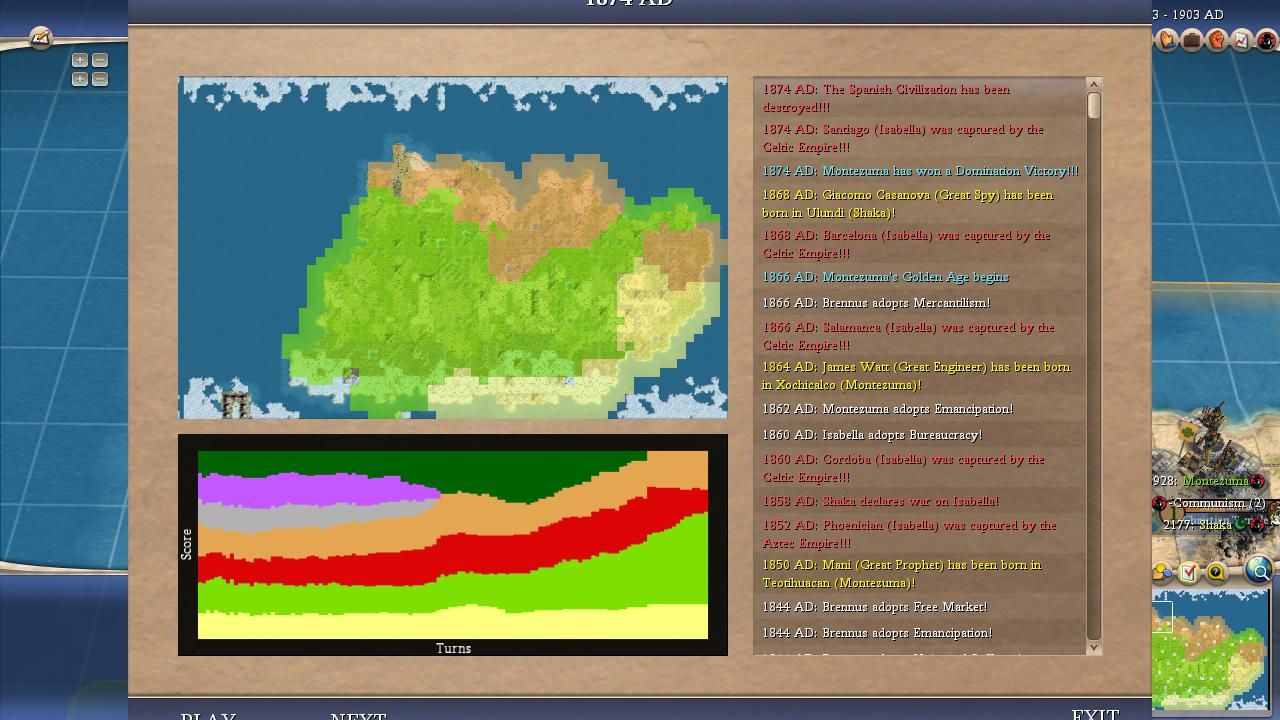
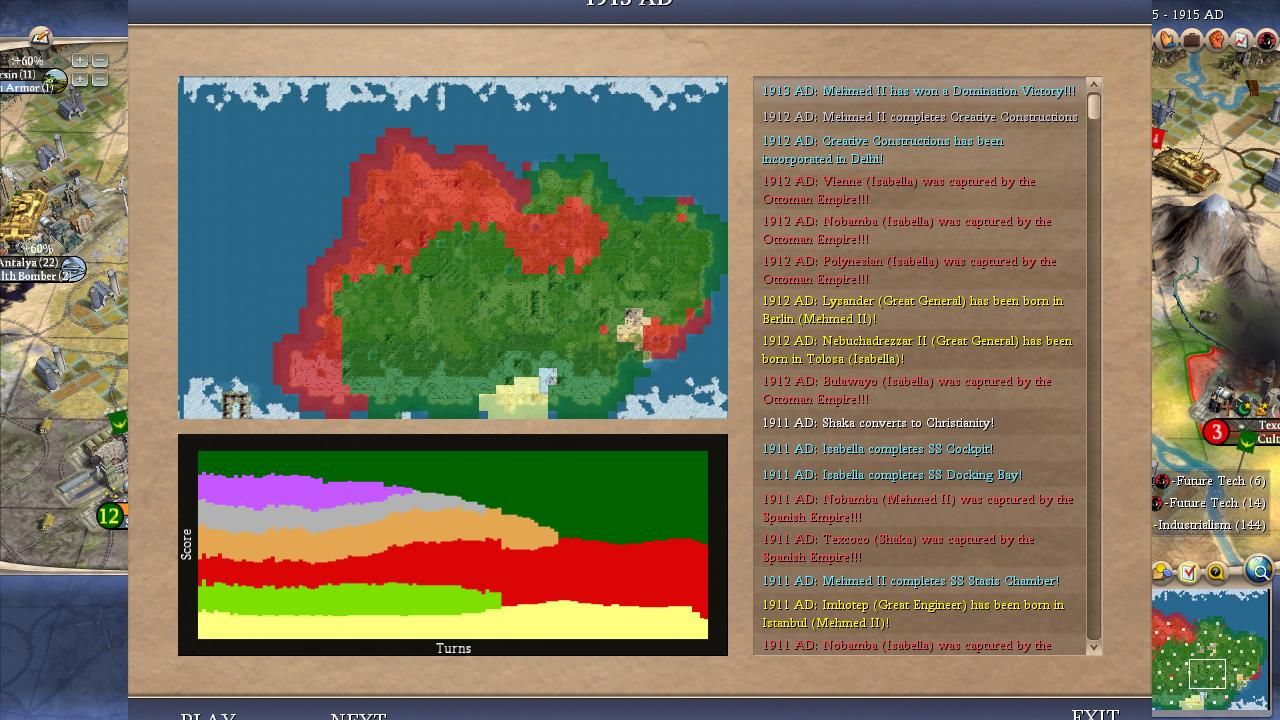
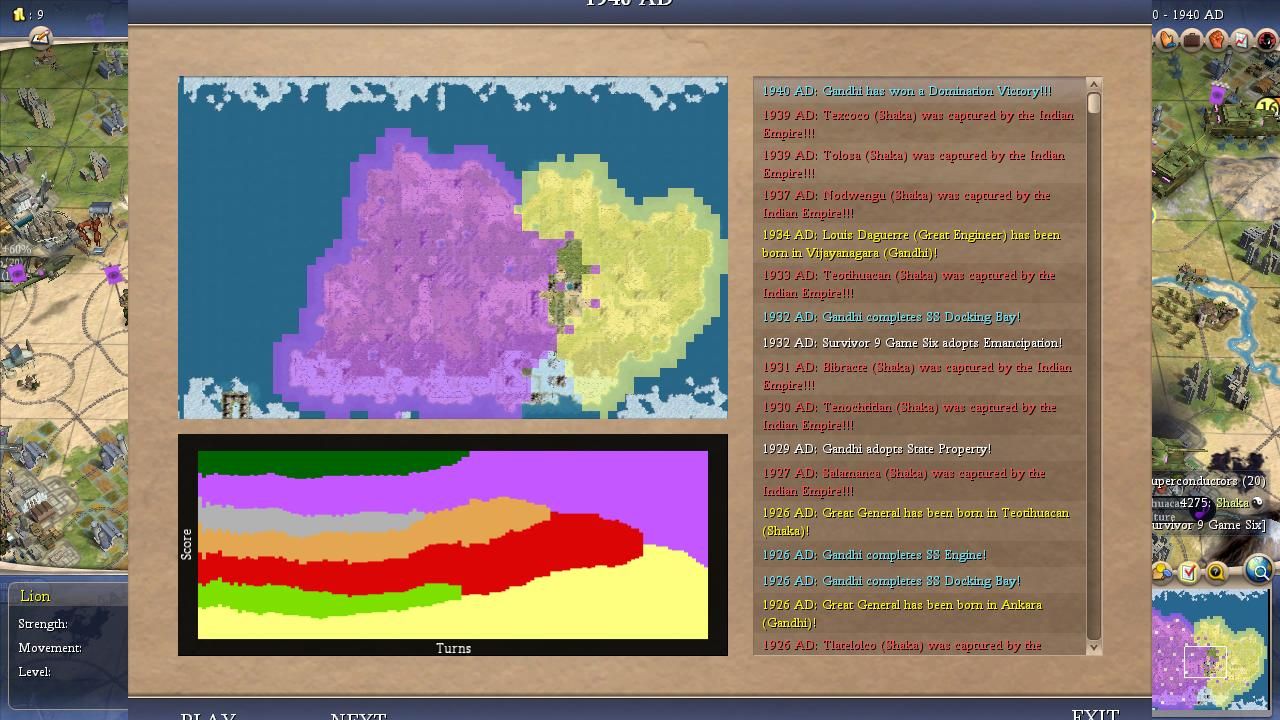
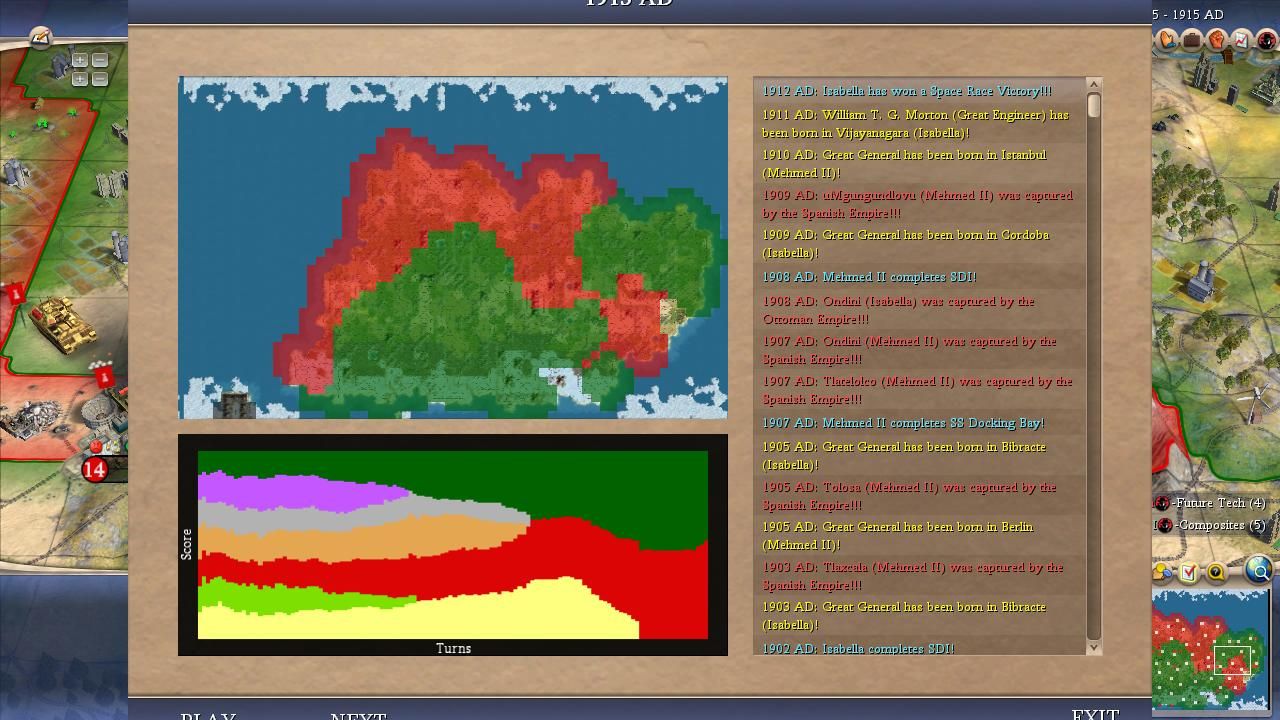
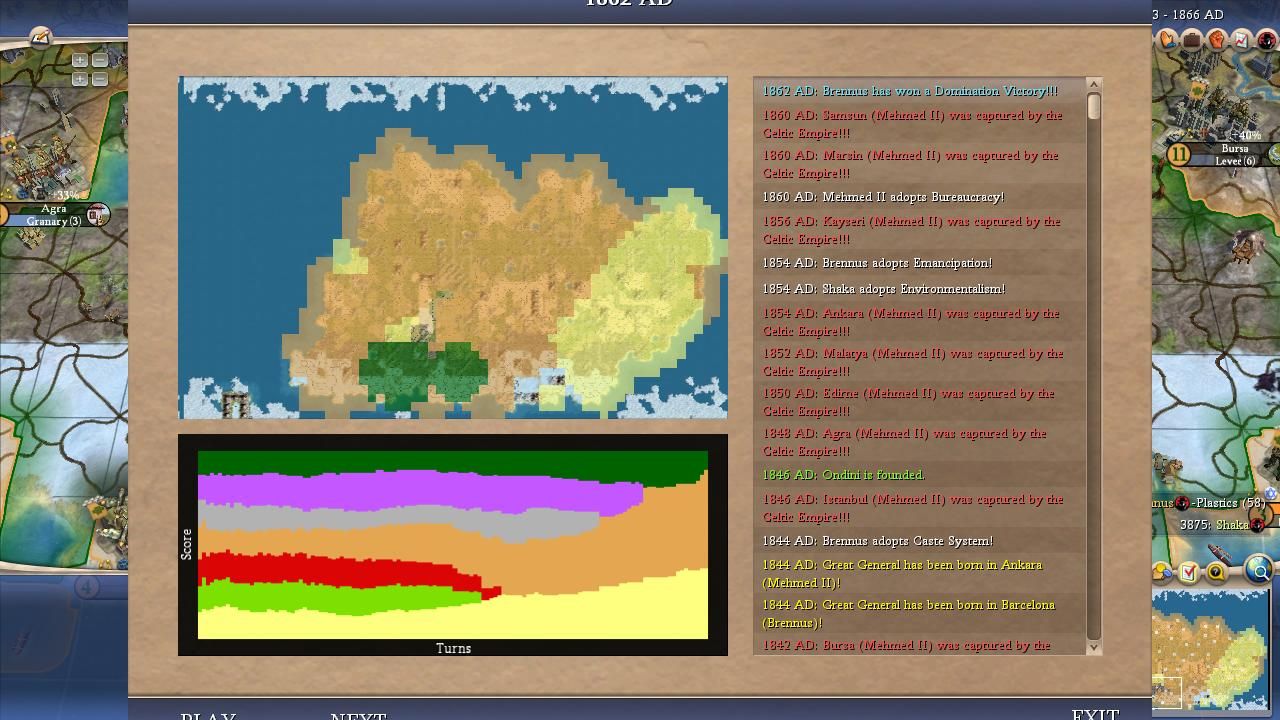
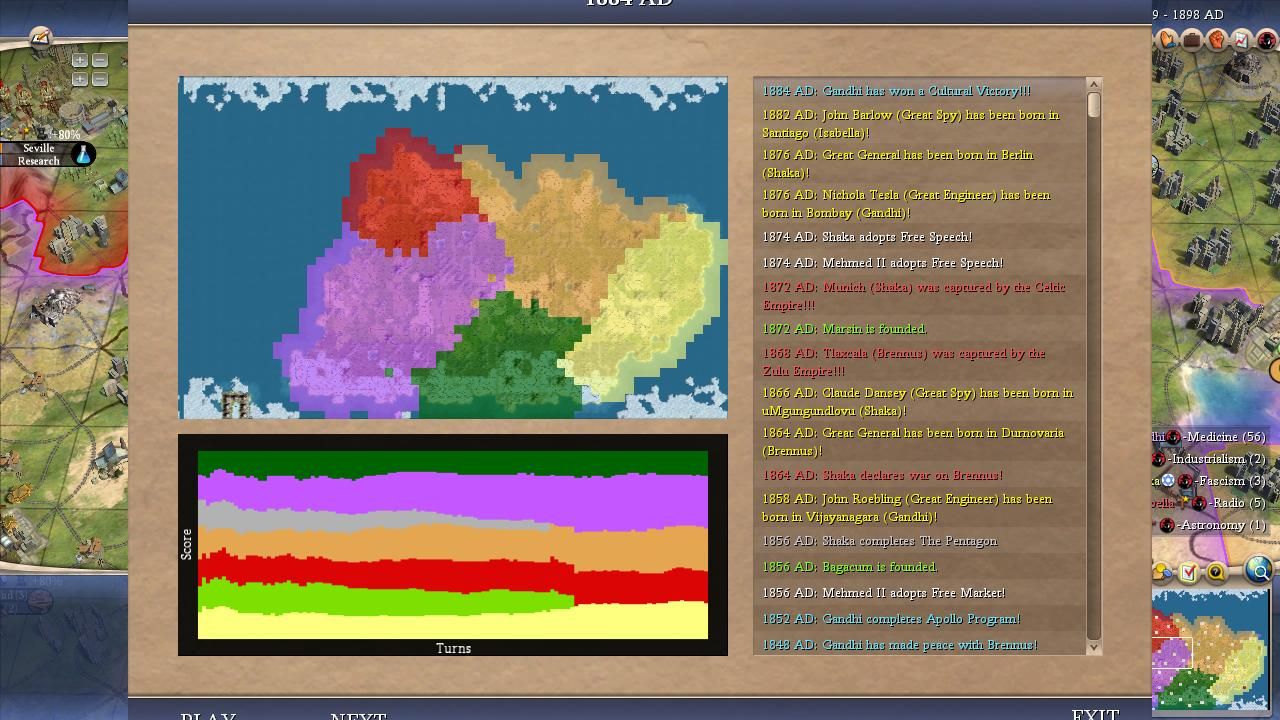
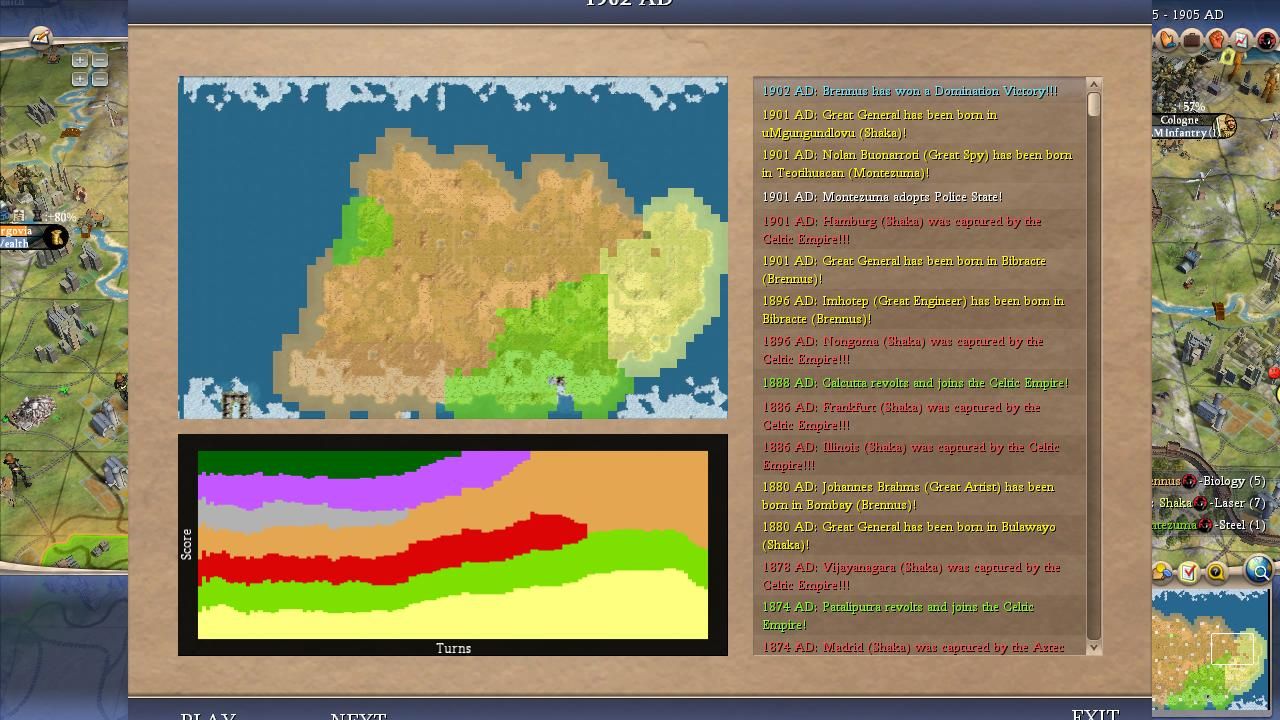
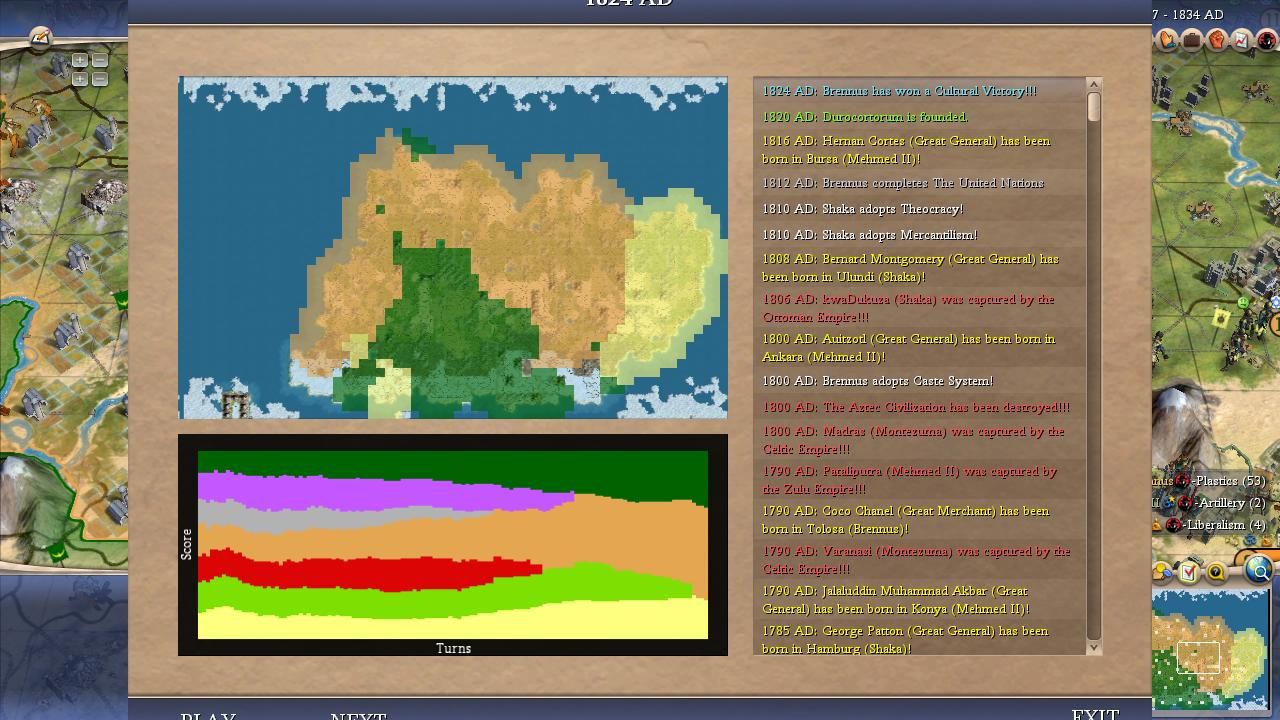
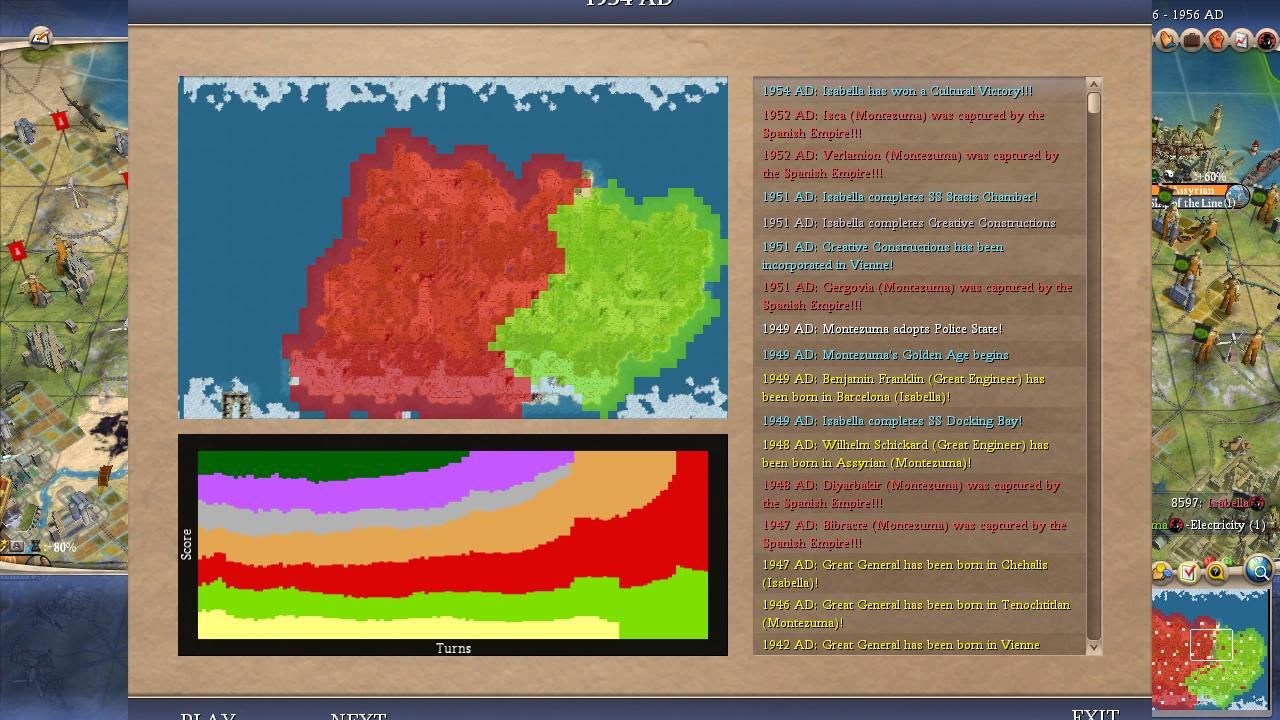
Replaying the map 20 times confirmed that the skeptics were absolutely correct: Gandhi had indeed been very, very lucky to win the game that we watched on Livestream. While he did win two other games to prove that his victory wasn't a total fluke, Gandhi was eliminated in *ALL EIGHTEEN* of the other matches, typically getting dogpiled into oblivion over and over again. The top AI leader on this map was in fact Brennus, the leader who had narrowly missed a victory in the Livestream game, with the Celtic leader winning 10 different times and also scoring the most kills by a wide margin. The Livestream game turned out to be atypical in a number of different respects that combined together to create the narrow conditions for a Gandhi victory. Under almost any other set of circumstances, the Indian leader was too diplomatically unpopular to be able to pull off the cultural shenanigans that had delivered him a victory in the game that everyone watched.
There were three specific factors where the Livestream game differed from how the map replays typically played out. The first of these was over in the east where Shaka was never as weak as we experienced on Livestream. I genuinely don't know what in the world was happening with Shaka in the actual Game Six; he apparently rolled the low odds chance to start building wonders at too early of a date and managed to get himself boxed into the corner with a mere three cities. I never saw the Zulus anywhere near that weak in the map replays; while sometimes Shaka would get stuck with limited territory, it was always with more cities than a mere three and he often managed to break out of the map's edge either south of Montezuma or in between Monty/Bismarck. This was hugely consequent for the wider game as a stronger Shaka translated directly into a weaker Bismarck, with the German leader proving in actuality to be the weakest leader by a wide margin on this map. The most common outcome was for some combination of Montezuma and Shaka to kill Bismarck at an early date and then look for blood elsewhere, very frequently heading off into the west for a dogpile against Gandhi. The Indians never faced a true dogpile in the Livestream game because Montezuma and Bismarck spent 100 turns bashing their heads against the rump Shaka state, with Bismarck (!) eventually getting all of the Zulu spoils. This basically never happened in any of the map replays where Bismarck was an utter punching bag who achieved nothing.
The second factor that was different from game to game involved religion, which was highly variable on this map. Normally the same religions are founded by the same leaders in the same general locations in the alternate histories without too much changing across the map replays. That was emphatically not the case for Game Six with four different leaders who started with Mysticism tech and liked to chase after an early faith. Gandhi almost always would claim one of the two early religions, followed by some combination of Brennus, Isabella, and Montezuma getting the other one. I saw all of them get the second religion on a bunch of different occasions which could swing the games in many different directions. Monty would usually ignore religion afterwards if he missed the initial pair, however Isabella would move heaven and earth to go for the Monotheism religion which sabotaged many of her games (as we saw on Livestream). Brennus seemed to do better in the games where he established an early religion and he probably founded a religion the most after Gandhi. Where the religions then spread afterwards could also be highly random and proved to be enormously impactful in a game where Brennus and Mehmed both couldn't declare war at "Pleased" relations. Part of Brennus' success was often converting either Mehmed or Montezuma to his self-founded religion and then going off conquering with his flank secured by a Pleased-locked ally. The randomness of the religious situation is a major reason why no leader had a survivability rating higher than 65% on this map - just not enough consistency from game to game for anyone to be truly safe.
The final major place where the Livestream game was atypical was that infamous backstab by Brennus against Mehmed. Although those two leaders did fight on occasion, it was far more common for Brennus to start his first war against Isabella or Bismarck rather than the Ottomans who had a similarly low peaceweight. Brennus had his best games when he was able to overrun Isabella and then snowball from there; notably the two of them almost never could work together because they would usually both have their own self-founded religions. Brennus had been strong in the Livestream game and tended to be even stronger in the map replays, thanks no doubt to having lost the settler for what would have been his 4th city in the actual Game Six. As for Mehmed, there were many games where he simply outright conquered Gandhi by himself, or failing that, as part of a major dogpile of the unfortunate Gandhi. Mehmed only lost this war if he was attacked from the other side by Brennus or Montezuma, and even when that did happen, the victorious Brennus/Montezuma usually simply conquered Gandhi themselves afterwards. It was nearly impossible for Gandhi to avoid getting stuck in a 1 vs 2 or 1 vs 3 or even 1 vs 4 war at some point in these games which would inevitably cause his collapse.
The dominant story on this map was therefore how events shook out in the four-way struggle between Brennus, Mehmed, Isabella, and Gandhi. The western portion of the map had the strongest leaders and the highest quality land; by contrast, all three of the eastern leaders were a step down in power and even Montezuma or Shaka running over Bismarck wasn't enough to elevate them above their western brethren. The most common scenario was Brennus snowballing out to a lead via conquering Isabella (who was rarely a dominant power due to poor early tech choices and those same barbarian cities always popping up on her borders), followed by a big dogpile takedown of Gandhi, followed by Brennus winning via any one of Spaceship, Domination, or Cultural endings. Either Shaka or Montezuma could take the second place spot by virtue of winning the struggle for the eastern half of the continent. If Brennus faltered, then there was room for Mehmed to take over, who was the second-strongest AI leader but often was himself dogpiled at inopportune moments. Isabella could occasionally win games if the conditions lined up correctly, with a better than average opening sequence and staying out of early wars, and then Gandhi needed his lucky four-leaf clover to have things break his way and have a shot at victory. It was certainly possible but not something you'd want to count on with any consistency. Montezuma and Shaka had low odds to outright win the game and then Bismarck was a truly sad spectacle with no shot at all.
Now for a look at the individual leaders:

Brennus of the Celts
Wars Declared: 37
Wars Declared Upon: 40
Survival Percentage: 65%
Finishes: 10 Firsts, 3 Seconds (56 points)
Kills: 26
Overall Score: 82 points
It was grimly satisfying to see that the rather unpopular leader I had picked to win Game Six was indeed the runaway strongest AI on this map. Brennus benefited from having the most open space for expansion which always left him as one of the top leaders coming out the landgrab phase. While he was menaced by barbarians and often had their cities pop up in inopportune spots, Brennus was also very good at capturing the barbarian settlements that appeared. He did the best when he was able to found his own religion and then spread it to one or two key neighbors, pulling the Justinian play and securing allies that he wouldn't waste time fighting due to not declaring war at "Pleased" relations. Brennus also did better when he held off on declaring war for some time, avoiding the initial round of conflicts and developing his far-flung empire until Construction tech was in hand and the Celts could deliver a devastating first strike. As mentioned above, Brennus did best by snowballing off a conquest of Isabella, though there were games where he also took out Bismarck first, or Mehmed, or even Montezuma on one occasion. He was very, very strong on this map and even won Game #14 after losing his capital to Montezuma in an early attack. When Brennus didn't win, he also secured several second place finishes and was a powerful AI leader who happened to get taken out by the runaway AI in a few games where he suffered elimination. Only once did Brennus suffer the First to Die fate when he was triple dogpiled in the first 125 turns. He conquered so many holy cities from Isabella and Gandhi that he even flipped over to Cultural victory in three different games which were all wins as well. To be fair, Brennus still died in a third of these map replays thanks to the violent and unpredictable nature of this map setup, however he was the strongest and most consistent choice to achive a victory.

Mehmed of the Ottomans
Wars Declared: 50
Wars Declared Upon: 34
Survival Percentage: 60%
Finishes: 3 Firsts, 4 Seconds (23 points)
Kills: 17
Overall Score: 40 points
Mehmed was a huge pregame favorite in the picking contest, chosen by more than half of the contest entrants to win Game Six. That was clearly an overrating of his starting position but the Ottoman leader was definitely one of the strongest AIs on this map and would have won significantly more of these games if his central position hadn't been conducive to getting backstabbed. The biggest feature of Mehmed's games was his relationship with Gandhi, which was unceasingly negative every single time. I never saw them work together in any capacity and Mehmed attacked Gandhi pre-Turn 100 in something like 17 or 18 out of these 20 replays. Mehmed usually would win the 1 vs 1 duel between their two nations, or if that was beyond his reach, he would cripple Gandhi badly enough that the Indians would be unable to compete for the win. Mehmed's best games saw him overrun Gandhi and absorb all of the rich, wonder-filled Indian cities which led to a snowball across the rest of the map. The Ottomans also did better when Brennus was weak or crippled as the two of them were competing for the same contested land in the center of the map. Mehmed's worst games looked similar to what we saw on Livestream: an invasion of India followed by getting backstabbed by Brennus or Montezuma. There was really no chance for Mehmed and Gandhi to coexist; even in Game #12 where they were both alive at the end, Mehmed had attempted to invade Gandhi repeatly and failed to kill him before the Indians ran away to a Cultural win. Mehmed was essentially a weaker version of Brennus, playing a similar game but with less free space to expand and forced to invest so much time and energy against Gandhi that other leaders often overtook his position.

Shaka of the Zulus
Wars Declared: 68
Wars Declared Upon: 16
Survival Percentage: 65%
Finishes: 1 First, 6 Seconds (17 points)
Kills: 16
Overall Score: 33 points
Shaka made the most of what was a fairly weak starting position on the Game Six map. As discussed above, he was never as weak during the map replays as in the completely disastrous Livestream game, typically emerging from the landgrab phase roughly akin to Bismarck in size. Shaka had a simple path to relevance: devour Bismarck's territory to double the extent of Zulu territory. He was quite good at doing this which explains how Shaka managed to essentially equal Mehmed and Montezuma in kills despite a weaker start. Less frequently Shaka was able to snowball off a conquest of Montezuma, with several of his best games taking place in the context of an Aztec self-immolation that the Zulus could benefit from. Shaka was also exceptionally aggressive and rarely seemed to get targeted due to his corner position, launching 68 attacks against a mere 16 defensive wars. The unfortunate downside was that the eastern part of the continent was smaller and weaker than the western half, which meant that even successfully taking out Bismarck still left Shaka weaker than a Brennus who had absorbed Spain or a Mehmed who had consumed India. This translated into a bunch of second-place finishes, with Shaka's half-dozen Runner Up results narrowly taking home the cake for that category. The community had a fantastic track record at identifying the Runner Up category and it turns out they were correct yet again, even if the tiny Shaka that we watched on Livestream didn't look like it! My impression was that Shaka had played well from a subpar position and simply was unlucky in the actual Game Six.

Montezuma of the Aztecs
Wars Declared: 48
Wars Declared Upon: 27
Survival Percentage: 35%
Finishes: 1 First, 5 Seconds (15 points)
Kills: 14
Overall Score: 29 points
Montezuma scored very similarly to Shaka and the two leaders superficially looked to be mirrors of one another. However, my impression was that Montezuma squandered a much stronger position due to his own idiocy and wasted what could have been a much better performance. Interestingly, Montezuma sometimes settled his first city to the west over by Mehmed and sometimes settled it over to the east where we observed on Livestream. I have no idea what caused him to choose these two spots and this could have important downstream effects in the games where that spot became a holy city (which happened about 30% of the time). Montezuma was his typical self and lashed out wildly with war declarations, randomly attacking anyone and everyone across the various map replays. He was longtime Multiplayer competitor superdeath from Realms Beyond in these games: his aggression usually backfired and almost never translated into a win, but he sure could ruin the game of someone else in the process. Montezuma's one win in Game #7 saw him work together with Mehmed to kill Gandhi, then team up with Brennus to kill Mehmed, followed by an endgame conquest of Isabella who was an entire era ahead in technology but lost to the 200+ cavalry that the Aztecs had running around. This was not a pattern for consistent success and it was far more common for Monty to flame out in spectacular fashion. Multiple times he could have cruised to a Runner Up finish only to suicide into the game-leading AI civ for no reason whatsoever. Montezuma seized control of the weaker eastern civs enough times to achieve five Runner Up finishes, however he really could have, should have done more from his juicy starting position. I think that if you swapped Monty and Shaka on this map, the Zulus would win a bunch of times whereas the Aztecs would look similar to Bismarck. Montezuma is simply an atrocious leader that has no idea how to play Civ4.

Isabella of Spain
Wars Declared: 22
Wars Declared Upon: 41
Survival Percentage: 40%
Finishes: 3 Firsts, 2 Seconds (19 points)
Kills: 3
Overall Score: 22 points
Unlike many of these other leaders, Isabella's gameplay tended to look a lot like what we saw in the actual Game Six during the various map replays. She would always try to found one of the early religions (which unfortunately only took place about 30% of the time) and would chase after an early Monotheism religion if the initial pair were already claimed. Isabella wasn't quite as insane about beelining Monotheism as what we saw on Livestream but she did head there very early time and time again. Isabella also suffered from the same barbarian city issues over and over, with several barb settlements repeatedly popping up to her east. They served to hem in her expansion and keep Spain relatively weak in most games. Isabella also struggled to spread her Christianity in many games, as her corner location plus rival faiths often appearing in India and among the Celts made it difficult to attract converts. The combination of a difficult start along with an unpopular religion didn't do Isabella many favors and resulted in a lot of bad outcomes. Her 3 kills in 20 games tells the story of how the Spanish rarely had the opportunity to conquer anyone. On the other hand, when Isabella did manage to found one of the first two religions and secure at least one religious ally, she enjoyed several excellent results. She teamed up with Mehmed in Game #10 en route to a victory and formed an unlikely pairing with Brennus in Game #20 before they turned on each other in the lategame. Isabella's sheltered location also meant that she was sometimes able to dodge aggression and out-tech the rest of the field to a victory. The route to success was narrow for Isabella but it was a realistic possibility.

Gandhi of India
Wars Declared: 9
Wars Declared Upon: 66
Survival Percentage: 10%
Finishes: 2 Firsts, 0 Seconds (10 points)
Kills: 3
Overall Score: 13 points
I covered most of the reasons why Gandhi was largely unable to replicate his success in these alternate histories, so I'll use this space to detail what happened in the two alternate histories he did win. In Game #9, Gandhi was attacked six different times and was widely hated by all of the other AI leaders which normally would have been the recipe for the usual early exit. However, the war declarations repeatedly played out in the exact fashion needed such that Gandhi was never facing more than one opponent at a time. Mehmed's initial invasion was countered by a Montezuma backstab, then Monty attacked Gandhi only to be partitioned by Brennus and Shaka. That was followed by Brennus attacking Gandhi only to have Shaka backstab him in turn, and... well, you get the idea. Shaka in particular kept attacking everyone who was fighting Gandhi, only to lose the final 1 vs 1 and actually trigger Domination for the Indians. In Game #12, Brennus was the top AI only to get dogpiled from three different directions. This led to all of the other leaders fighting one another and Gandhi being left completely alone for more than a hundred turns, leading to a Cultural victory where in a true rarity for this map five different leaders were alive at the end.
So Gandhi absolutely could win on this map, if the various war declarations happened to break his way repeatedly amidst the chaos of battle. However, this was not something that could take place on a consistent basis and most of the time Gandhi was ruthlessly dogpiled out of the game even though his initial expansion tended to be quite strong. He even pursued an early Rifling tech in several games, doing the opposite of the Willem Gambit... and it wasn't enough because Brennus and Mehmed and Montezuma all consistently went for early Rifling as well! Nine offensive wars against 67 defensive wars really tells the story of Gandhi's unpopularity on this map - the community was 100% correct that everyone would hate his guts. Gandhi's true odds of winning on this map were likely somewhere in the 10-20% range which meant that he was a longshot without being truly hopeless. You could certainly make a case for picking him as a high-risk / high-reward option, a bit like going all-in with a gutshot straight draw in Poker. It's not a good strategy, mind you, but it can work on occasion. Basically Gandhi needed to get really lucky to win this game and that's exactly what happened; somehow he continues to be the luckiest leader in the competition.

Bismarck of Germany
Wars Declared: 16
Wars Declared Upon: 26
Survival Percentage: 15%
Finishes: 0 Firsts, 0 Seconds (0 points)
Kills: 3
Overall Score: 3 points
If Gandhi was a longshot pick to win the game, Bismarck was completely useless and existed only as First to Die fodder. The Germans were notably weaker in the alternate histories than in the actual Game Six, with Shaka consistently claiming more territory and sometimes even boxing out Bismarck from the rest of the continent. Bismarck's middling peaceweight score was a poor fit for someone who had Shaka and Montezuma as his two neighbors; he was attacked by both of them repeatedly along with Brennus a nontrivial number of times. Bismarck's starting area was heavy on forests and he struggled to connect his resources or generate much in the way of early commerce. There were even a handful of games where Shaka managed to attack Bismarck before he connected his iron resource and lost a good chunk of his territory while fighting with archers and chariots. Bismarck was eliminated on Turn 135, Turn 155, Turn 144, Turn 160, Turn 122, Turn 143, and Turn 134 while suffering the First to Die fate nine different times. He only survived to the end of the game three times, one of those occasions with a single city remaining, and was the only leader with zero Top Two finishes. And that wasn't a case of Bismarck getting unlucky either, as he was never remotely in contention for the victory in any of these matches. It was an underwhelming leader piloting the underwhelming German civ from an unfavorable starting position; for a map with a lot of randomness from game to game, Bismarck was a model of consistent awfulness.

I felt quite frustrated when I watched the Livestream version of Game Six and wanted to run the alternate histories to convince myself that I wasn't crazy in thinking that Gandhi was an unlikely victor. I definitely felt vindicated watching Brennus win ten different times, and I have to admit to feeling some catharsis in watching Gandhi get splattered over and over again.  If my picks crashed and burned in the actual Game Six, I could at least take some satisfaction in seeing that they performed much better in the alternate histories. With that said though, I should be clear that I made plenty of mistakes and misread other aspects of this game. Isabella was a poor choice for the Runner Up pick, for example, since she was so bad at working together with other leaders and acted more as a "first place or bust" selection. Gandhi also turned out to be the wrong answer for First to Die; while he did die in almost every game, his strong openings meant that he usually outsurvived someone else. Bismarck was the correct answer as far as who was most likely to exit first. And I also whiffed on the victory condition for this game, as Domination and Cultural were both far more likely than Spaceship. I thought that Brennus and Mehmed not declaring war at "Pleased" relations would result in more Spaceship finishes; however, Shaka and Monty were perfectly happy to attack at "Pleased" which kept these games from staying peaceful. Then Brennus and less often Isabella conquered enough holy cities to drive them towards Cultural endings in multiple games to keep Gandhi from being the only one to take that path. Even if I read the Brennus pick correctly, I was wrong in plenty of other areas.
I think this is the fourth or fifth different game where Gandhi has managed to win on Livestream despite a "true" victory rate around 10-15% in the alternate histories. I predicted during the Livestream that he would have a low victory rate when replaying the map and of course that's exactly what happened yet again. I don't know what dark god he keeps making sacrifices to in order to pull this off, I have to imagine that it has to come to an end eventually. Until then, thanks as always for reading and following along!