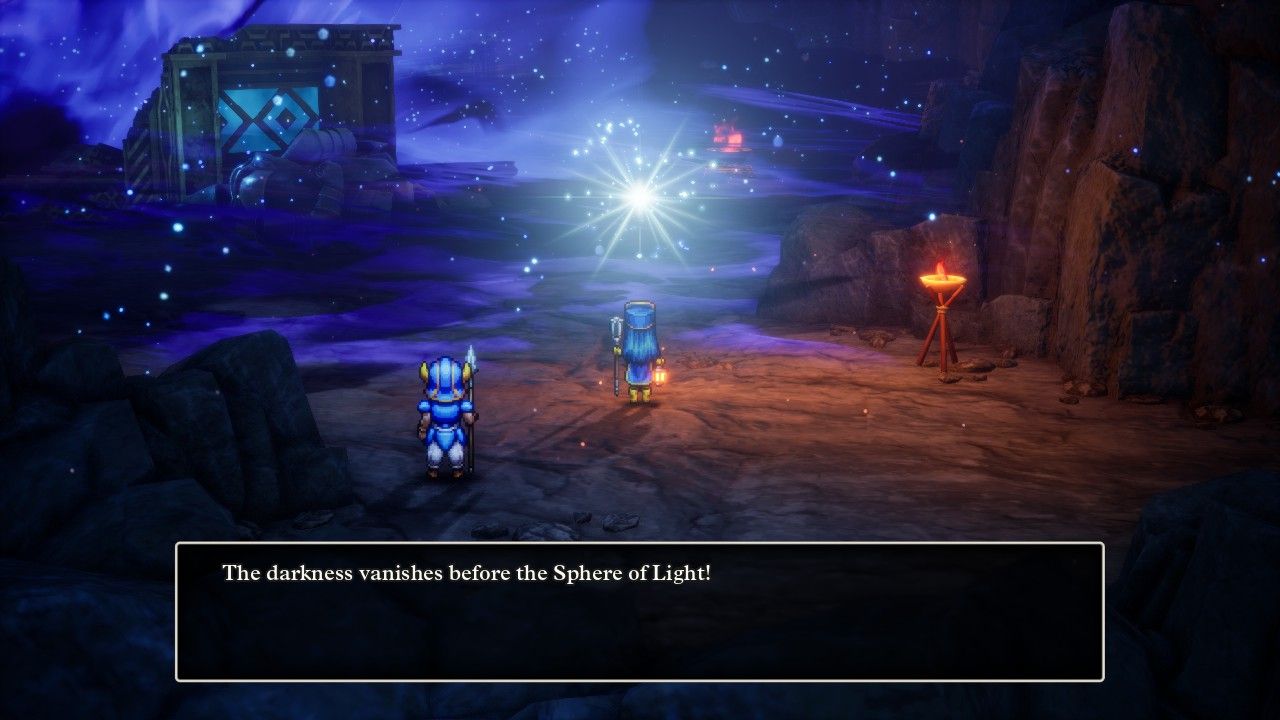
Hildegard continued her quest by venturing down into the underworld of Alefgard to do battle with the evil forces of Zoma, an opponent who was literally never mentioned until several minutes earlier. I'm not sure if I've covered the exact way in which this transition takes place, with the player needing to retrieve the Sphere of Light from the Dragon Queen and then bring it to the Pit of Giaga. The Sphere of Light will dispel the darkness surrounding the pit (thus ensuring that the player has retrieved this critical item before traveling into Alefgard), followed by a brief cutscene of the party jumping into the hole and then falling through the sky. The fact that they take no damage from this process is video game logic at its finest. In any case, Hildegard had an entirely new map to explore and I settled in for several hours of low-stress sailing around the world while digging up its various treasures. I started out by grabbing some of the most useful new bits of equipment:
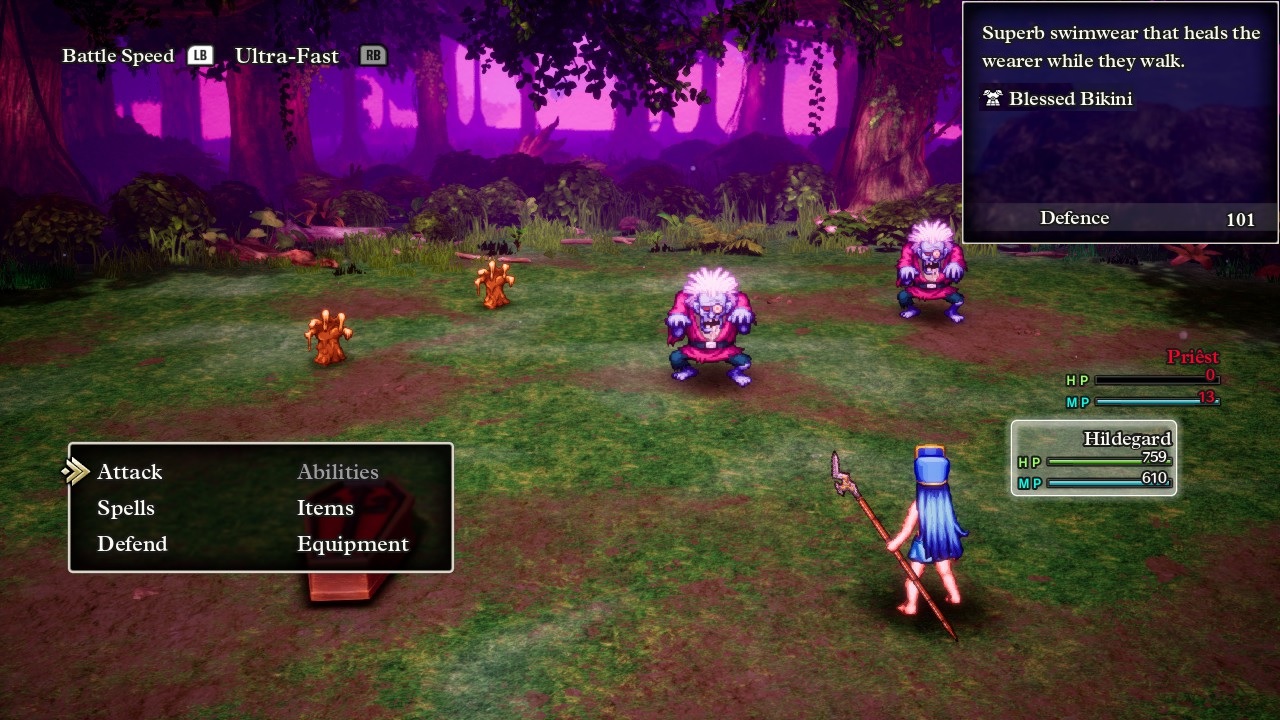
One of which was, believe it or not, the Blessed Bikini pictured here. This "armor" can be found hidden on an offshore rock (officially Secret Spot #89) near the Sanctum and it can be reached immediately by sailing there with the ship, no dungeons to clear or previous quest items needed to be obtained. The Blessed Bikini does not contain any protection against elemental damage, however it was a major upgrade over Hildegard's previous Magic Armor with 51 additional points of Defense and the useful property of healing damage with each step taken. That was less useful for Hildegard than other solo characters but still helpful to smooth away minor chip damage from random encounters. The item also transformed her appearance of course, and it looked even more ridiculous to see the Priest sprite graphic wearing a skimpy bikini given that the class otherwise dresses in such modest fashion. Hildegard even continued to wear her signature mitre hat which surely wasn't something that someone would take with them to the beach.
There wasn't a whole lot else that Hildegard could obtain while traversing the underworld in terms of equipment upgrades. She couldn't use most of the new gear that was on sale at places like Kol and Rimuldar and the one new shield that the Priest class could equip (the Mirror Shield) had a habit of reflecting spells away from the caster, not something that I wanted for a character who constantly healed herself in combat. There was similarly nothing in the helmet slot that could outperform the Duplic Hat and the Blessed Bikini was the best that Hildegard could do for the moment for armor. So she stuck with her current gear for the moment and methodically tracked down the missing 85 sparkle locations and 20 secret spots while gaining more experience all the while. Eventually I had all of that stuff cleared out and headed into the optional underground dungeons:
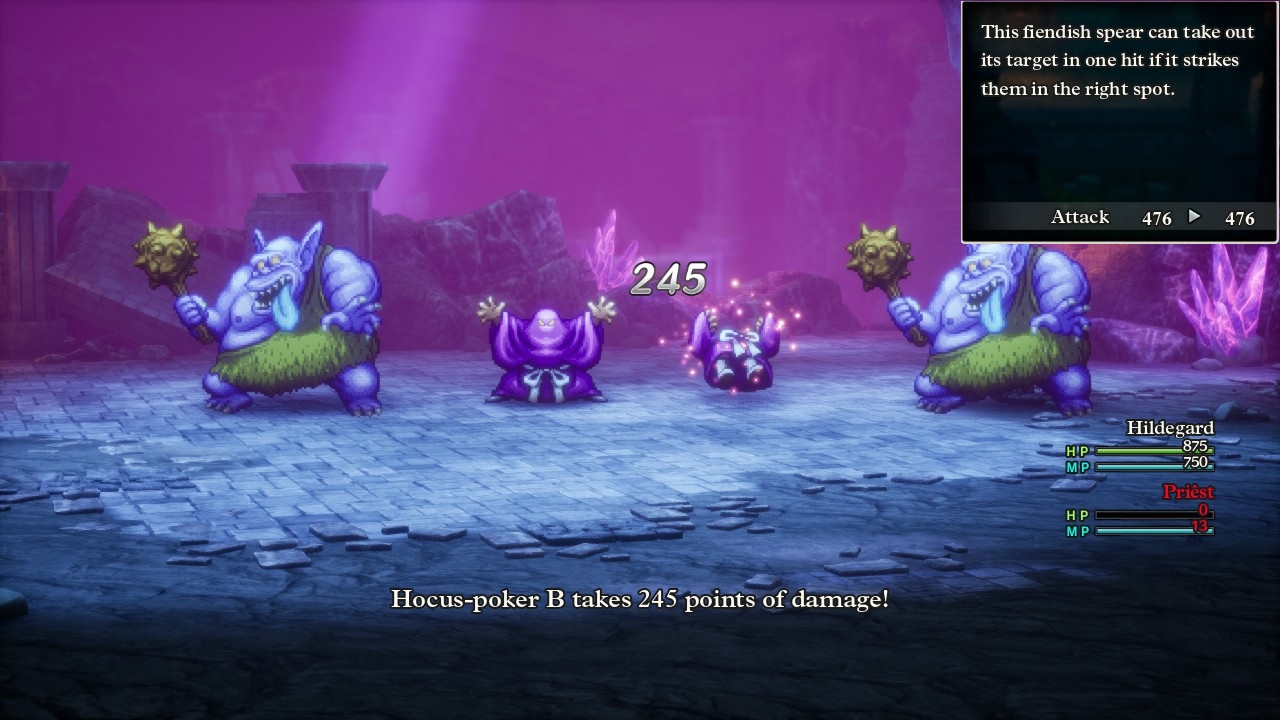
The Craggy Cave was first and there was essentially nothing of interest inside other than a mini medal in a chest. The Talontear Tunnel threw more of a curveball at Hildegard, however, as all spells were disabled inside its winding passageways. This wasn't as much of a problem as one might think though, since Hildegard had plenty of practice at using her melee attacks and I had stacked up 200+ copies of Special Medicine ahead of time for healing. Most of the monsters inside died in a single attack, with the beefier opponents like the Great Trolls and Hydras requiring two. There was a new weapon here inside a treasure chest in the form of the Demon Spear, which had exactly the same Attack value (96) as Hildegard's venerable Somatic Staff but without the annoying cost of 3 MP per swing. I happily made that swap as this was the weapon with the highest attack value that the Priest class can equip prior to hitting the postgame content. The Demon Spear is also supposed to have a chance to inflict instant death on enemies, in a fashion that's probably supposed to be similar to the Poison Needle or Assassin Dagger weapons. However, I never saw this property kick in - like, the spear literally *NEVER* seemed to kill anything with this ability. Either the endgame monsters all have protection against instant death attacks or the odds were so low as to be not worth mentioning.
There are exactly 100 mini medals that can be found outside Zoma's Citadel and, perhaps not coincidentally, one of the best items in the whole game can be obtained for that exact medal total. Hildegard followed the same path as my prior solo characters by carefully collecting all of the medals hidden across both worlds, then turned them in for a pair of rewards:
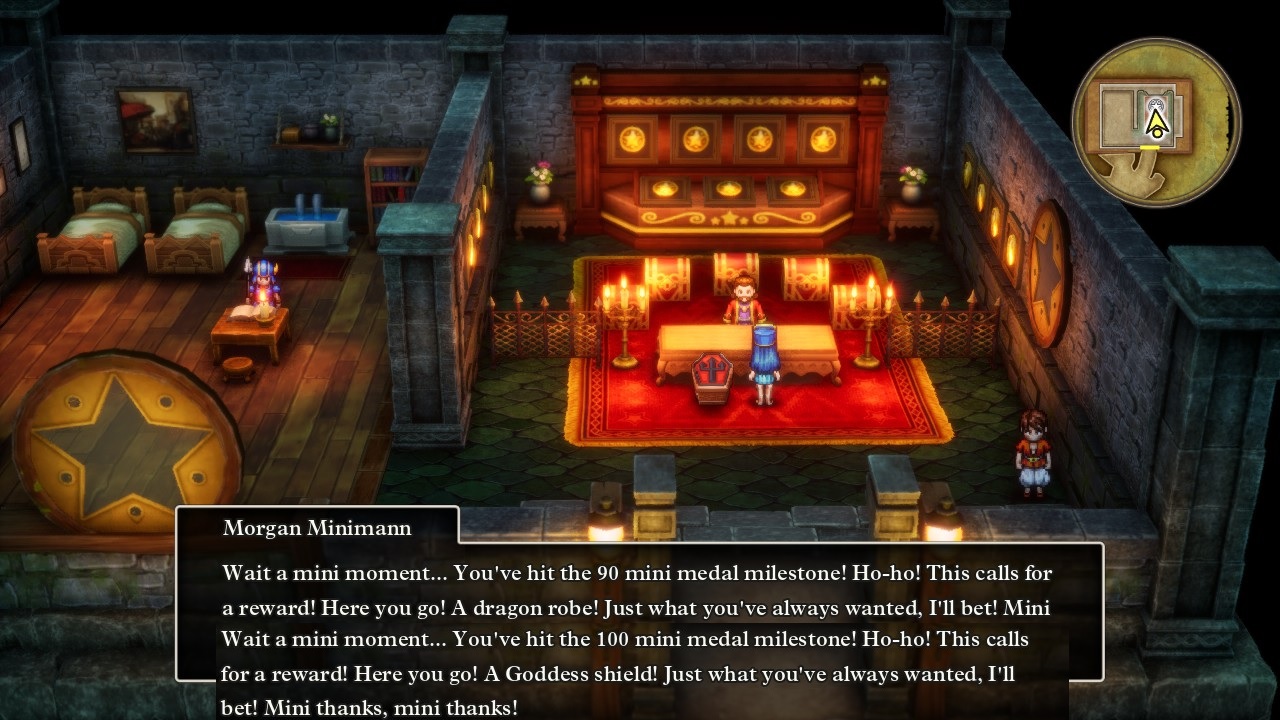
First up was the Dragon Robe handed over by Morgan Minimann in exchange for collecting 90 medals. Hildegard was the first of my solo characters who could equip this particular bit of equipment, which had slightly lower Defense rating than the Blessed Bikini but gained some elemental protection in return. The online resources that I had been working from stated that the Dragon Robe reduced fire and ice damage by 33% which sounded absolutely amazing. Then I tested this in practice and it didn't seem to be doing anything against fire and ice spells; some more searching on the Hyperwiki.jp website confirmed that the Dragon Robe only protects against fire and ice BREATH attacks, not spells of those elements. Breath weapon abilities were still common enough to make that a worwhile switch, plus Hildegard could ditch the swimwear that didn't fit her character at all. Once again I was compelled to update my reference spreadsheets since the original information that I had was incorrect.
The other new item was the Goddess Shield, the reward for 100 mini medals, and as I've explained with previous solo characters this thing is the real deal. It had the highest Defense rating of any shield before the postgame and provided 25% resistance against all spells and breath weapon abilities. For a class like the Priest who can't equip the Shield of Shame, this was the obvious best choice in every possible situation. Then shortly thereafter I found an odd new item from a monster drop in the Tower of Rubiss. This was the Mad Cap that very rarely appears when defeating Hocus Chimaera monsters and can't be obtained in any other way. It has a very low Defense score and comes with the weird property of reducing MP cost from spells by 25%. This item is basically a failure of design on the part of the developers: it doesn't appear until the very end of the game when MP usage isn't much of a concern, and it sits in the same helmet slot as the Duplic Hat which any spellcaster would vastly prefer. I guess a Thief or Merchant could use this to reduce their MP consumption since they can't equip the Duplic Hat but there has to be something better for them in the lategame, right? What a strange item to appear in a very rare drop.
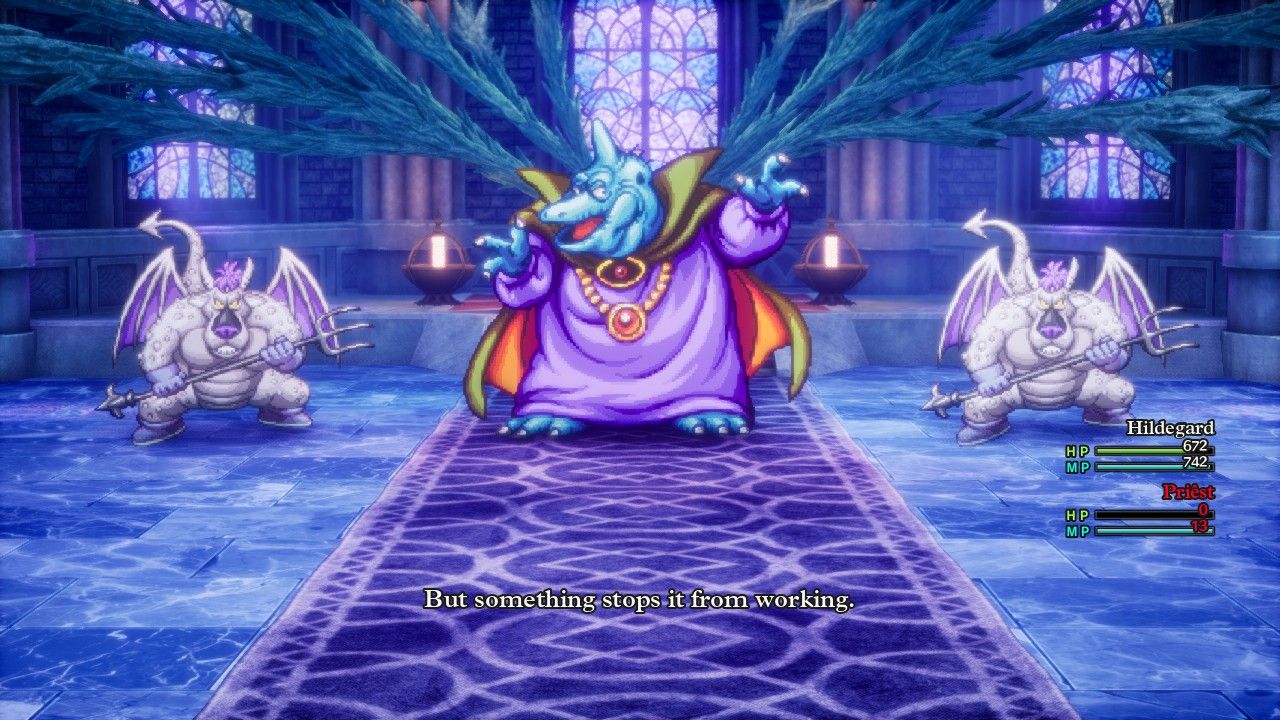
The first boss of the underworld was waiting on the top floor of the Tower of Rubiss as Hildegard confronted the Soul of Baramos. This boss largely confines himself to three different abilities: normal physical Attacks, the Kaboom explosion spell, and the Inferno breath attack. The Soul of Baramos will spam all three of them continuously and therefore I did the best that I could with Hildegard by having her equip a pair of Asbestos Earrings to completely nullify the damage from Inferno. She could also cast the Magic Barrier spell for another 20% resistance against Kaboom which nearly cut its damage in half when combined with the Goddess Shield, then Hildegard had to survive the melee attacks from the boss as best she could. This boss fight stands out from many of its peers due to the presence of the two Ashdemon minions, who will cast various buffing and debuffing spells to be as annoying as possible. Most characters will want to eliminate them as fast as possible with area-of-effect damage, which unfortunately was something that Hildegard lacked.
Instead, she could only doublecast Kaswoosh at the two Ashdemons which hit for damage in the 150-170 (x2) range which would take either three or four total castings to eliminate their 1010 HP total. During Hildegard's initial attempt at the boss fight, one of the Ashdemons managed to tag her with the Fizzle spell which serves as a silencing debuff and blocked all spellcasting until it wore off. Then while Hildegard was waiting for that to run out, the Soul of Baramos paralyzed her for the next four rounds and killed my solo character before she could shake off the status effect. Urp, well, there wasn't much that I could do if she was unlucky enough to get silenced and then paralyzed for such a long time. When I immediately retried the fight, Hildegard avoided those same status conditions and eliminated first one, then the other minion without much trouble. I'll note again here that the damage from Kaswoosh clearly did get the 60% Wisdom bonus but did *NOT* get the 30% single target bonus, further confirmation that this undocumented effect simply does not apply against bosses in DQ3.
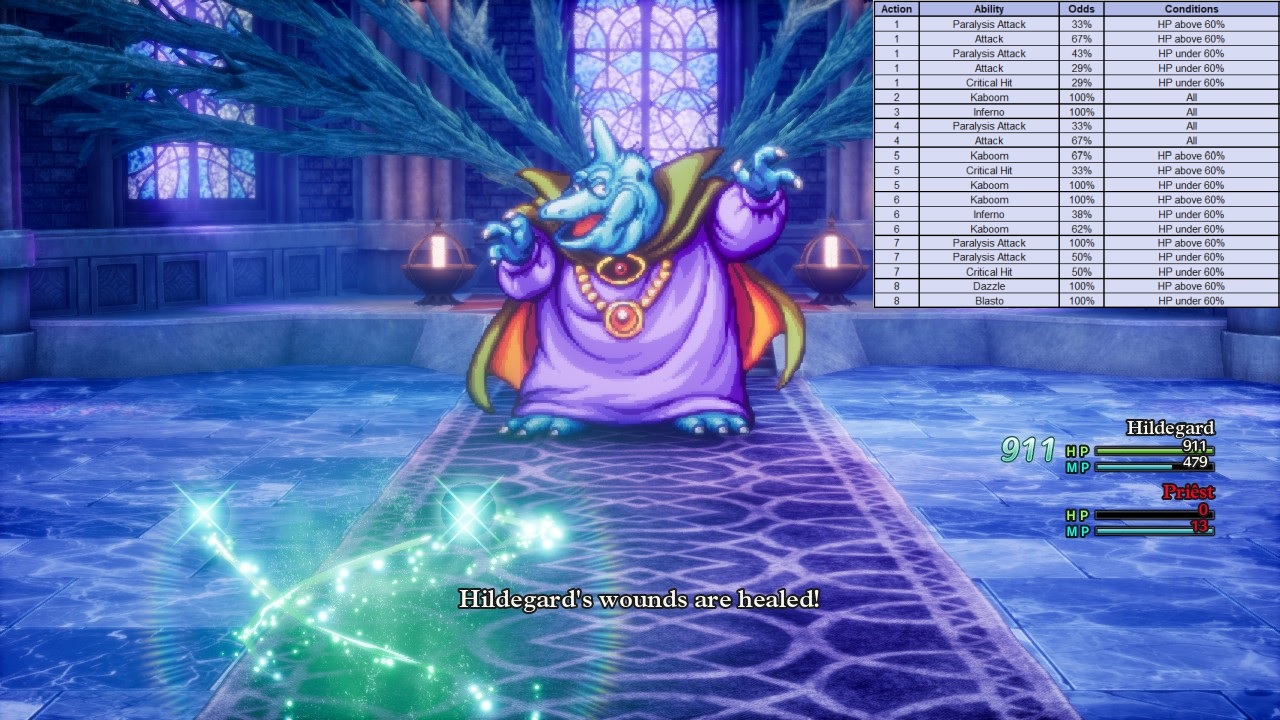
Hildegard had a much easier time when she was down to solely the Soul of Baramos, as there wasn't much chance that he could kill her before she managed to pull out a Fullheal spell. I transcribed the full AI scripting for this boss and reproduced it above, which turns out to be fairly simple and only has a single condition based on whether the Soul of Baramos has more or less than 60% HP remaining. As mentioned before, this guy absolutely loves to spam Kaboom and Inferno which pop up repeatedly throughout this AI pattern. The two most dangerous parts of the battle are tied to his physical attack, however, as nearly every Baramos attack has a chance to inflict paralyzation. (The game's text doesn't mention that he's doing a paralysis attack and the status effect only becomes clear if the target fails to resist.) The other really dangerous ability on the Soul of Baramos is the dreaded monster critical hit, which shows up once at high health (1/3 odds on Action #5) and then twice at low health on the boss, including 50% odds for the monster crit on Action #7. I took the time to test this scripting and confirmed that it was accurate, even verifying what happens when the boss transitions below the 60% HP threshold (the Soul of Baramos goes back to the top of the list instead of continuing from the same action). Then I also confirmed that the Soul of Baramos follows the same pattern as the previous Baramos, not casting offensive spells if the Bounce effect is in play and not casting them if he's run himself out of MP.
This all might seem unnecessary and pedantic - which it was! - but Hildegard was the perfect character to do this sort of testing with her incredible healing abilities. She took her time chipping away at the health total on the Soul of Baramos with Kaswoosh spells, maintaining Magic Barrier before the boss ran out of magic points, and always healing whenever she fell under 500 HP remaining. It took some time to eliminate Baramos' health at roughly 325 damage dealt per round with doublecasted Kaswooshes, however this boss doesn't regenerate health so there was no particular hurry. For better or for worse, this is an RNG-heavy boss fight for most solo characters due to the presence of those paralyzing attacks on Baramos plus his chance to critically strike. I have the feeling some characters are going to have to cross their fingers and hope to dodge the bad stuff via a bunch of repetitions; at least the monster crits are never guaranteed to show up.
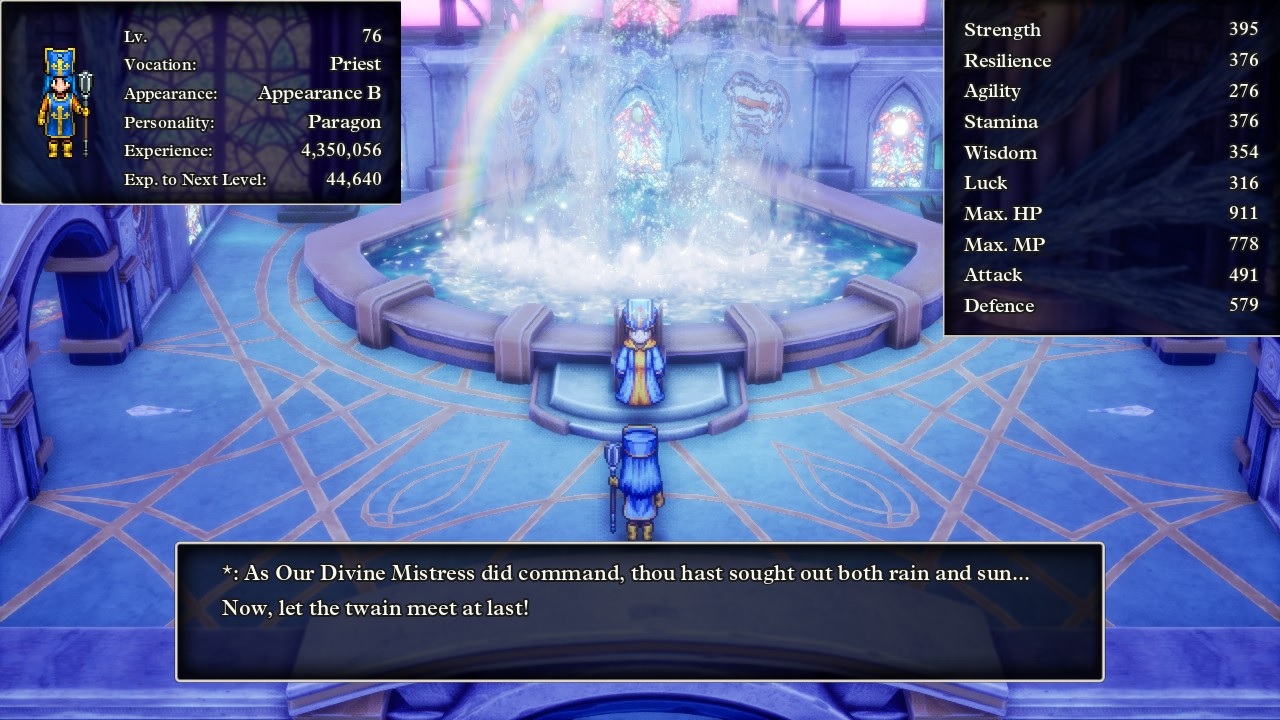
Now Hildegard had completed every part of the underworld aside from Zoma's Citadel itself. However, there was one small issue: she was only Level 76! This was a departure from my prior solo characters who had all been around Level 92-95 at this point thanks to having lower XP requirements. The Priest class required about a million more experience points than the other classes to cap out at Level 99 and that clearly wasn't going to happen from Zoma's Citadel alone. I decided to spend some time grinding out additional experience, preferrably in a spot where Hildegard also had the chance to obtain some more stat-boosting seeds in rare monster drops. One of the best places for this was outside the town of Lanson in the overworld, where the Rampage enemies had Seeds of Strength as their 1 in 64 item drop. They were a common foe in random encounters and I had Hildegard fight there for a while until she gained several more of the valuable seeds. The one downside? Battles at a spot so much earlier in the gameplay only paid out around 2000 XP apiece which meant that it took forever to gain new levels costing more than 100,000 XP each. Eventually I grew tired of this and send Hildegard into Zoma's Citadel for a change of pace while her level was still in the mid-80s:
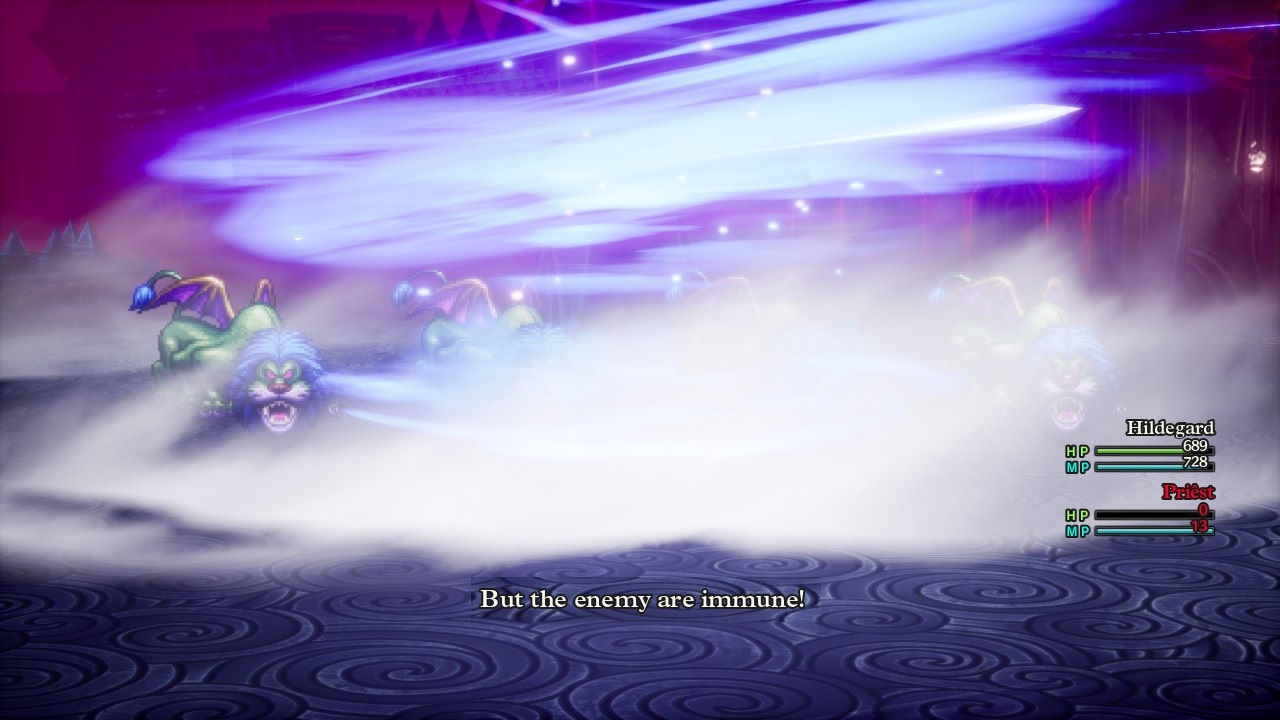
This was an appropriately difficult dungeon as befitting the final location in the game, with lots of monsters that packed deadly spells. The Soaring Scourgers liked to spam Kasizzle (which the Dragon Robe did not protect against since it only worked against breath attacks), the One-Man Army skeletons could block Hildegard's spellcasting with Fizzle, and the Hocus-Poker mages had to be eliminated first because they would revive the other enemies with Kazing spells. Notably this was also a dungeon where many of the opponents had heavy wind resistance, with the Stone Guardians and Dragon Zombies both having fully 70% wind resistance which made it better to run away than fight the latter monsters with their 660 (!) HP total. The pictured Franticores were even worse: they were one of the first monsters in the game to be completely immune to wind element damage, 100% resistance against Kaswoosh. Hildegard was able to muddle on through these random encounters with a lot of self-healing (and even had a THIRD Shield of Shame drop from the Franticores!) but they were never routine combats and took some effort on my part.
The biggest prize inside the Citadel was of course the Shimmering Dress down on the fourth basement floor, which instantly outclassed the Dragon Robe in every respect. The Shimmering Dress had the highest Defense rating (105) that a Priest could equip before the postgame while reducing all spell damage and all breath attacks by 33%. Combined together with the Goddess Shield, that meant 58% protection against every possible form of elemental damage - as I've said before, I really have no choice but to make all of these solo characters women since male characters cannot equip the Shimmering Dress. Anyway, Hildegard gained several levels while clearing Zoma's Citadel but now she was still stuck, only about Level 85 and with only the final boss gauntlet remaining. It was time to farm out the final 1.5 million or so XP remaining before hitting the level cap:
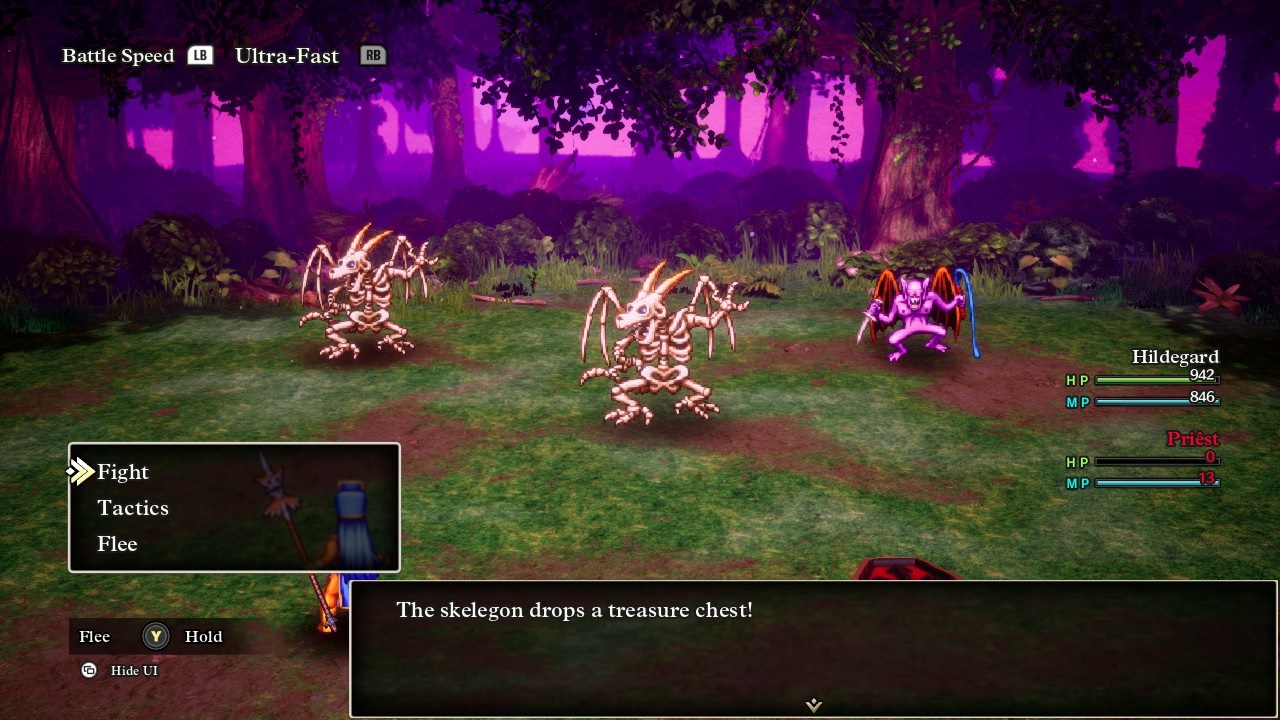
The best location to do so seemed to be just outside the village of Kol in northeastern Alefgard. The monsters here were advanced enough to be worth about 7500 XP per combat and these pictured Skelegons were another enemy with 1 in 64 odds to drop Seeds of Strength. Hildegard fought random encounters here long enough that I became quite familiar with all of the potential enemies in the neighborhood, Skelegons and Flying Flayers and Muddy Hands and Ghouls. Those Ghouls were a common opponent and had the Cloak of Evasion as their associated item drop at 1 in 16 odds, which Hildegard found so many times that she wound up with more than a dozen of those stupid cloaks! Interestingly, the Flying Flayers had a very rare item drop in the form of the Siren Sword, a weapon that has 1 in 256 odds to appear and cannot be obtained in any other fashion. When I saw this pop up in a treasure chest after one of the battles, I had no idea what it was since I had literally never seen this item before. The Siren Sword has a middling Attack rating of 79, can only be equipped be female characters, and casts the Fuddle spell (confusion status) when used in battle. That sounds potentially useful except that all of the endgame bosses tend to be hugely resistant against confusion status, except King Hydra for some reason. I held onto this single Siren Sword as a curiosity though I didn't think Hildegard would have any real use for it.
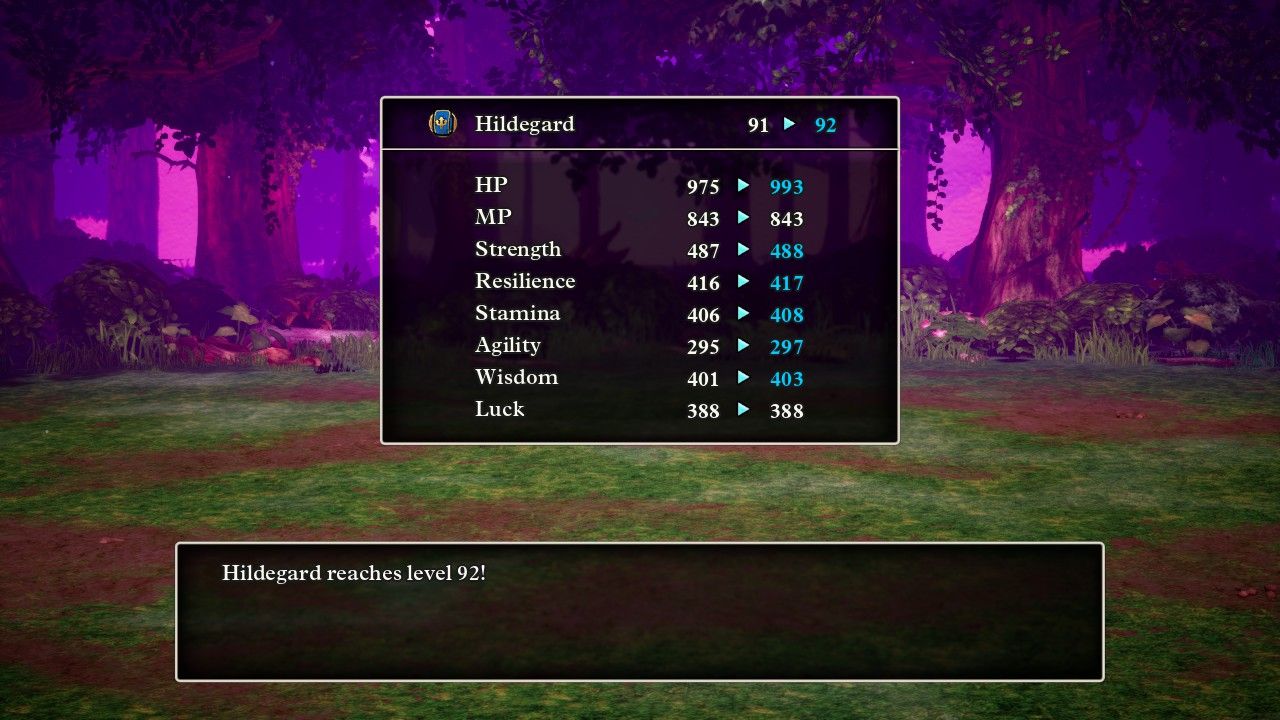
Oh, and I also need to mention that these very late levels had terrible gains from a stats perspective. Check out this atrocious increase from Level 91 to Level 92, with Hildegard gaining 1 point of Strength, 1 point of Resilience, 2 points of Wisdom, and 0 points of Luck! It turns out that not all levels are created equally in DQ3 and many of the classes fall off heavily in their stat gains during the final 20 or so levels from 80 to 99. Even with the Paragon personality and its 40% boost to Strength growth, Hildegard was only picking up 1 or 2 points of Strength with each new level, though at least she never had any of them where she failed to gain anything at all. She also BARELY managed to cross the 999 HP finish line, hitting the cap on her next-to-last chance at Level 98. It appears as though I had hit exactly enough Stamina on this character build and not a whisker more than was needed.
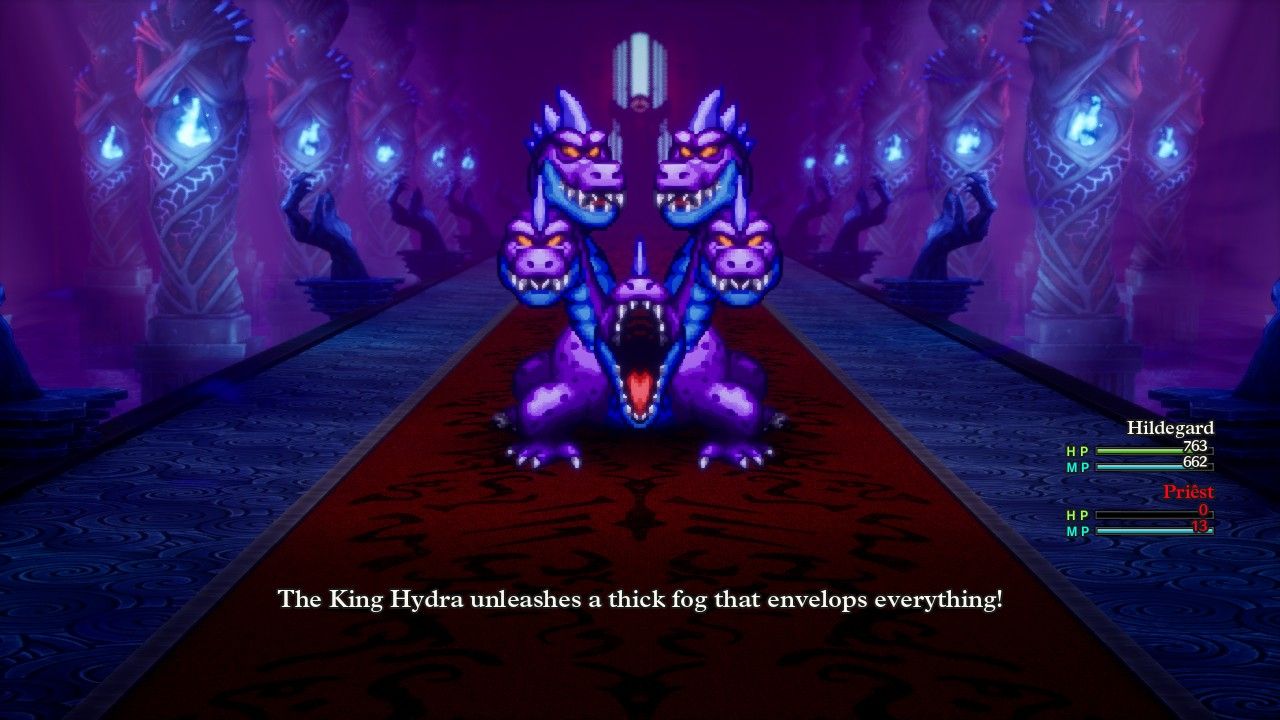
After a lengthy period of grinding and a handful of additional Strength seeds pocketed, Hildegard returned to Zoma's Citadel at Level 95. These final bosses actually pay out of a lot of XP and I wanted to take advantage of those gains, at least from the first two opponents. The initial boss was King Hydra who typically proves to be the weakest of the ending group. The AI scripting for King Hydra was an absolute mess, with three or four different conditional effects determining what the boss did, so I didn't even try to make sense of it. The big purple snake can be summed up more succintly: King Hydra spams Inferno, Sweet Breath (sleep), and War Cry (fear) along with its basical physical attacks. The most important thing for Hildegard was equipping double Asbestos Earrings to take her up to 108% fire element resistance, which obviously neutralized all the damage from the Hydra's frequent Inferno breath attacks. This meant that the only way the boss could hurt her was with its melee attacks and they didn't even appear that frequently.
Instead King Hydra likes to use status attacks, lots and lots of different status conditions. It spammed the living daylights out of its Sweet Breath and War Cry abilities, however the direct damage from the boss was low enough that even falling asleep for multiple turns didn't put Hildegard in much danger. More interesting was King Hydra using the Monster Wrangler's Fog of War ability which removes all player buffs and inflicts an unavoidable silencing effect for the next three turns. That stopped Hildegard from healing herself and therefore I made certain to stay in the healthy zone when Fog of War wasn't in effect. Mostly Hildegard spent the whole fight either doublecasting Kaswoosh for about 350 damage, or else using her melee attacks for roughly 250 damage when Fog of War was in effect. This had to contend with the Hydra's innate 89-129 HP regen per round, and Hildegard was disabled for long stretches via sleep or fear so this battle stretched out for quite a while. There was never any doubt that Hildegard would win eventually, the monster regen only dragged things out. Clearly a low-offense character like Hildegard didn't enjoy opponents who could also regenerate health.
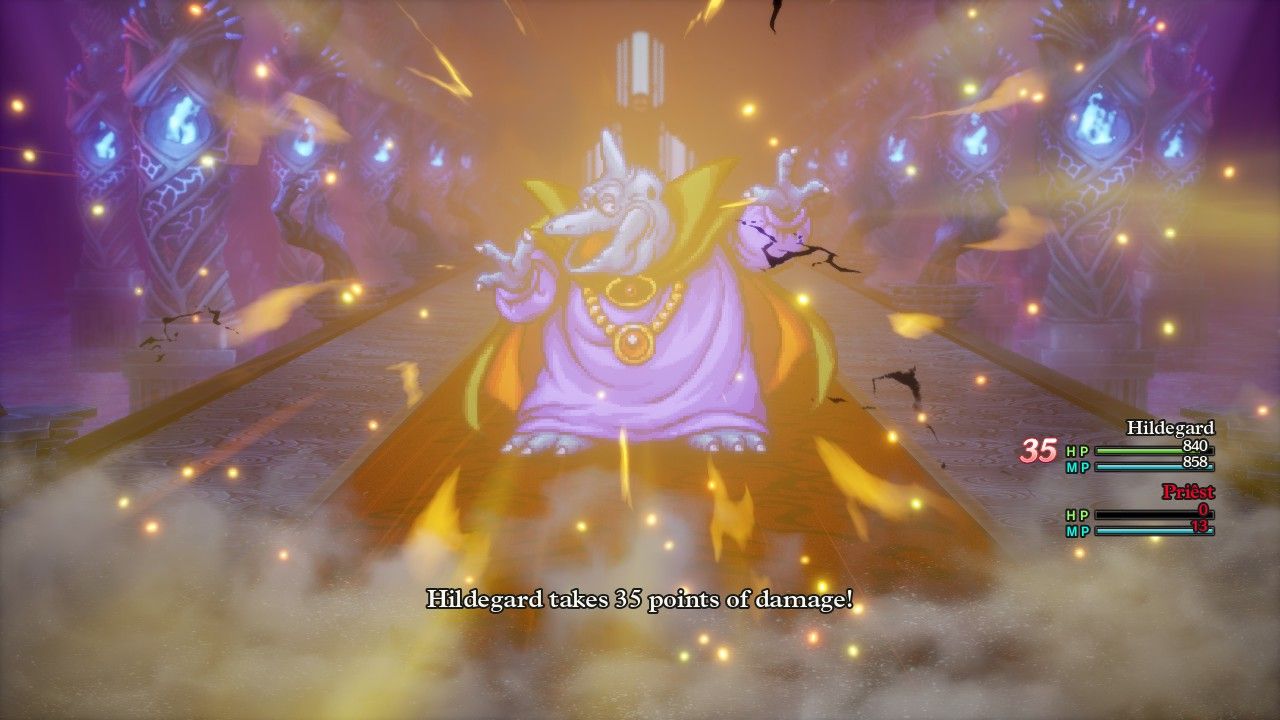
Next in line was the Soul of Baramos refight, a boss encounter that looks very similar to the previous one in the Tower of Rubiss. This time the Soul of Baramos lacks the Ashdemon minions, instead getting 2-3 actions per round rather than the 1-2 actions that it had previously. The Hyperwiki.jp website has the stats for this refight but not the AI scripting pattern, which as far as I can tell is very similar to the initial one with a few changes here and there. Most notably the second Soul of Baramos will cast the Thwack instant death spell which Hildegard was able to block by having some Dieamends in her inventory. Otherwise it was largely the same stuff, with the Soul of Baramos heavily emphasizing its melee attack, the Kaboom spell, and the Inferno breath attack. Hildegard was better protected against those elemental abilities now, with Inferno completely neutralized by her gear and Kaboom reduced to a nuisance. I maintained the Magic Barrier protection and that along with the Shimmering Dress and Goddess Shield took her to 78% resistance against explosion damage, Kaboom lowered from its default 96-140 damage down to about 25-35 damage per casting. Hildegard could easily survive that.
This meant that the only real danger in the boss fight came from the monster critical hits that the Soul of Baramos could break out, which there doesn't seem to be any way to avoid. Hildegard had no choice but to tank a lot of those blows since she was so slow at killing the Soul of Baramos, still stuck doublecasting Kaswoosh for roughly 350 damage per round because that was better than her melee damage. This version of Baramos had 6100 HP and that took some time to chop through. Conversely though, Hildegard could heal herself endlessly with Fullheal so it was essentially impossible for her to lose the boss fight unless all of her Dieamends were used up. Another leisurely boss fight resulted in another victory for our solo Priest.
Now it was time for the real challenge, the boss that I had spent the entire game strategizing about how to defeat: the Bones of Baramos.
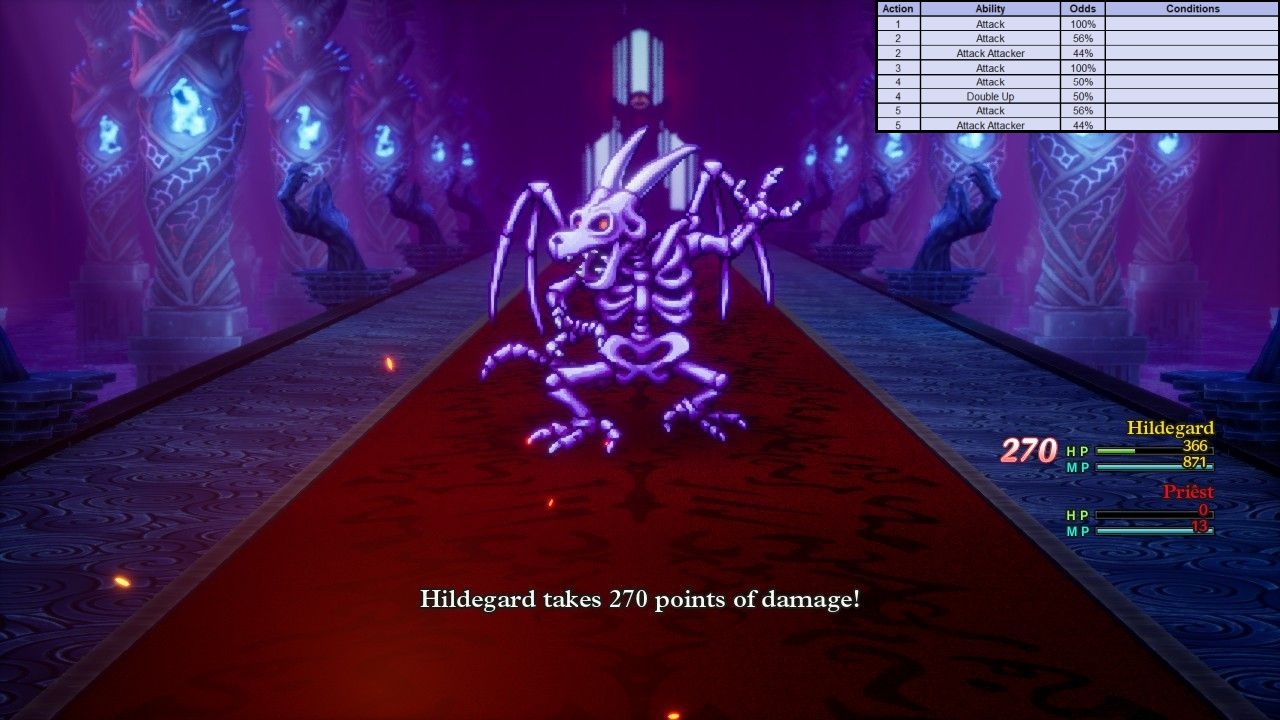
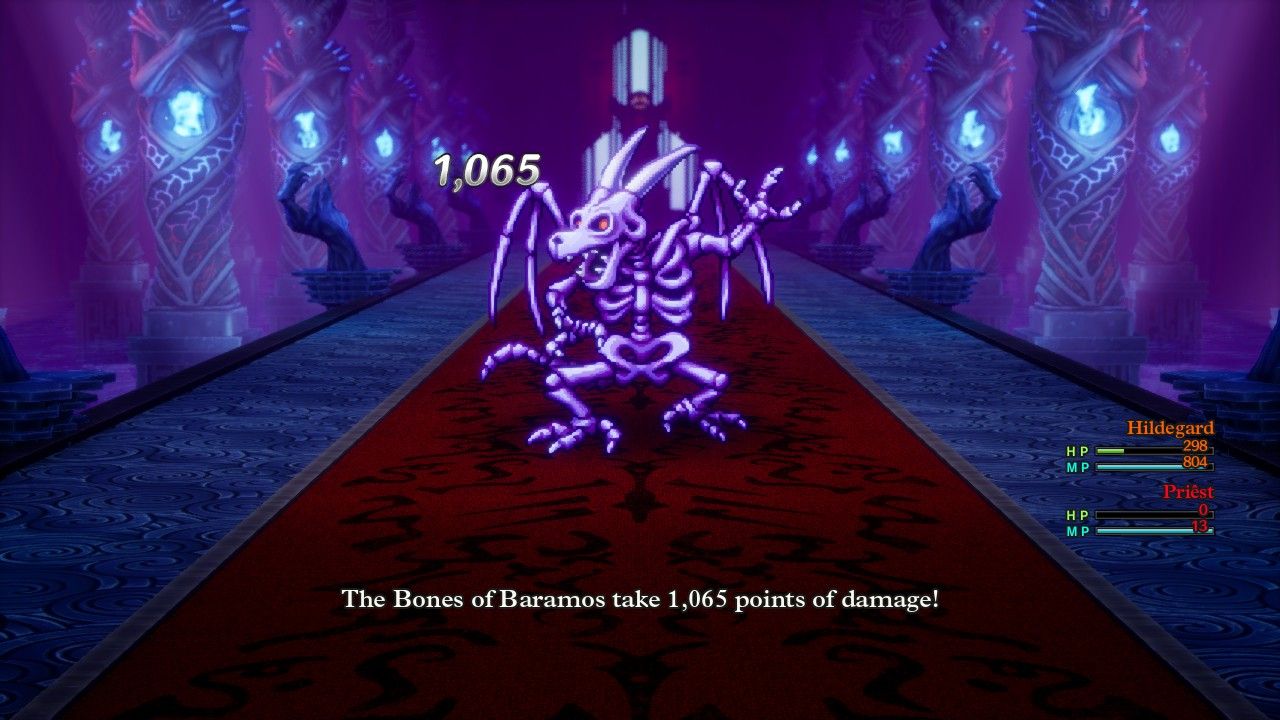
Hoo boy, where do we start with this thing. The Bones of Baramos has the highest base stats of any monster before hitting the postgame content, and it's not particularly close. This thing has a truly monstrous 545 Attack stat which is actually higher than the Xenlon superboss in the postgame (542) and leagues beyond Zoma's 390 Attack. This deadly physical attack pairs distressingly well with the simple AI script for the Bones of Baramos which I've reproduced in full over on the right. The boss only has five total actions and no conditional branches based on boss health or status effects. The Bones of Baramos will attack, again and again and again, with roughly 50% odds to use the Attack Attacker debuff on several of those rounds. Action #4 is usually the most dangerous part of the AI programming, where the boss has 50% odds to use the Martial Artist's Double Up ability that doubles damage dealt at the cost of doubling damage taken. Note that the Bones of Baramos only takes extra damage AFTER using Double Up, and Hildegard always acted first due to having higher Agility, thus making the beneficial aspect of this ability never take place. This can easily spike the damage up to ridiculous levels, such as the pictured 270 damage (!) that Hildegard took in the screenshot above. Even on a normal round of combat, Hildegard was taking about 125 damage per attack and the Bones of Baramos randomly takes either 2 or 3 actions per round. There's no elemental protection equipment to help the player here, any solo character must survive a brutal and relentless pounding to overcome this boss.
But so what, you might be thinking. Hildegard had access to nigh-infinite healing, why would this particular boss pose a problem for her? Well, there's a secondary aspect to the Bones of Baramos that turned this opponent into a nightmare for her setup:
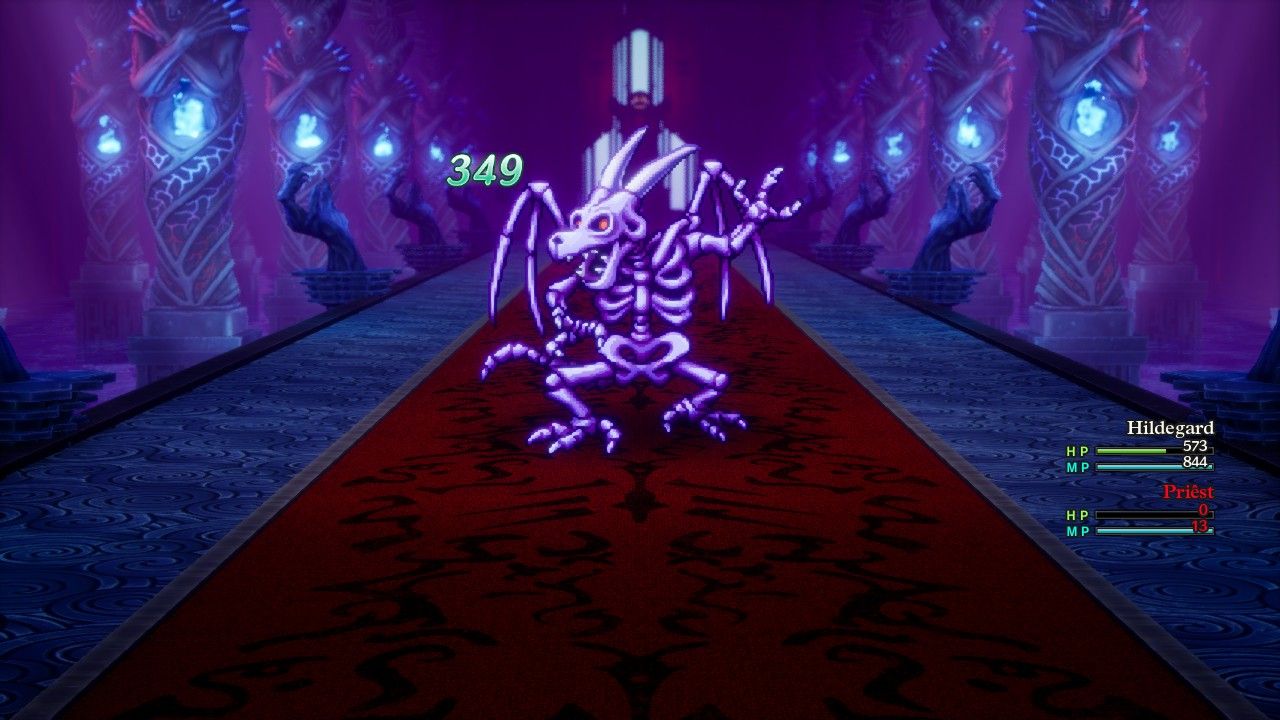
This boss also regenerates health at a crazy rate.  The Bones of Baramos will always heal for 290-399 HP at the end of each round, for an average of 345 per round, and it should be immediately obvious to readers why that spelled disaster for the low-offense nature of Hildegard. This is essentially a boss where the party has to burst it down quickly with overwhelming force to overcome the constant regeneration, and, uh, Hildegard had zero burst damage available. The slow and steady pace that had served her so well for the rest of the game unfortunately fell apart here at the very end.
Now my original plan had been to use doublecasted Kaswooshes to overcome the Bones of Baramos. This is where the boss turns into a mathematical exercise: Kaswoosh deals 90-120 base damage and the Bones of Baramos has zero wind resistance to affect those numbers. Add in the 60% Wisdom damage bonus and then the 30% damage bonus for hitting a single target with a group spell, and those numbers turned into 188-250 damage. Double that with the Duplic Helm and you get 375-500 damage per round or an average of 437 damage dealt, which I estimated would be just barely enough to overcome the 345 HP that the Bones of Baramos regenerated each round. Remember that Hildegard would have to spend some rounds pausing to heal herself so she needed to clear the regen rate by a good margin to make forward progress. That's why I originally went with the Ironclad personality, with the goal of stacking the maximum possible Resilience stat to cut down on the damage taken from the Bones of Baramos while slowly whittling away at its health with Kaswooshes.
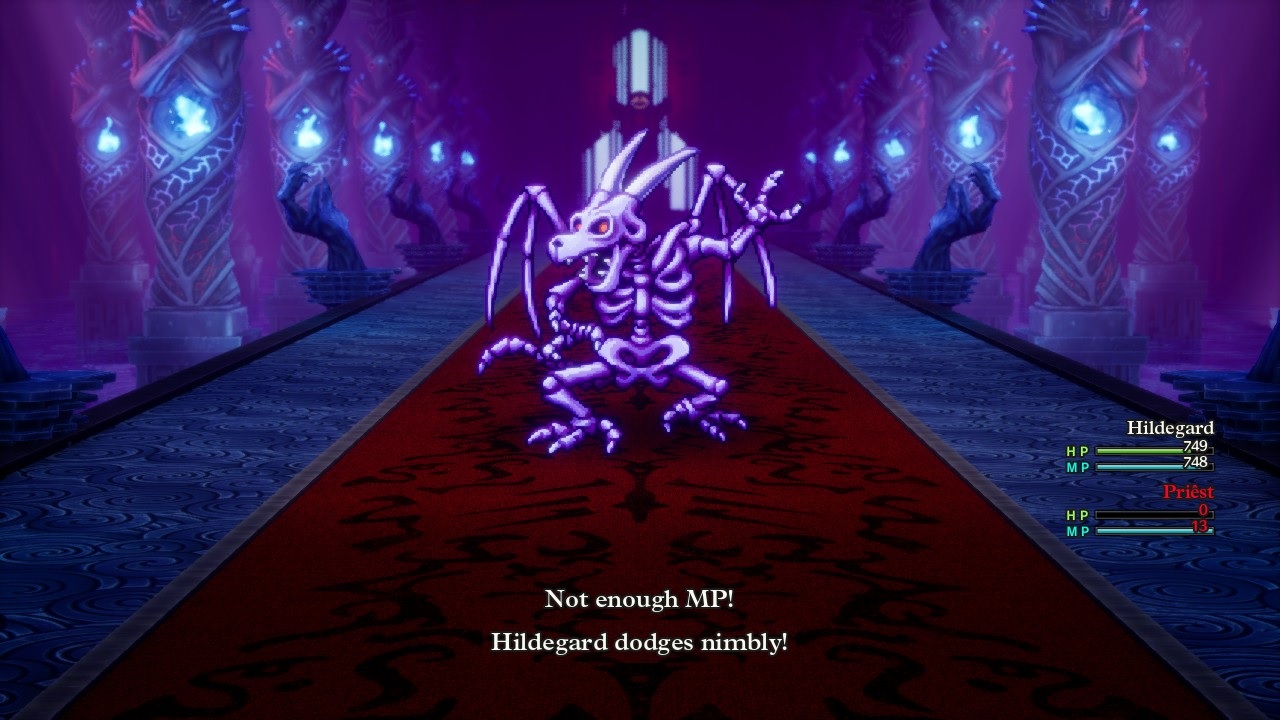
But halfway through the run, I had realized that my original plan wasn't going to work. The discovery that Kaswoosh did *NOT* get its 30% single target damage bonus against bosses (which it definitely did against random monsters) was a crippling setback that forced me to return to the drawing board. Without that extra damage, Kaswoosh was only dealing 144-192 damage with the Wisdom bonus, for 168 average or 336 damage with the Duplic Hat's doublecasting, and that was clearly insufficient to overcome the monster regen rate. (I did verify these numbers when Hildegard reached the Bones of Baramos.) And there was no way to boost the damage of Hildegard's spells further, no amount of additional Wisdom stacking would ever increase Kaswoosh's damage beyond that 60% bonus amount. This is a major reason why spellcasting classes tend to be weaker than physical ones in DQ3, as there's much more of a limit to the scaling on their various spells. It could be worse though: the original version of the HD-2D remake capped the Wisdom damage scaling at 30%, which was increased to 60% in a later patch, and originally the Priest class couldn't equip the Duplic Hat at all! Definitely do not try this solo challenge in the 1.0 version of the game, heh.
Anyway, Kaswoosh was not going to be enough to defeat this boss and that forced Hildegard to have to rely on *gulp* her physical attacks. This is why I had switched her over to the Paragon personality in an attempt to wring every point of Strenth possible out of her character build. Unfortunately the Priest class has terrible Strength growth, naturally hitting a mere 226 Strength at Level 99 which is lower than everyone other that the Mage and Goof-Off. (The Hero gets 492 Strength and the Warrior gets 370 Strength by way of comparison!) With all of her Seeds of Strength and bonus stats from Paragon personality, Hildegard was finishing the game with right around 520 Strength for about 620 Attack with the Demon Spear equipped. I doubted that damage would be enough to overcome the regeneration on the Bones of Baramos but I had to try.
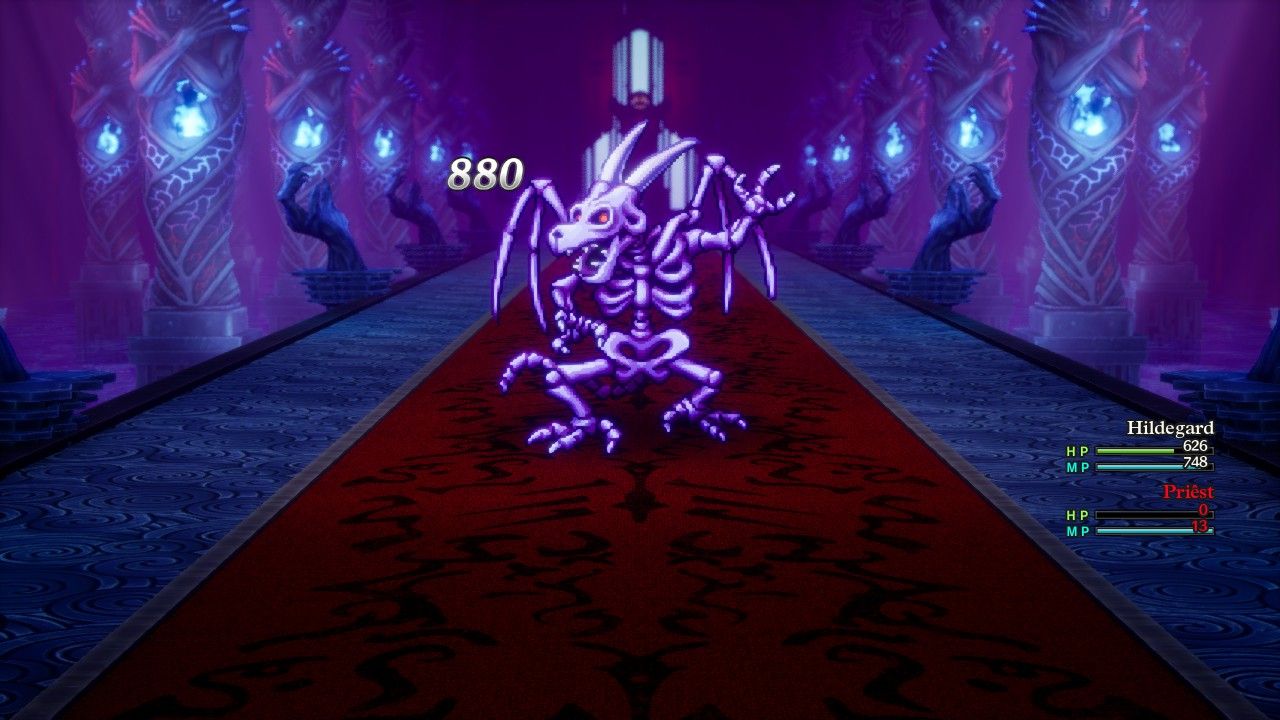
There were some tricks that Hildegard could use here in her epic duel. The first order of business was running the Bones of Baramos out of MP, which would then turn those Attack Attacker and Double Up actions into "Not Enough MP" duds where the Bones of Baramos failed to do anything. Hildegard was an expert at healing and defending so that was simple enough to do. I brought the Cloak of Evasion to this boss fight for 1 in 8 odds to evade attacks which came in handy on the occasions when the dodges popped up. Then she could also doublecast the Sap spell to lower the Defense on the Bones of Baramos as this opponent has no Sap resistance. With Sap stacked the maximum three times and with Oomph Powder in place, Hildegard could hit for nearly 900 damage at once, aha! Unfortunately though, I found that it was impossible to maintain Oomph and Sap at the same time while also healing Hildegard from damage taken. That was simply too many rounds spent not dealing damage in the face of that constant 345 HP regeneration. I had to pick one buff or the other and Oomph was clearly the stronger and easier buff to apply. I could stack the Sap debuff before beginning to deal damage and get a one-time boost to Hildegard's first few attacks, however once she started attacking in earnest there wasn't time to reapply Sap any longer.
With all of that in mind, Hildegard clearly did not have enough damage to make progress during my initial attempts at the boss. She was hitting for about 270 damage with her base physical attack, or about 540 damage with Oomph Powder in place, and unfortunately that wasn't enough. She could get off 2-3 attacks before needing to pause to reapply Oomph and then heal back to full, which mathematically wasn't enough. If she was able to get off three attacks (which wasn't always guaranteed), that would be about 540 * 3 = 1620 damage... which would be healed away by 345 * 5 = 1725 HP of monster regeneration. The numbers simply did not work out. Hildegard would need to improve her Strength stat and come back again later with higher damage.
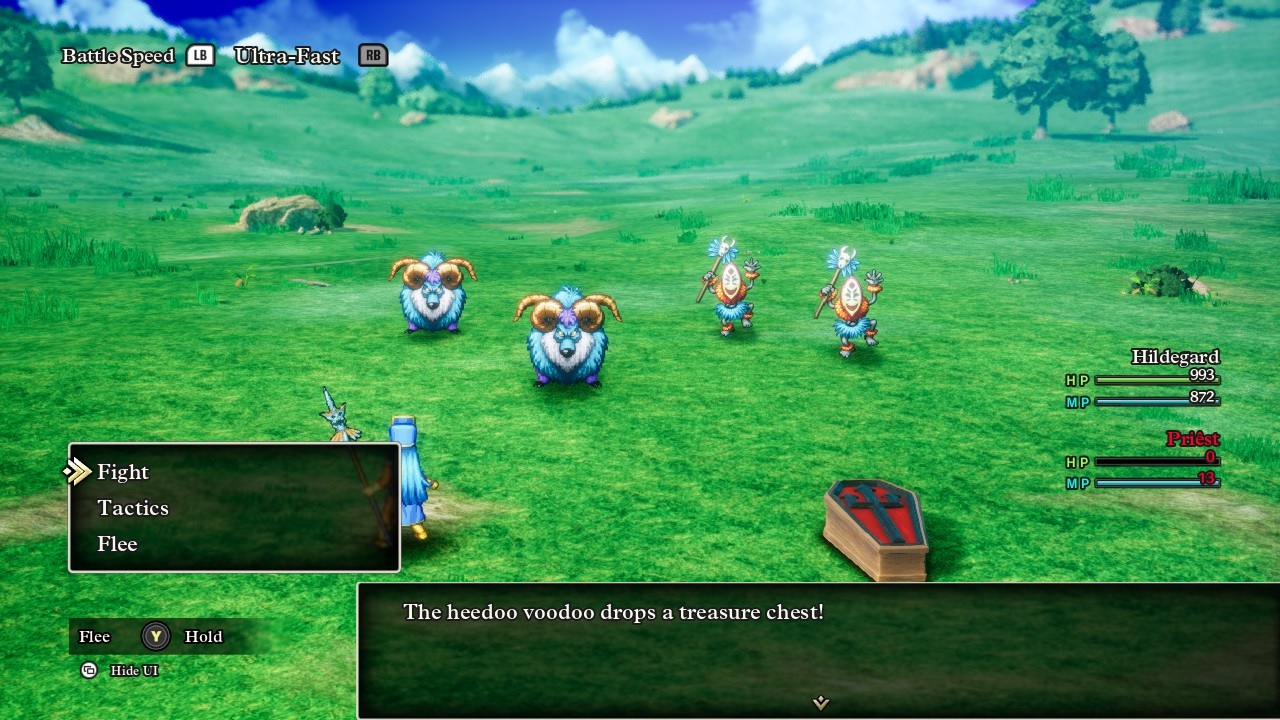
Fortunately there's a way to do that in DQ3 since the various stat-boosting seeds can randomly drop from certain monsters. The odds are almost pathetically low at only a 1 in 64 chance but it is indeed possible. The best place to farm these seeds was (again) outside of the town of Lanson, where it was possible to get two different types of drops. The blue goat Rampage monsters had a chance to drop Seeds of Strength while the Heedoo Voodoo enemies had Seeds of Luck at the same 1 in 64 odds. While Strength was the stat that Hildegard most needed, she could actually benefit from stacking more Luck as well. I had previously equipped the Elevating Shoes accessory against the Bones of Baramos since its 50 Luck took Hildegard from the "normal" Luck range up to the "high" Luck range which was worth 10% more physical damage. However, Hildegard was only about 20 Luck away from hitting this target naturally. If she could farm 7-8 more Seeds of Luck, then she could remove the Elevating Shoes and bring another Mighty Armlet instead for another +16 Attack (she already had one Mighty Armlet in the other accessory slot). My damage calculator suggested that she needed about 700 Attack to deal enough damage to overcome the boss regen rate, so with enough Luck she could pick up those 16 points of Attack and then needed, ummm, about 65 more Strength from seeds. Better get to grinding. 
Make no mistake, this was an exceedingly tedious process for Hildegard. 1 in 64 drop rates are pretty atrocious though at least there were two different random encounters that had four Rampages present which jumped the odds up to a more palatable 1 in 16. There were only four total enemies in this region: Rampages, Heedoo Voodoos, Shades, and then Dread Admiral butterflies, though there were few of that last monster type. The Rampages were annoyingly 40% resistant to wind element, though at least the Heedoo Voodoos had a corresponding -30% resistance. I took my time with this process, putting in an hour or two of time every now and then, practically dancing for joy whenever one of the treasured seeds would drop. We can skip past all of that in this written report though and get back to the main action. Many, many hours later Hildegard managed to reach enough Luck to equip the second Mighty Armlet and hit the 700 Attack target. She actually wound up with way more Luck than needed since Hildegard was fighting inordinate amounts of both Rampages and Heedoo Voodoos. It was time to return to the boss for a second try:
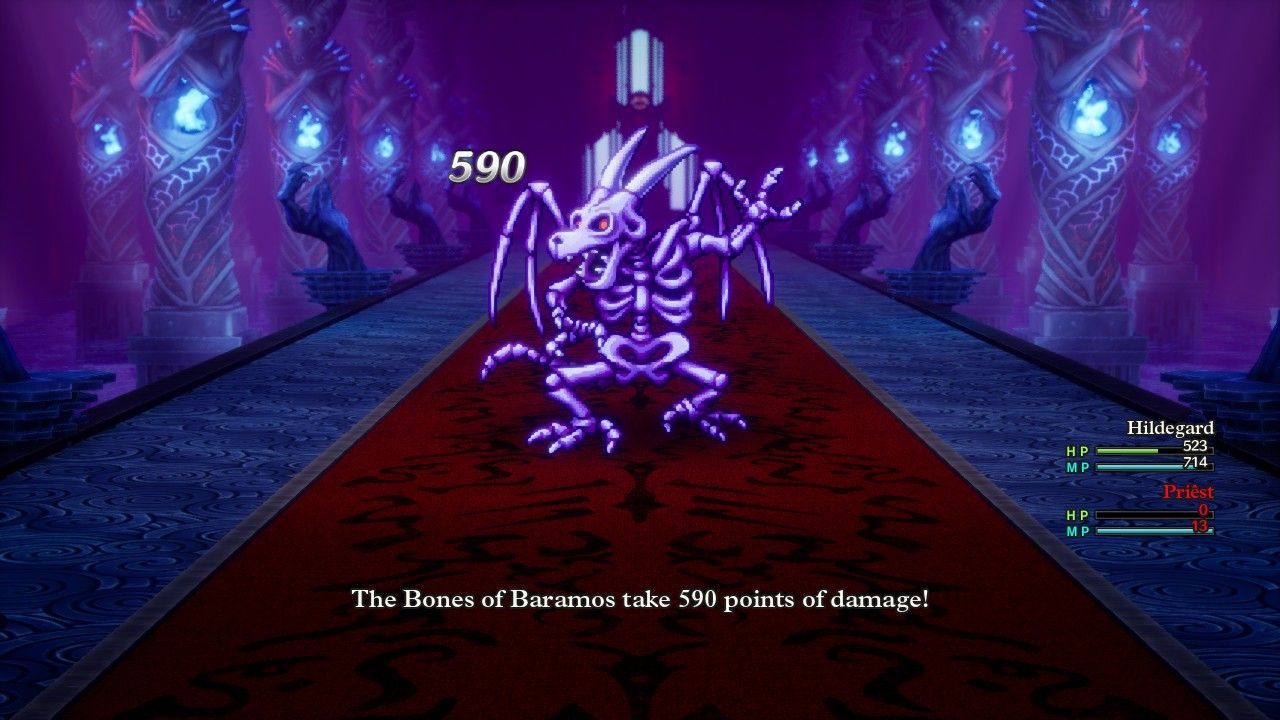
I could tell the difference right away against the Bones of Baramos with this boosted Attack on Hildegard. She was now hitting for about 292 base damage, or 585 damage with Oomph in effect, which was far better at overcoming the math of the health regeneration. Using the same sequence I described earlier, getting off three Oomph-boosted hits before having to pause for two rounds to heal and reapply the Oomph buff, Hildegard was dealing 585 * 3 = 1755 damage against 345 * 5 = 1725 HP of monster regeneration. Rather than consistently falling behind in the math, she was now essentially treading water, maybe just barely making progress at a microscopic rate. I made several attempts at this battle and managed to get the Bones of Baramos down to around 1000 HP remaining at the high water mark before needing to heal and rebuff Hildegard. But unfortunately it still wasn't enough, just barely not enough to make it over the hump. Hildegard was actually running out of Oomph Powder becaus she could only bring 14 of them into the battle which would wear off before she could beat the thing. It looked like she needed just a small bit more damage, sigh.
I spent more time poking around with the damage calculator and saw that Hildegard would be able to average 600 damage per hit if she could reach 730 Attack, another 10 Seeds of Strength above where she was at the moment. Even though it seemed like a small change, dealing another 15 damage per hit would legitimately matter in overcoming the regen math on the Bones of Baramos. I resolved to grind out these seeds, then realized that I could also make progress against the boss by lowering the damage Hildegard was taking. Fewer rounds spent healing meant more rounds spent stabbing the evil skeleton which would make a huge difference. Therefore I could also farm Seeds of Defense as well:
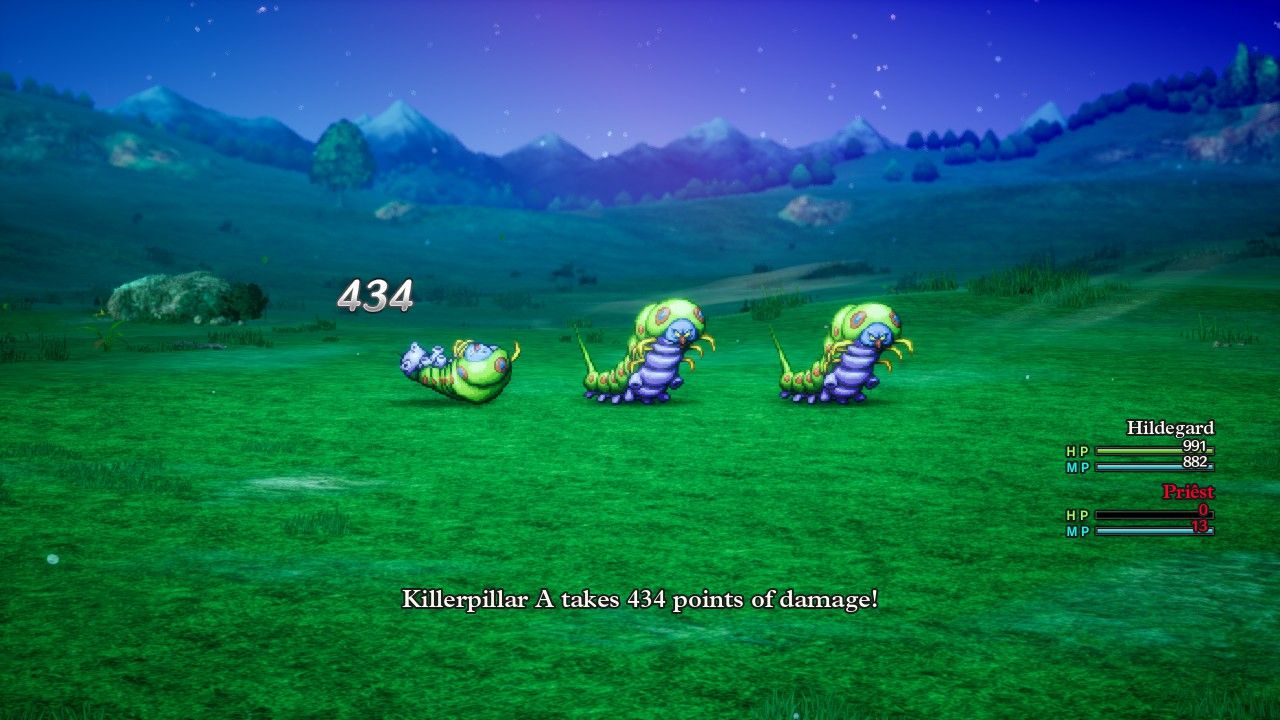
Which turned out to be surprisingly rare in DQ3 as only three monsters on the whole game can drop them. Since XP and gold were completely irrelevant at this point, Hildegard found the best place to fish for Seeds of Defense was against these Killerpillars outside of Romaria. The big caterpillars had the same 1 in 64 odds to drop the seeds and were a common random encounter outside the castle town, with this battle against three of them having the best total odds for a seed drop. Hildegard spent another week grinding out ten Seeds of Strength and then took the time to get another half a dozen Seeds of Defense from these bugs. Every stat point counted after all.
I had a *LOT* of time to think while chasing after these seeds (though mostly I was watching videos or listening to podcasts while paying half attention) and realized that it was also worthwhile to make some gear changes to gain additional Defense on Hildegard. I figured out that the Duplic Hat wasn't really doing much in this battle as the need to doublecast Sap had little relevance. It was better to bring the Thinking Cap instead for 35 more points of Defense - that was nearly a dozen seeds worth of value! Similarly, the Cloak of Evasion only granted 12% dodge chance and had a very low defensive rating of its own. I decided it would be better to bring the Shimmering Dress and pick up 77 more points of Defense (!), even at the cost of losing all chance to evade in the process. This would also be more consistent which would allow me to strategize better while playing out the combat in real time.
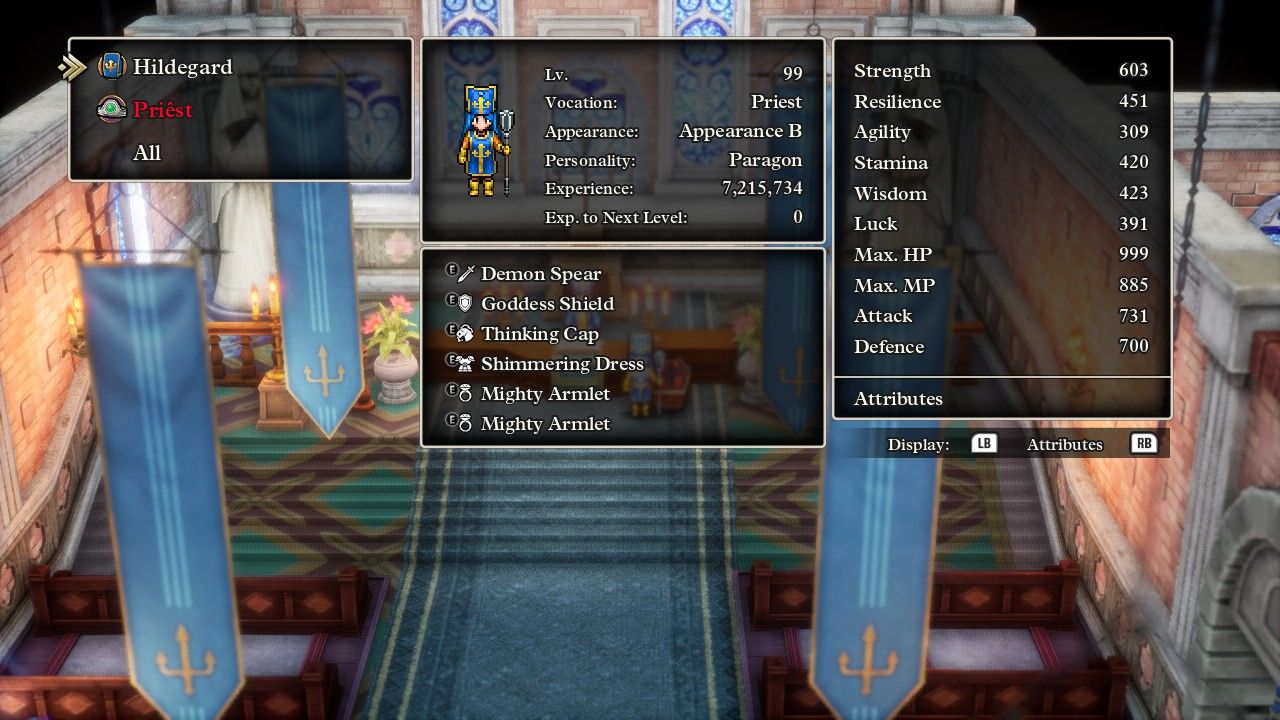
Here's where Hildegard found herself at the end of this lengthy process. She had grinded all the way to 730 Attack and an even 700 Defense, ludicrously high values compared to where a normal Priest character would be. More than 600 Strength on a class that normally ends the game around 225 Strength! And yet I still wasn't sure that this would be enough, even as I desperately hoped for no more grinding needed. Much as I had enjoyed Hildegard's journey, I was very ready to see its conclusion at this point.
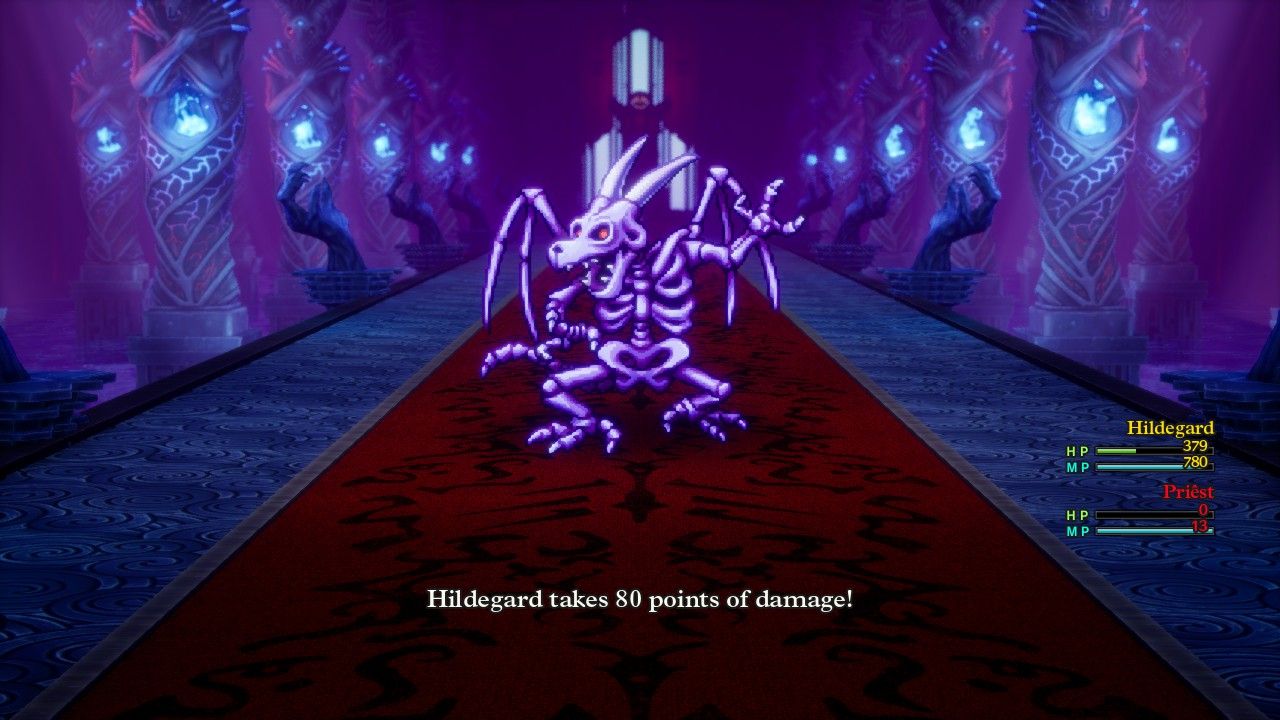
Back again to the Bones of Baramos then and I could definitely feel the difference of all that additional Defense on Hildegard. Before the boss had been dealing around 125 damage with its attacks, which now had dropped to the more comfortable 80-90 range. If Hildegard had 275 HP or more remaining at the start of a combat round, I could be confident that the Bones of Baramos would not be able to kill her even if it attacked three times. I still did my best to prep the boss with Sap spells before moving onto the offensive and was rewarded with a magnificent 1065 damage burst against a fully triple-Sapped enemy to start the combat. Again, Hildegard could not maintain the Sap debuff once she started using her turns to attack, but it was a huge lift to start the battle with a big initial burst. She even hit for 810 damage on the next round before needing to pause and heal, then reapply Oomph again.
I could see that Hildegard was visibly needing to spend fewer rounds healing, almost always getting to attack three times with Oomph in place and sometimes even getting four or five rounds before having to pause to heal and refresh the buff. There was a clear cycle here as Hildegard would outdamage the monster regen for several rounds of attacking, making progress against the ultimate HP total on the Bones of Baramos, then fall backwards for two turns of healing and rebuffing. Whereas before Hildegard had largely been stuck in place, neither gaining nor losing ground, now she was slowly advancing forward with each new cycle. The HP remaining on the Bones of Baramos dropped under 1200 HP remaining, then under 900 HP remaining after the next cycle, then under 600 HP remaining. I was playing aggressively with Hildegard, twice choosing to attack on the last turn of Oomph before it ran out when the Bones of Baramos could have potentially killed her. But that would have required the boss choosing to attack three times (50% odds), then also picking Attack over Attack Attacker two times at coinflip odds both times. I could live with roughly 1 in 8 odds of dying and both times the dice were kind.
Finally it all led up to this magnificent moment:
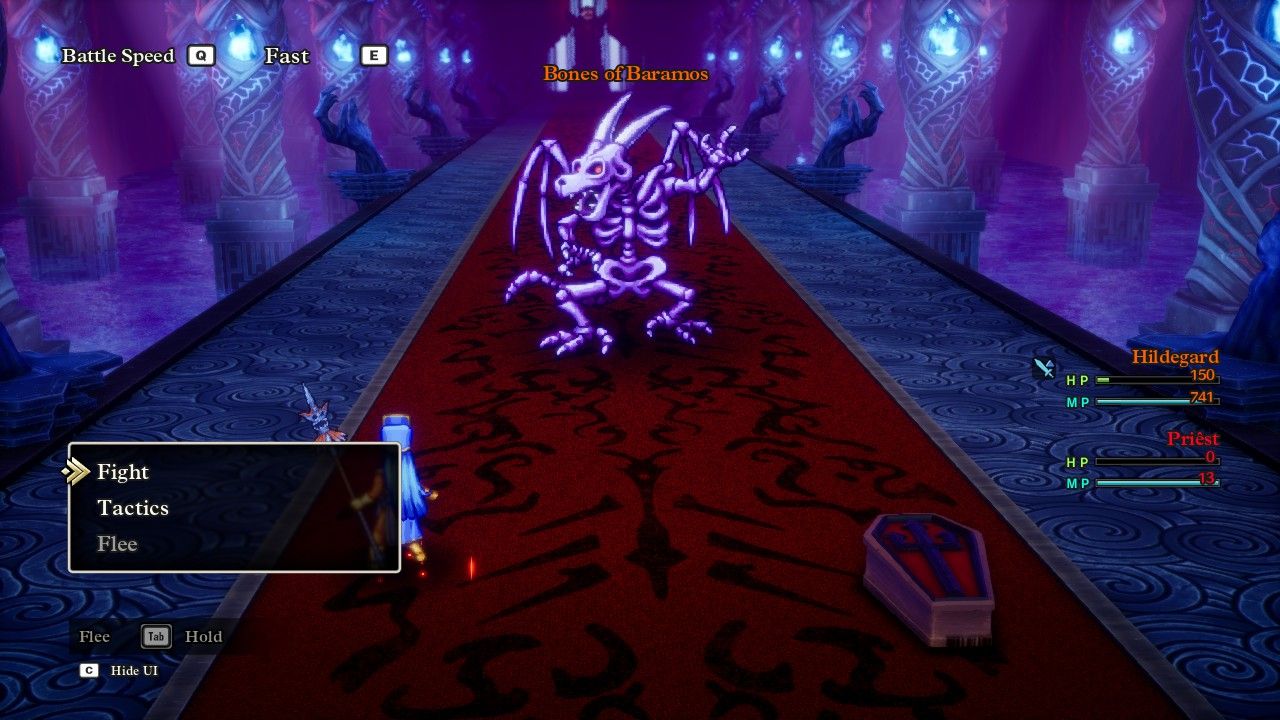
Hildegard was on the final turn before Oomph ran out (the little sword icon on the right blinks when a buff will expire at the end of the turn) and she had a mere 150 HP remaining which meant her death was 100% guaranteed when the Bones of Baranos attacked. However, she always acted before the boss and I knew from tracking its health total throughout the fight that the Bones of Baramos only had 561 HP remaining. Hildegard was guaranteed to deal at least 585 damage on her attack even if she rolled the lowest possible number in her current range and the Bones of Baramos doesn't have any innate evasion. I paused here for a long minute, savoring the victory, knowing that Hildegard had finally overcome this horrible obstacle. Then she delivered the final blow:
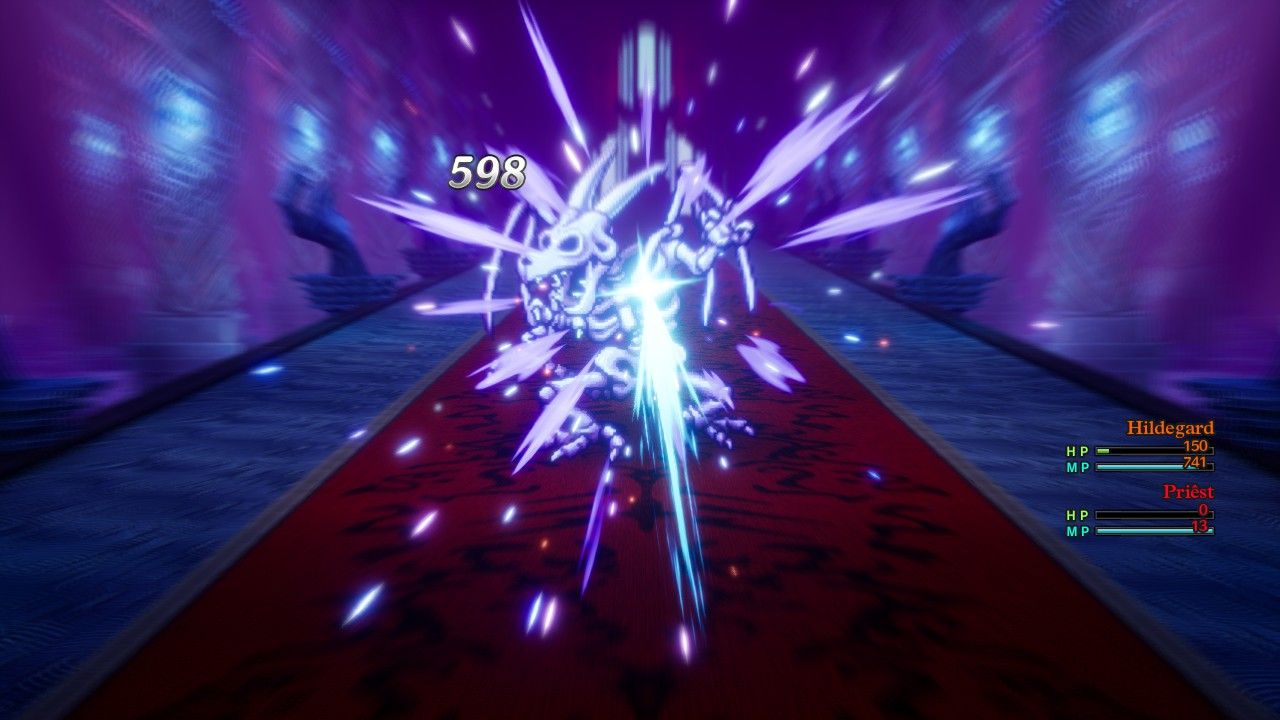
Die you horrible undead monster, die!  (Note: the Bones of Baramos is not actually classified as an "undead" or "zombie" type monster which was unfortunate as otherwise the Zombieslayer sword would have been really useful here.) All told, Hildegard had attacked 24 times and averaged just over 600 damage with Oomph in effect after her initial Sap bonus damage wore off. The Bones of Baramos regenerated health on 38 consecutive rounds (and healed back more than 13,000 HP over the course of the fight!) before dying on the 39th round before it could heal for a final time. What an incredible victory - this was one of the toughest, grittiest bosses that I've overcome in an RPG even if I spent something like 98% of the time investment slaying hopelessly outdated monsters in lengthy farming sessions.
The game was obviously over at this point since Zoma himself was infinitely weaker than the Bones of Baramos had been. With no danger to worry about, I equipped a pair of Antifreeze Earrings to max out Hildegard's cold resistance and then planned to use this final boss fight as another extended test of the Zoma AI scripting sequence. I made sure to use the Sphere of Light immediately as Hildegard clearly could not deal with the heavy HP regeneration on the "blue" form of the boss, then settled in for a leisurely combat against the normal "orange" version of the enemy:

This was pretty much what the fight looked like: Zoma casting either Kacrackle or his Freezing Breath ability and having zero effect whatsoever since Hildegard had 108% cold resistance. The only thing that did any damage to Hildegard was Zoma's basic melee attack which was hitting for about 40 damage at a time, an absolute joke compared to the Bones of Baramos. Zoma also does not regenerate HP in his orange form so Hildegard could take all the time in the world to bash away at him with Oomph-less melee attacks that did 275 damage apiece. (Kaswoosh wasn't a good choice here since Zoma has 40% wind resistance.) Slow and steady would win the race eventually, against anything that lacked HP regeneration anyway.
More interesting was testing out how Zoma's AI scripting works which I was able to figure out fully. For the most part, Zoma just spams Kacrackle, Freezing Breath, his basic Attacks, and then his Wave of Disruption that removes all buffs on the party. However, he has a separate AI script whenever he buffs himself which means whenever he uses his Channel Anger ability. That's the top-tier Goof-Off ability which increases attack and healing spell power by 180% for the next 3-5 turns and juices up Zoma's ice element abilities. In addition though, Zoma occasionally casts Kaswoosh (which he otherwise will not do) and starts using critial hits after he self-buffs. He actually CANNOT critically strike unless he has Channel Anger in play, though there's one crit that's guaranteed to happen in his AI scripting if he does buff himself. Zoma will never use Channel Anger if he has more than 67% HP remaining, then has low odds to use it (about 25-30%) while passing through his AI script when he falls into the 67-35% HP range, followed by a much higher chance to Channel Anger while under 35% HP left (75% odds to use the self-buff). So this is a battle that definitely gets more dangerous as Zoma's health drops and solo characters should try to burst through the final remaining health on Zoma quickly to avoid those guaranteed crits once the boss starts channeling his rage.
Of course Hildegard never had to worry about any of that because:
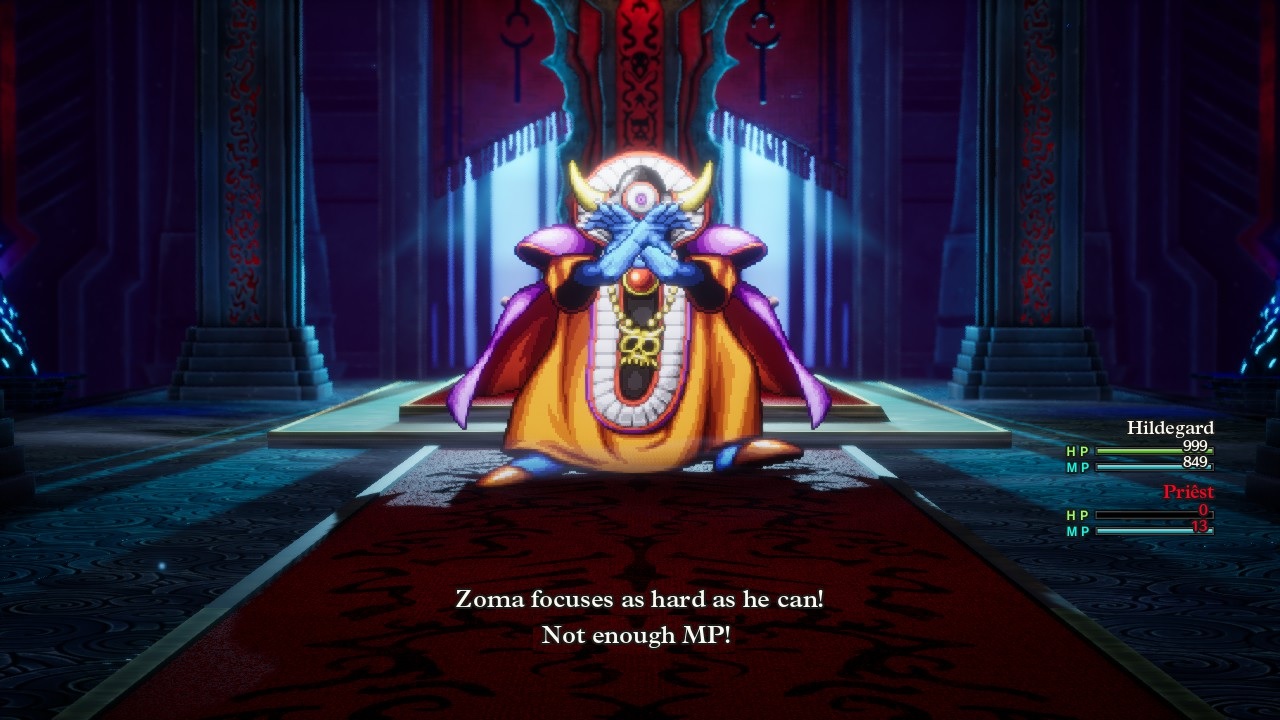
She simply ran Zoma out of magic points before he could ever buff himself.  Channel Anger does cost 16 MP per casting and Hildegard had run the boss dry before she ever dropped him under the 67% HP threshold. No Channel Anger, no switch to that alternate AI scripting, no critical hits to worry about from this boss. It might be possible for another solo character with high Defense to pull this off while healing with the Sage's Stone, though be aware that Zoma has 890 MP and has to cast Kacrackle something like 65 times to run himself out of magic points. His Freezing Breath is classified as a breath weapon and doesn't cost MP so that will never go away. I also verified that Zoma has the "smart AI" of Baramos and won't cast attack spells into a Bounce spell on the party, and he also stops casting Kacrackle once his MP are all gone and just attacks instead. All told, this was an interesting ten minutes I spent using Zoma as a guinea pig and figuring out what made him tick.
To make a long story short, Zoma was completely helpless against Hildegard who barely even had to heal herself with Fullheal while stabbing the final boss to death with her spear. Game, set, and match:

Hildegard was one of the more unusual characters I've played in a solo challenge game. On the one hand, she was almost never in real danger against pretty much anything because she could always fall back on her healing prowess and out-regenerate her opponents. Every boss fight in the whole game prior to the Bones of Baramos was such a cakewalk that I spent most of them studing their AI scripting rather than worrying about whether I could achieve victory. On the other hand, she had very limited offensive output and struggled mightily against anything that resisted wind element damage. She could limp her way to victory against nearly any opponent but then crashed into one of the worst roadblocks I've ever seen against the Bones of Baramos. Seriously, this was Final Fantasy 5 Solo Berserker levels of grinding needed to get past this obstacle, yeeesh! I'm not sure that I could have summoned up the willpower to finish this quest if it hadn't been for the absurdly cute sprite design on the Priest class in this game. I could not let this adorable little Priest down in her quest to rid the world of evil - curse you, Toriyama!
In any case, I'm taking a break for a while from DQ3 before coming back to do some of the remaining solo classes. We'll do something a little easier next time around - thanks as always for following along.