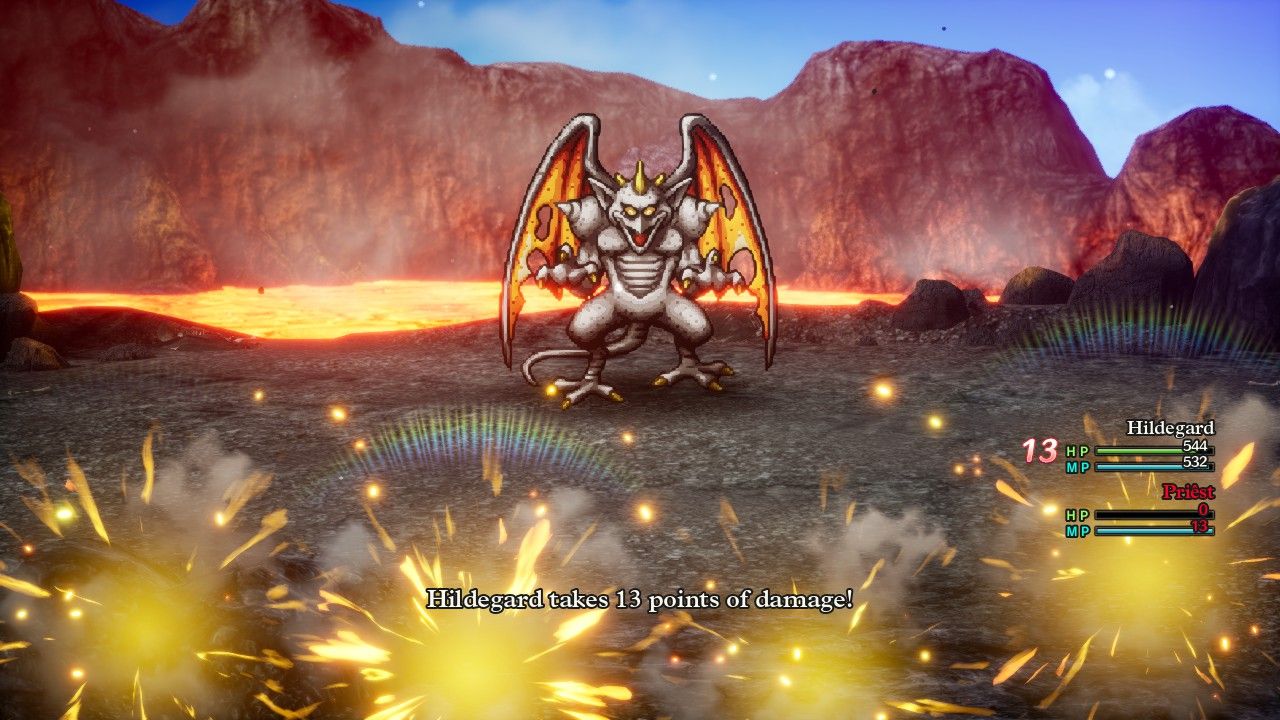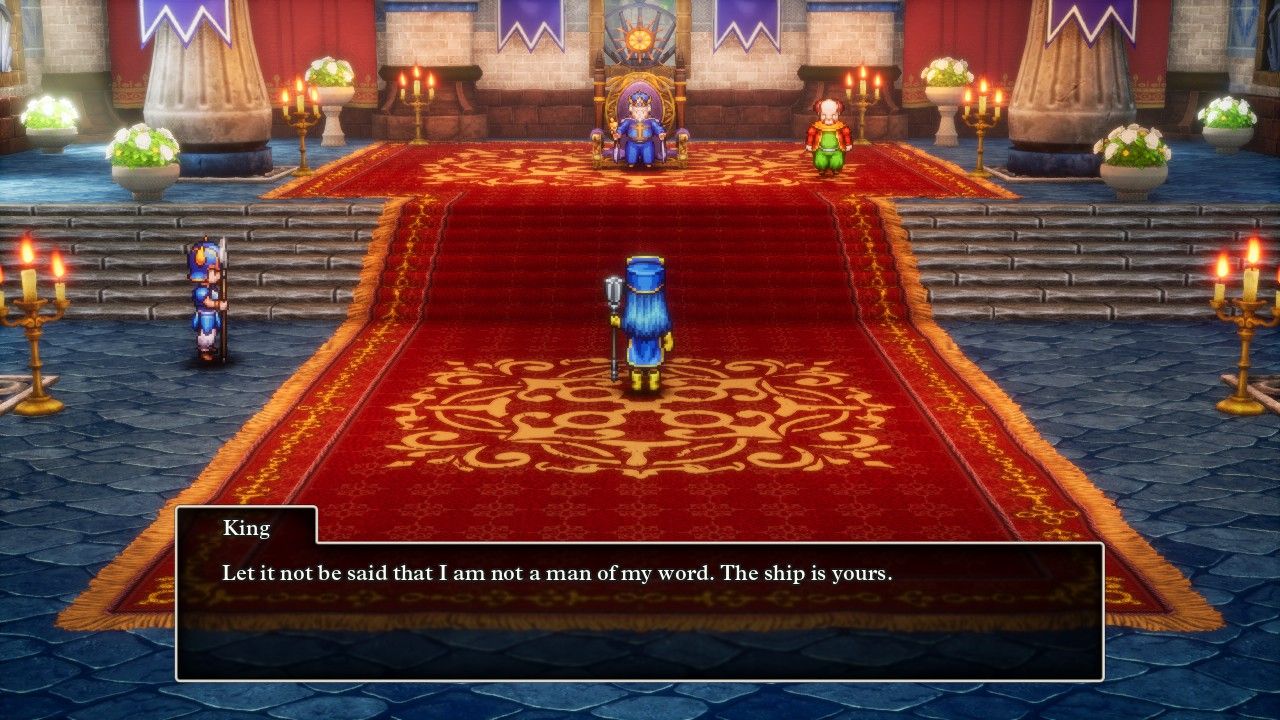
The retrieval of Black Pepper from this world's version of South Asia resulted in one shiny new ship deed for our heroine Hildegard. She had carved out a unique niche among the Dragon Quest 3 characters that I had played thus far, with more physical attacking than I had been expecting supplemented with her wind element spells for additional offense. The biggest advantage at Hildegard's disposal continued to be her incredible healing abilities which allowed her to regenerate from nearly any wounds suffered. Monster critical strikes? Not much of a problem as Hildegard would absorb the punishment and keep right on ticking. She was so good at surviving and stretching out fights over an extended period of time that I planned to use Hildegard for some AI scripting tests when it came to boss fights. If I could get a better understanding of how opponents like the Boss Troll worked in practice, that would help me theorycraft how to defeat them.
A huge part of this process was based on the use of a better source for DQ3 information online. Over the last few months, I had been compiling information from many different locations for the HD-2D remake of this game and, unfortunately, kept finding that much of the stuff that I turned up was simply incorrect. The weird damage results that I experienced against Robbin' Ood at the end of the previous page of this report had been the last straw and I did some more searching to find better data. The best source eventually turned out to be a website named Hyperwiki.jp which as the name suggests was a Japanese website with an extended section on DQ3. This presented its own difficulties as everything was written in Japanese and even using something like Google Translate didn't help all that much as everything had a different name in the Japanese version of the game. I can read hiragana and katakana just fine but that didn't help me until I was able to figure out that "Mera" meant the Frizz spell and "Bagi" was referring to Woosh's wind element damage!
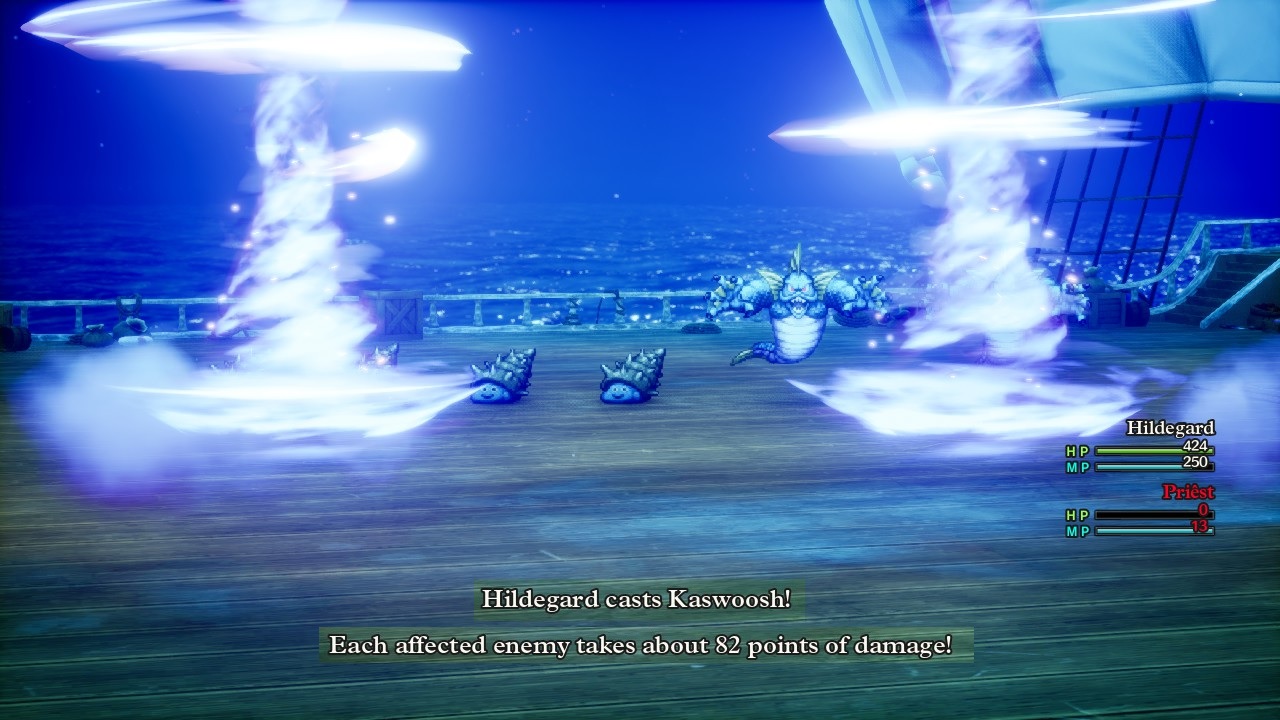
Anyway, to make a long story short, I discovered that much of the data I had been working from was incorrect. Some of the spells and abilities functioned differently than I had been led to expect, like the Warrior's Cutting Edge ability actually dealing 220% base Attack and not 300% as I had written all throughout my solo Warrior report. (The damage had consistently been lower than I expected, which I had attributed to low Luck, and I was slapping my forehead when I saw the real numbers on Hyperwiki.) Robbin' Ood's second boss fight only has -10% wind resistance, not -25% wind resistance as I had previously thought, which helped explain the lower damage from earlier. And these pictured Seaslimes were in reality 40% resistant to wind damage, not 25% resistant as my previous source had stated. That made infinitely more sense on the damage math: Kaswoosh averages 105 damage * about 50% bonus damage from Wisdom scaling * 40% penalty for wind resistance = 105 * 1.5 * 0.6 = 94 damage, close to what was seen here. Thus I took the time to go through the monster list and ability list and update *EVERY* entry in my reference spreadsheet again, which I'll repost here on the website after I finish the Priest playthrough. Eventually I'm going to have one of the Internet's best resources for this game, dang it!
If there was one positive aspect to all of this data scrounging, it gave me something to do while Hildegard was slowly clearing her way through the overworld map. DQ3's gameplay turns into an open world setup once the ship unlocks and there's always this long process of claiming the 100+ sparkle locations scattered around the globe along with the various treasures and mini medals and recruitable monsters found along the journey. Those places hold enough of the stat-boosting seeds that it's mandatory to track them all down for a solo character and I've explained in the past how I generally find this sequence to be pretty chill from a gameplay perspective. Our kids were 3 years old and 18 months old when I was playing this character and I was definitely looking for gaming experiences that were more tranquil than stressful at this moment in my life.
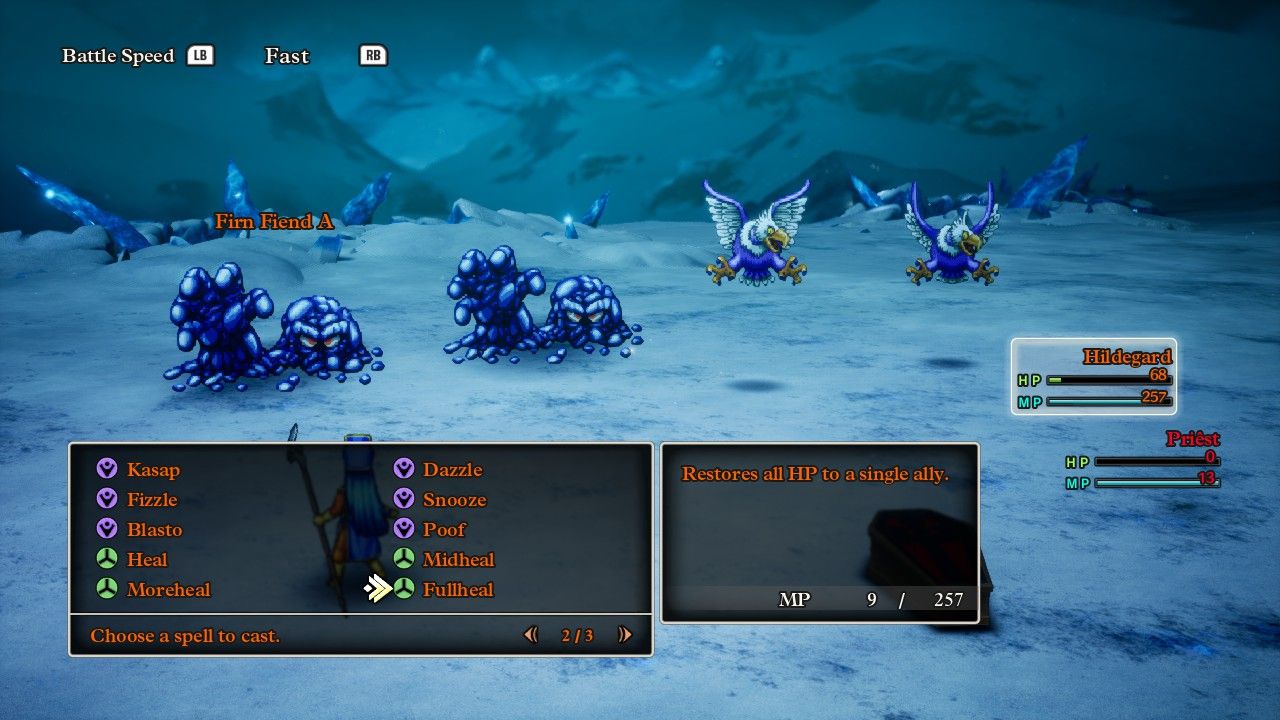
Hildegard spent a lot of time fighting off the sea monsters and didn't seem to experience much in the way of trouble, even though the Seaslimes and Man O' Wars and Mermaniacs were all heavily wind resistant (40-50%). Since she was operating outside of a dungeon environment and could always teleport away to restore MP at an inn, I chose to have Hildegard equip the Somatic Staff for its big Attack boost and didn't need to worry about the way it ate up 3 MP per swing. If the Handsome Crabs were also very resistant to wind element, well, they weren't resistant to getting cracked over the head with a staff. On the rare occasions where Hildegard found herself in a truly dire situation, she could break out the Fullheal spell for a total health recovery. This spell cost a paltry 9 MP and would only scale better and better into the lategame as Hildegard's own health total continued to climb. Monster damage simply was not high enough to burst down Hildegard before she could manage to get off the big heal; only a long stretch of being crowd controlled could truly do her in.
This process took several hours in real-world time though I can skip past it quickly while summarizing for this report. In between raiding the buried treasures hidden across the map, Hildegard purchased the Magic Shield in Lanson which was the best item that she could use in that slot for a long time. The Magic Shield was a solid all-around choice for its property of reducing spell damage by 25%, though the inability of the Priest class to equip the elemental Ice / Flame / Tempest / Dragon Shields was going to make it a bit tougher to deal with breath attacks from upcoming bosses. Hildegard also equipped the similiar Magical Robes / Magical Armor (she could use both and they had nearly identical Defense rating) which also reduced enemy spell damage by 25%, and then continued to use the Scholar's Cap for its bonus 20 points of Wisdom. She picked up the Zombiesbane sword as the best non-Somatic Staff weapon available and that would be it as far as weapons went until reaching Alefgard. The Priest class doesn't get many options when it comes to weapon selection.
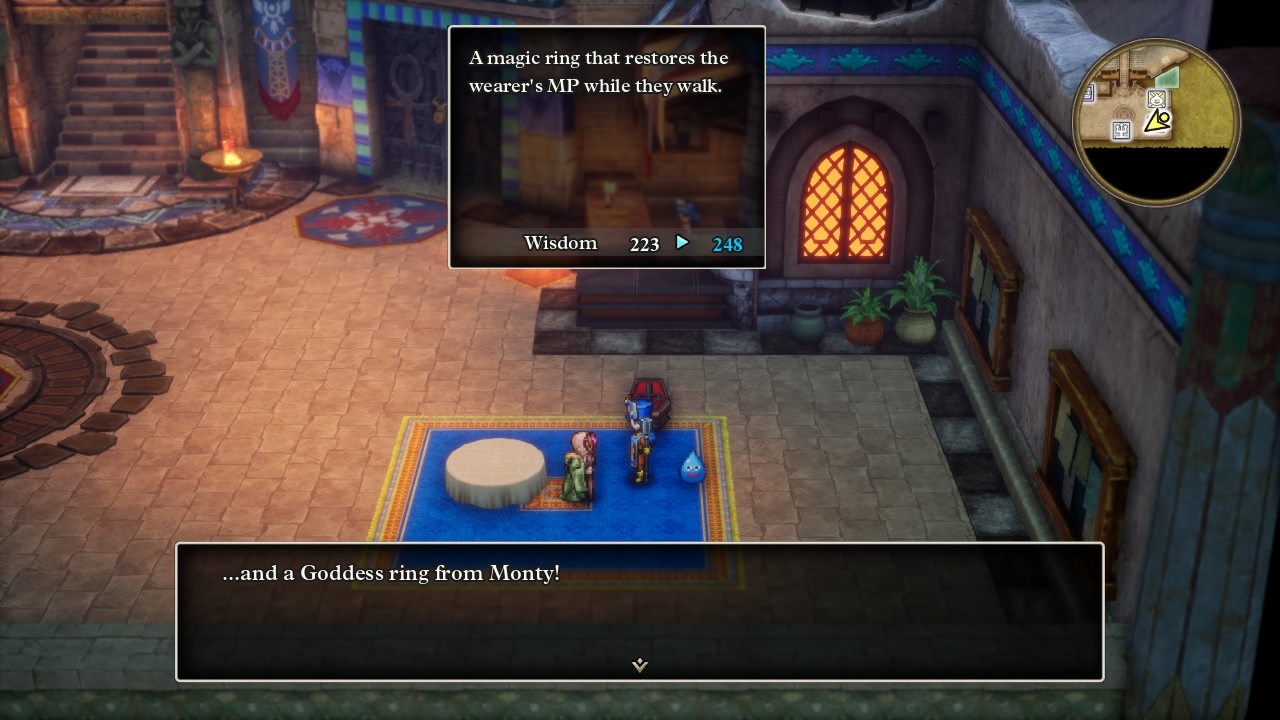
The biggest gear upgrade for Hildegard arrived from Monty when she reached 50 friendly monsters in her collection. The prize was ten different seeds along with the pictured Goddess Ring, one of the very best accessories in the game for any character that intends to do a lot of spellcasting. The Goddess Ring has the highest Wisdom bonus in DQ3 at 33 points (!) which absolutely puts to shame the Scholar's Specs and Care Ring which are tied for second-best at 15 points. I replaced those older Scholar's Specs with the Goddess Ring and found that it was enough to boost Hildegard well above that hidden Wisdom target, taking her to something like 85 points above the current goal for her level and therefore easily exceeding the +60 Wisdom mark for maximum spell damage. She could even drop the Scholar's Specs from the other accessory slot and replace it with something more useful like the Meteorite Bracer to double her Agility or a Spirit Bracer for a big +17 Defense bonus. On top of that, the Goddess Ring also restored MP as Hildegard traveled across the map, and even if she was still spending more magic points than she was getting back from the ring, her rate of MP consumption was far better than it had been previously.
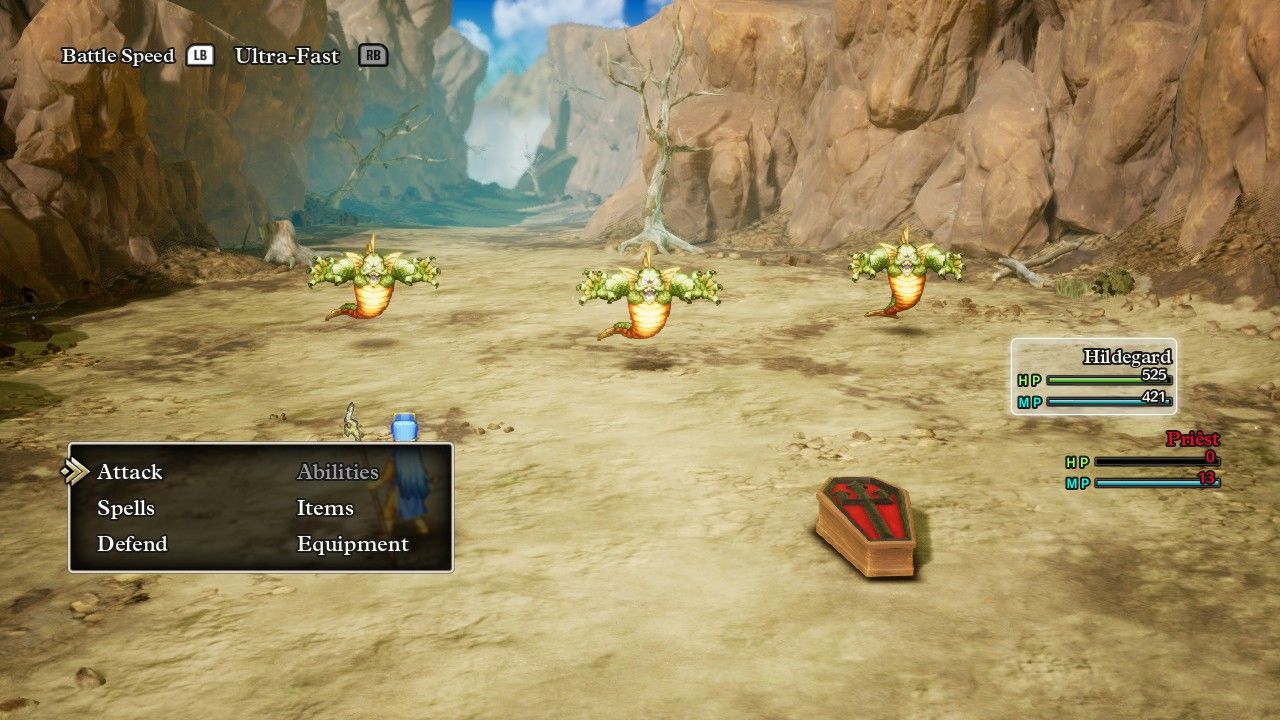
As I said, it took a while to explore the entirety of the world map but eventually Hildegard cleared out everything that could be reached with the ship. She spent a good bit of time making her way through the New World continent, setting up the Immigrant Town (this time named "Bah Humburg") and claiming all of the hidden items in Persistance and the Pirate's Den. One oddity that I noted was this random battle above: apparently the developers goofed and accidentally set a water encounter zone in the middle of the desert!  These three Mermaniacs were apparently floating in nothingness at a part of the map that corresponded to Central America in the real world. Hildegard also took the time to clear the optional Fifer's Spire dungeon which held little of interest inside. She gained a series of levels in the process though the Priest class has higher XP requirements than most of the other classes and therefore Hildegard was still only in the early 40s by the time she was done. Priests require fully 1 million more experience points to hit Level 99 as compared with the Hero or Monster Wrangler or Warrior classes which was going to be a bit different from my past ventures.
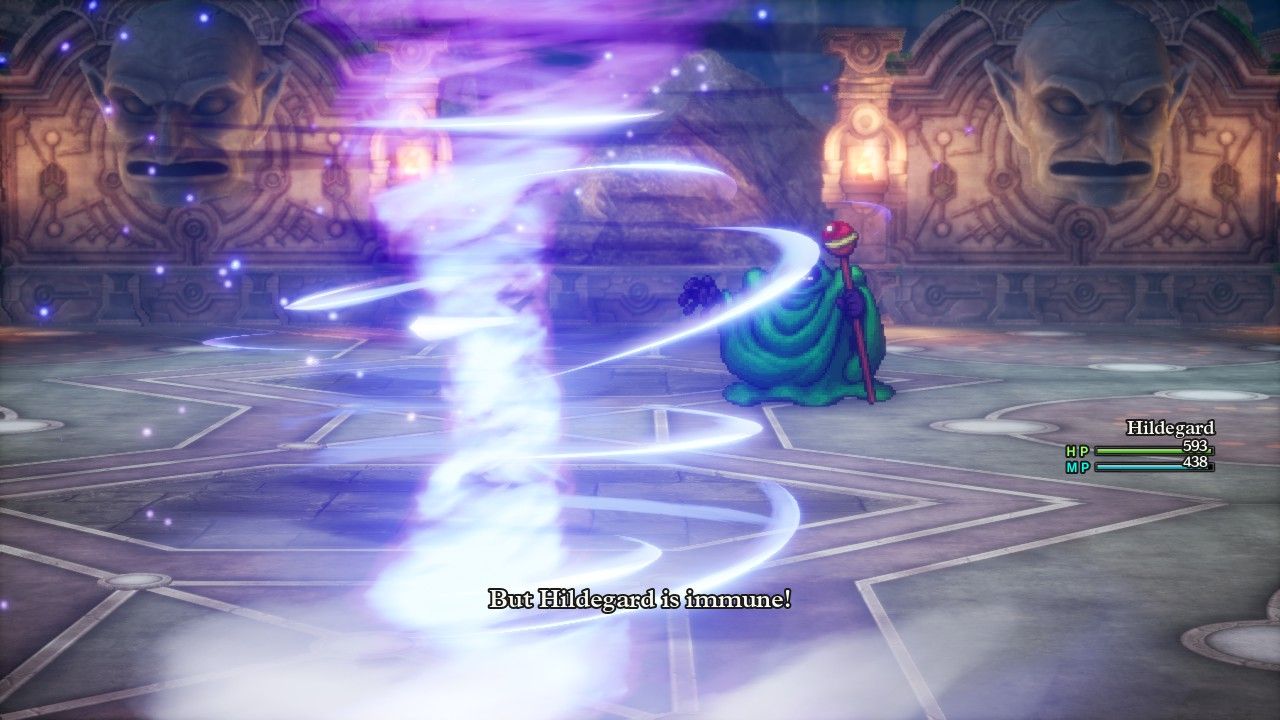
With all of that background stuff out of the way, Hildegard could begin chasing after the six orbs in earnest. She claimed the unguarded Red Orb outside the Pirate's Den and then headed to Lanson for the Blue Orb. This is where the solo dungeon of Gaia's Navel is located which always proves to be very easy for an actual solo character. There were still monsters like Mummies and Grillerpillars inside which Hildegard had been facing back in the Pyramid at a much, much earlier point in the gameplay. She quickly made her way down to the bottom floor where the Chiromancer and its Madvlad minion were guarding the dungeon's main treasures. Just like the rest of Gaia's Navel, these opponents are extremely easy for a true solo character who will be benefiting from a much higher character level than intended and while being buffed up with all of the extra stats from every seed found thus far. Hildegard simply cast Kaswoosh at the Madvlad (-30% wind resistance) which killed it instantly, then used Oomph Powder and started smacking the Chiromancer with her Somatic Staff. The main boss had 40% wind resistance which made melee combat the better choice. The evil green wizard tried to cast his own wind magics but, seriously, come on dude. Hildegard was the master of wind element, that wasn't going to work! Magic Armor + Magic Shield + double Aerofoil Earrings stopped those enemy attacks in their tracks.
Because the Chiromancer was such a joke of an opponent, I used this boss fight to get a better understanding of how its AI scripting worked using the Hyperwiki.jp online resource mentioned earlier. This website contains the AI scripting pattern for all of the bosses in DQ3, an absolutely invaluable resource marred only by the need to struggle through the language barrier to understand its contents. I'm doing my best to translate this into a more easily readable English version and add to the DQ3 resources here on my website. To make a long story short though, the Chiromancer has a fairly complex AI script for its behavior which relies on three separate conditions: whether its Madvlad minion is alive or dead, whether it has more or less than 60% HP, and whether or not it has self buffs in play. For the most part, the Chiromancer will cast attack spells using Frizzle and Swoosh and Dazzle, but it will also mix in Zing to try and revive the Madvlad if the minion is dead. The Chiromancer will also buff itself with Oomph and Muster Strength eventually, and if those buffs are in play, it will try to use physical attacks like Double-Edged Slash and Double Up. I've never seen most of that AI scripting though because this guy is such a weakling and dies so quickly to a true solo character, which was the case again as Hildegard's Oomph-boosted melee blows three-tapped him before the Chiromancer could do anything interesting. I'm unlikely to dive too much deeper into how this boss operates unless I have a character that actually struggles against him.
The Purple Orb was next on the docket as Hildegard paid another visit to Jipang. After making her way through the fiery caverns of the Orochi's Lair, Hildegard faced off against the five-headed creature itself. This was an opponent where the Priest class suffered a major shortfall from an equipment perspective. Unlike most of the game's other classes, Priests cannot equip the Ice Shield or Dragon Shield or Dragon Mail or even the Fur Vest, all of which specifically have protection against fire element damage. Hildegard couldn't even use the Flowing Dress which is supposed to be reserved for spellcasters; that one is restricted to Mages and Sages though. She would eventually be able to use the Dragon Robe and Shimmering Dress which each had elemental protections attached, however both of those armors wouldn't become available until reaching Alefgard. Her Magic Armor and Magic Shield were useless here as the Orochi only uses fire-based breath attacks, not spells. I could and did equip double Asbestos Earrings for 50% fire element resistance but that still left her a good bit short of the protection enjoyed by my other solo characters.
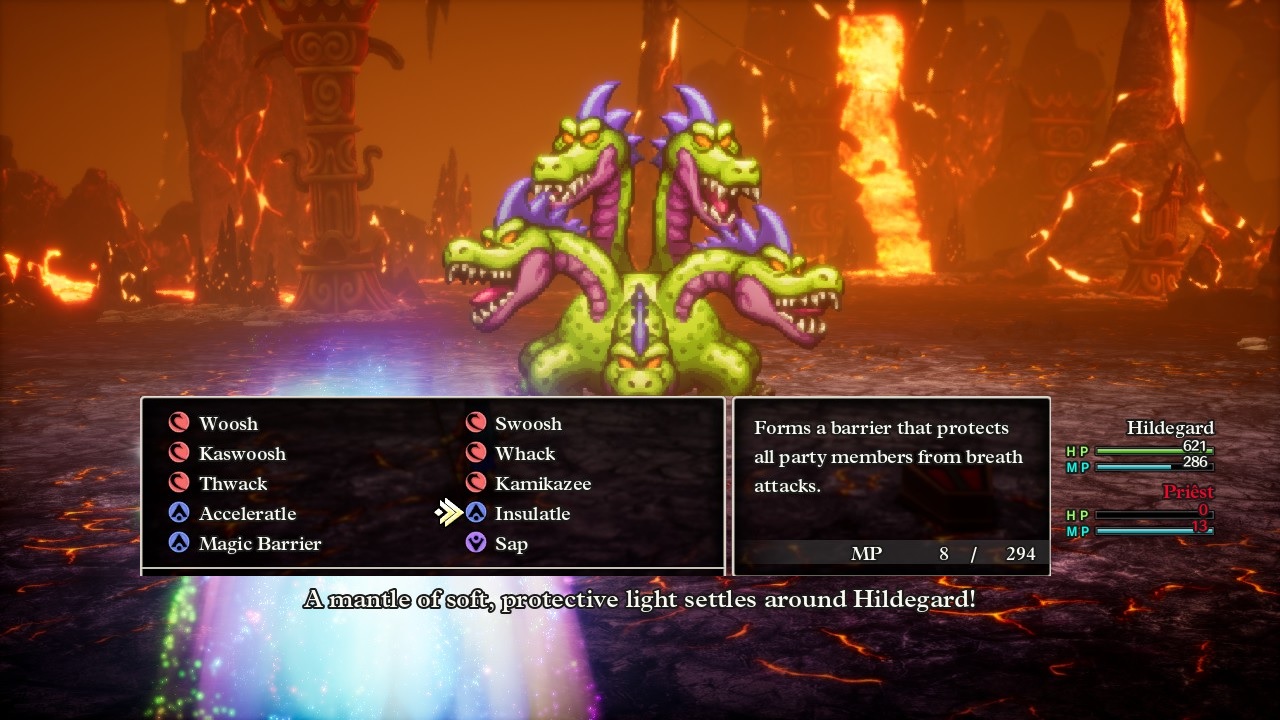
Fortunately there was a Priest spell that filled this gap: Insulatle (what a horrible name!) which grants the party additional resistance against all breath attacks. The exact amount is not specified in-game and I was having some trouble pinning down the real benefit. My reference spreadsheets claimed that Insulatle granted an additional 33% resistance but that did *NOT* match what I was seeing with Hildegard. When combined with the double Asbestos Earrings, she should have had 83% fire resistance which would cut the damage from the Orochi's Wildfire from base 40-60 down to 7-10 but it was instead hitting for about 15 damage at a time. Then the same thing happened later with the Orochi's Inferno breath attack (base 80-100 damage) which should have been dealing 13-17 damage and was instead hitting for roughly 25-30 damage. It looks as though Insulatle actually grants 20% additional breath weapon resistance, taking Hildegard to 70% resistance in total, which would match the numbers that I was seeing in-game here. I'll try to do more testing with this spell but that's my tentative conclusion thus far.
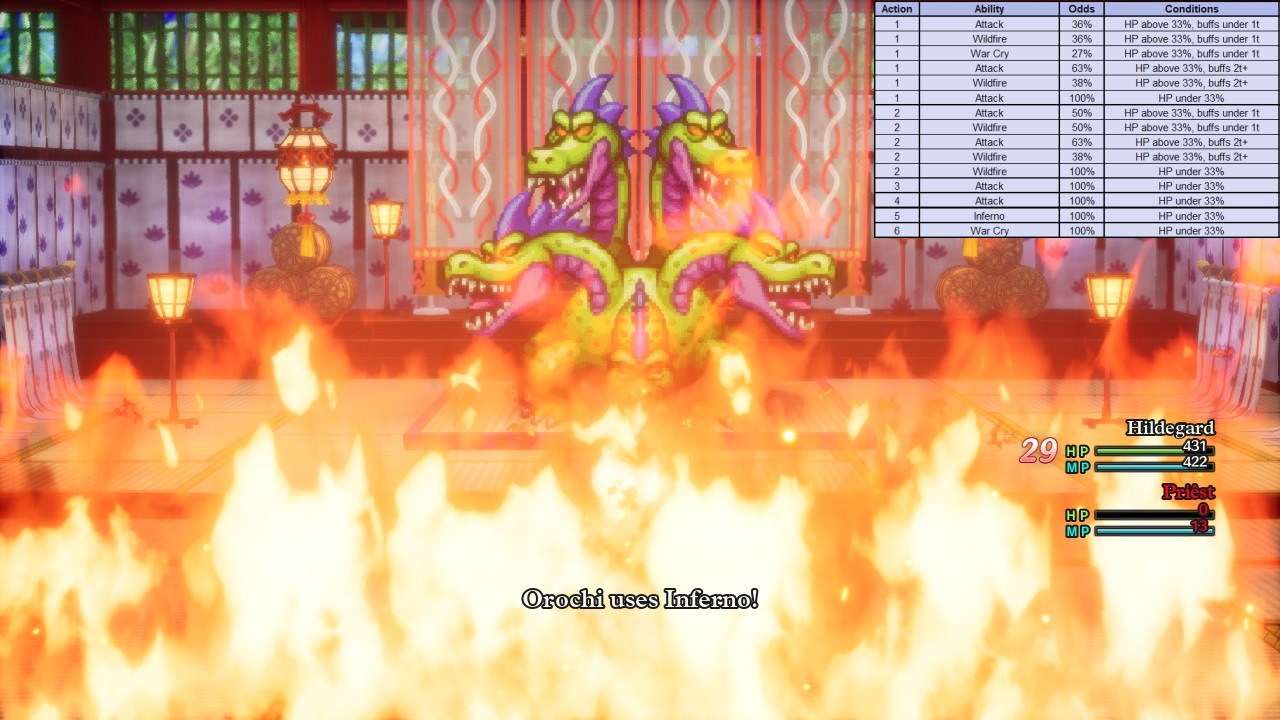
And yet none of this really mattered in terms of Hildegard defeating the Orochi. That was guaranteed simply because she could heal on a near-infinite basis using Fullheal while the Orochi had no regnerative capabilities. I could have unequipped Hildegard completely and smacked the thing with her fists and still emerged victorious eventually. Instead she bashed the giant snake with her Somatic Staff for about 175 damage per attack and slowly wore down the creature in both of the two boss fights. What was more interesting to me was figuring out the Orochi's AI scripting pattern as pulled from the Hyperwiki.jp website. It took some in-battle experimentation and translation of katakana (Google Translate failed badly in several places) but I'm pretty sure that I nailed it. The Orochi acts based on two conditions: whether its own health is above or below 33% and then whether the player has any buffs in effect (or if those buffs are about to run out, the wording was a little unclear to me). Assuming that its health it over 33% and there are no player buffs in place, the Orochi has 36% odds to Attack, 36% odds to use Wildfire, and 27% odds to attempt a stun with War Cry. Then its second action will have 50% odds to Attack and 50% odds to use Wildfire, before repeating the whole process endlessly. What makes this confusing is that on every single turn, the Orochi randomly takes either 1 or 2 actions per round of combat. Thus it will keep cycling between these two actions until it drops below 33% HP remaining at which time its actions become completely predictable and follows: Attack, Wildfire, Attack, Attack, Inferno, War Cry endlessly. My sleuthing worked perfectly and I successfully predicted the exact turn in which Inferno would appear for the first time - ha! 
Unfortunately the second Orochi fight that takes place back in Jipang appears to have its own AI scripting pattern and this was not posted on the Hyperwiki.jp website. I suspect that it's similar overall but during the Orochi rematch the monster didn't have to have low HP to use Inferno and could use Burning Breath (a paralyzation ability) which didn't exist at all during the first boss battle. Anyway, the Orochi tends to be a very easy opponent for most solo characters, as it was again for Hildegard, so all of this effort to pull back the curtains on boss scripting was pointless to some degree. However, there are some later bosses in DQ3 which are very much not a joke and I wanted to get some practice in understanding AI behavior against a straightforward enemy like the Orochi before attempting to deal with the real threats down the road.
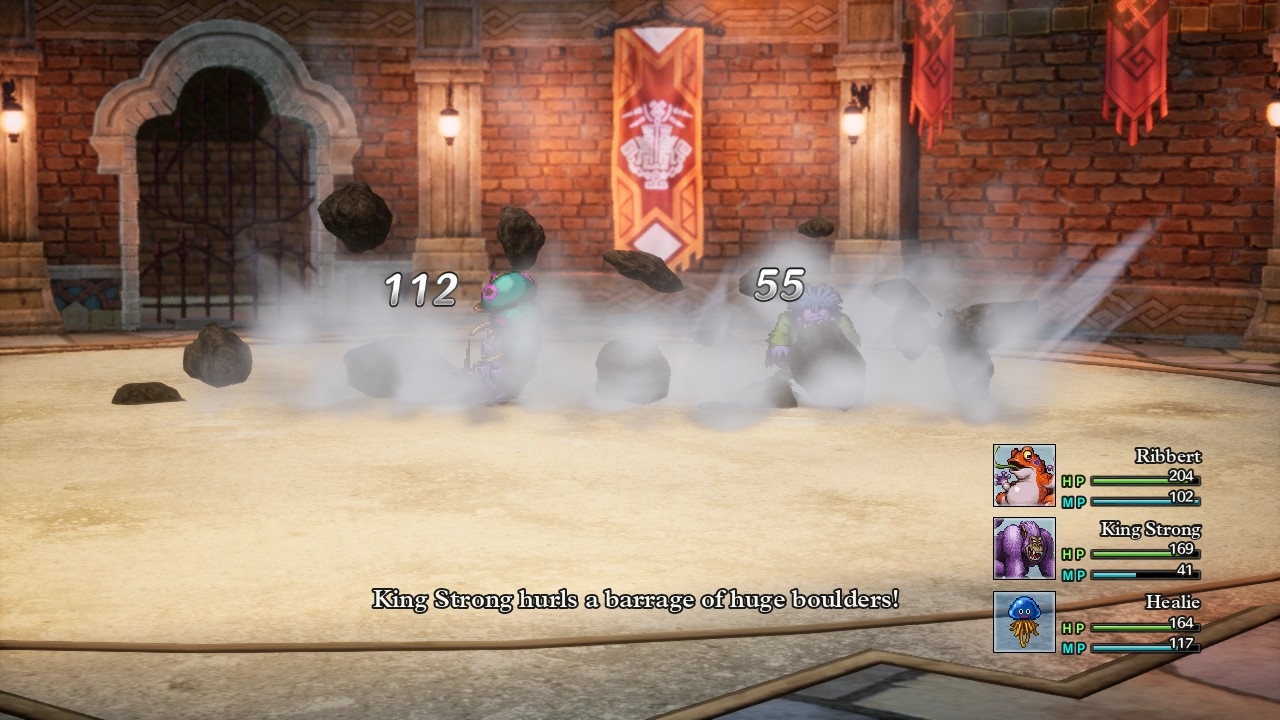
Hildegard moved onwards to the Manoza section of the gameplay, an area that I always think about as being distinct due to its geographically isolated nature. The castle town of Manoza held the usual assortment of hidden seeds and mini medals to collect, as well as hosting the next three tiers of the monster arena. I picked a slightly different team this time for sake of variety, choosing to use the Whackanape named King Strong who enjoyed spamming the Monster Wrangler's Boulder Toss ability to chuck rocks at the enemy. All three of the new monster arena tiers were easy to complete thanks to my obsessive recruitment of every friendly monster along Hildegard's path, with the main prize for winning being nine additional stat-boosting seeds. This included three more Seeds of Wisdom which were enough to boost Hildegard into an even more comfortable space relative to the Wisdom target. The number that she needed to maintain for +60 Wisdom above the target was getting easier and easier to achieve, with less of a need to wear Wisdom-boosting equipment. Hildegard could hit the goal with only the Goddess Ring equipped and was nearing the point where she didn't even need that crucial accessory.
There wasn't much of interest to be found in Manoza Cave; the frequent Mimic chests liked to spam instant death spells but those were always blocked by the Dieamends in Hildegard's inventory. Her Luck stat wasn't too impressive so she went through a good number of those Dieamends but she could always purchase more of them if needed, gold had long since ceased to be an issue. Hildegard was only Level 46 when finishing the cave and therefore I paused briefly to gain a few more levels before tackling the next boss. I decided to fight the monsters outside Lanson where there are two different helpful seeds that can drop from the enemies (Seeds of Strength from the Rampage goats and Seeds of Luck from the Heedoo Voodoos). Hildegard grinded out two levels and managed to turn up a single Strength seed and zero Luck seeds, though she did somehow get a Seed of Life and a Seed of Stamina from the Shades that can take the stats of random different opponents. That was better than nothing I suppose; those 1 in 64 drops certainly don't show up often.
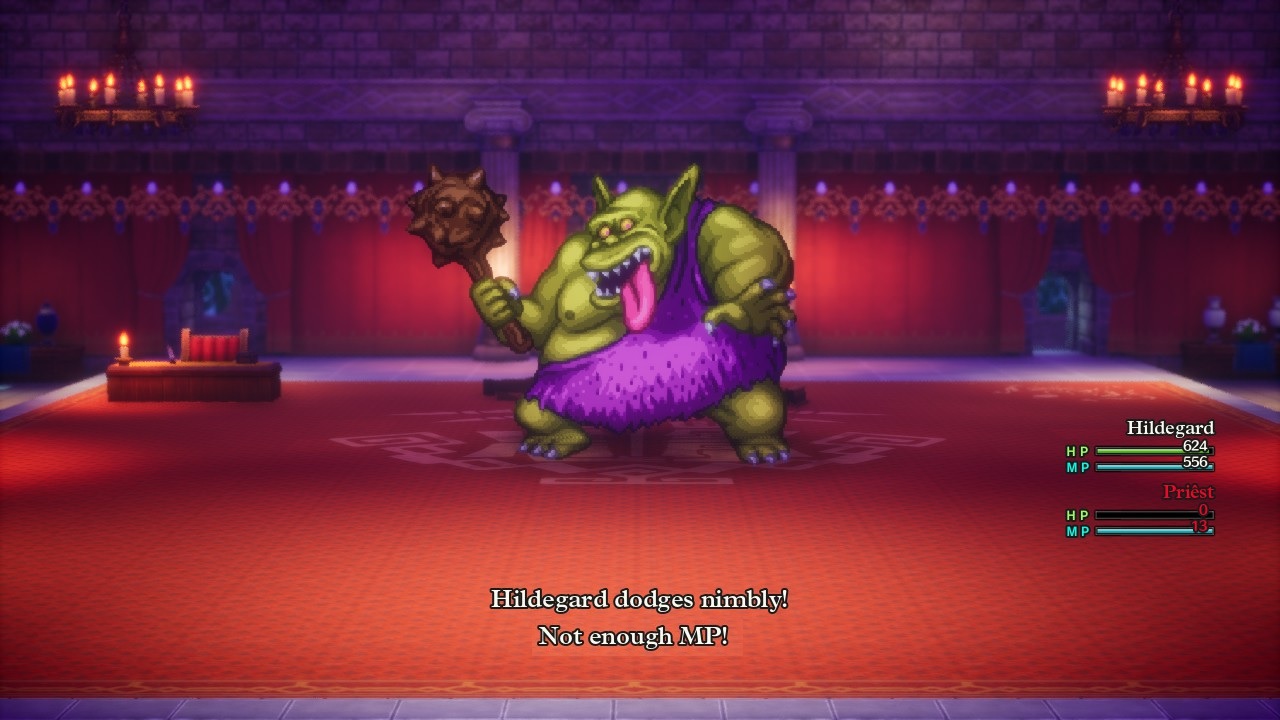
Anyway, enough diversions: it was time for the biggest obstacle in the game, the Boss Troll. I've discussed at length in past solo reports why this opponent can be so deadly, between its ability to debuff the player's attack with Attack Attacker and defense with Kasap, and most especially with its Desperate Attack critical hits. Many classes have no healing abilities and therefore can only damage race the Boss Troll before their health runs out. That's a difficult proposition given that the Boss Troll has 5500 HP and every class caps out at 999 HP in this game. Fortuantely Hildegard did have plenty of healing at her disposal, essentially infinite healing which I knew would trivialize this boss fight. She might not be able to do much more than tickle the Boss Troll with her melee attacks and wind spells (the green ogre has 30% wind resistance), however the Boss Troll could never kill Hildegard before she managed to get off the next Fullheal spell and regenerate back to max HP once again. It was an unusual dynamic but one that worked in my favor.
Since Hildegard wasn't in any danger, this was the perfect opportunity to do a deep dive on how the AI scripting for the Boss Ogre works. I pulled the whole thing from the Hyperwiki.jp website and went through the trouble of translating it into a more readable English form in the hopes of finding some clues on how to beat this thing with future solo characters. It turns out that the Boss Troll is mostly predictable in how it acts, taking different actions depending on how much health it has remaining. It has three different sets of actions depending on whether it has more than 67% HP, between 35% and 67% health, and then a final set of moves under 35% HP remaining. As you would expect, the boss crits more often at low health and becomes more dangerous as the fight continues. Unfortunately, there is no point in the AI scripting where the player is safe from the Desperation Strike since there are two points in the pattern (Action 8 and 9) where it can still crit even at full health. The good news is that the Boss Troll's Desperation Strike is never guaranteed to happen: it usually has 5 in 6 odds to Attack and then 1 in 6 odds to crit wherever this pattern shows up in its scripting. The bad news is that the Boss Troll always takes two actions per round and there are a *LOT* of times where it has those 1 in 6 odds to crit which means that the player is going to get unlucky eventually.
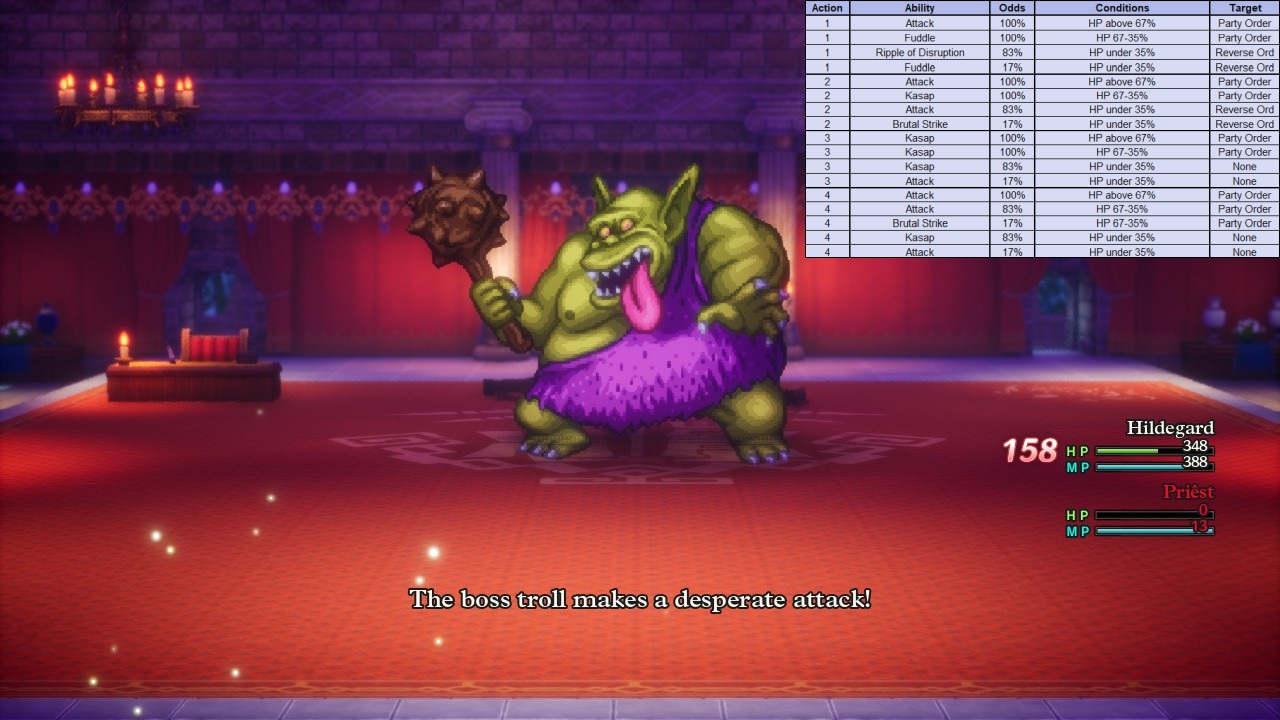
I'll put the first four actions in the Boss Troll's AI script on the screen to provide an idea of what this looks like; there are 16 such actions in all but they all look fairly similar to this. One of the nastiest things about the Boss Troll is that its critical strikes are designed to operate in REVERSE party order, hitting the frail spellcasters in the back before anyone else. While that's irrelevant for a solo game, I'll have to remember that in the future if I do something in a full party setting. Anyway, like I said Hildegard was using this boss fight as a big experiment. I spent a long time just defending and verified that I did indeed have the AI scripting down correct, with the Boss Troll sticking to the written order every turn. I took the time here to run through all 255 MP on the Boss Troll, after which it could no longer cast Kasap or Fuddle or Attack Attacker as all of them cost magic points. The goal there was to test whether the monster could still critically strike when it was out of MP, and unfortunately the answer was yes, it appears that the Desperate Attack doesn't require MP. The Boss Troll has way too many magic points to make running it out of MP a viable option anyway, I had been curious though and it was worth the time to find out.
I also thought that if I knew a crit was upcoming from the Boss Troll in its AI scripting, maybe I could have a solo character use the Defend command that round to cut the damage in half. Hildegard tested this out and discovered that this potential tactic did *NOT* work! The Boss Troll's Desperate Attack still hit for the full 150ish damage regardless of whether or not Hildegard was using that round to protect herself. This means that the boss fight truly is a YOLO situation for most solo characters: they can't outheal the damage with items and they can't use the Defend command against incoming crits. I guess it will come down to rolling the dice and hoping to avoid those 1 in 6 monster crits with enough repetitions - not something I'm looking forward to doing.
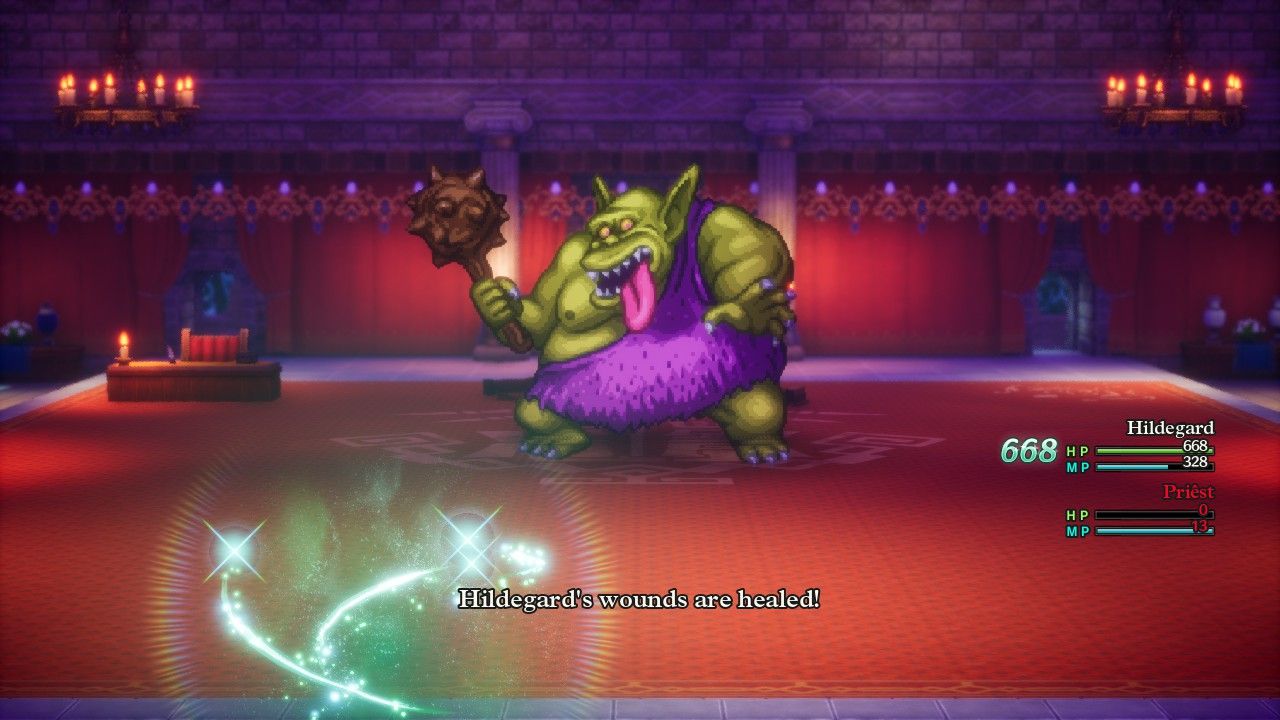
But none of that mattered for Hildegard since she always had the Fullheal spell in her back pocket. If the Boss Troll could cheese her with his stupid defense-ignoring crits, then she could cheese him right back with infinite healing. The only thing that could have stopped this was confusion status from Fuddle... except that the Boss Troll never casts Fuddle until dropping under 67% HP and Hildegard didn't take him under that health until he was already out of MP. So much for any chance of losing. Hildegard didn't bother to use Oomph Powder and instead simply attacked normally, very slowly wearing down the Boss Troll dealing about 150 damage per round. It took roughly 35-40 such attacks to chew through the Boss Troll's 5500 HP - and that's exactly what Hildegard proceeded to do, merrily healing herself all the while. Farewell Boss Troll, this was one solo class where you were the one with no answers.
In the aftermath of the Boss Troll's defeat, Hildegard did the usual plot-related followup tasks. She traveled around the world using the Mirror of Ra to recruit another dozen friendly monsters (which technically can be done before beating the boss) and then used the Mod Rod to transform into a non-human form and access the special store in the Faerie Village. Hildegard picked up 200 Special Medicines for eventual use in the Talontear Tunnel where spellcasting is blocked, along with a dozen Prayer Rings and a handful of Elfin Elixirs for MP restoration. The Elfin Elixirs didn't exist in the original version of DQ3 and restore all magic points when consumed, though they cost a whopping 40,000 gold (!) each. Then I also received the message that the Immigrant Town had advanced in its plotline, allowing Hildegard to return to Bah Humburg and claim the Yellow Orb. This also unlocked the best version of that town's weapon shop which held a Silver Shield that the Priest class could equip. While the Magic Shield remained better against anything that cast spells, the Silver Shield had 23 additional points of Defense which was enough to be noticeable.
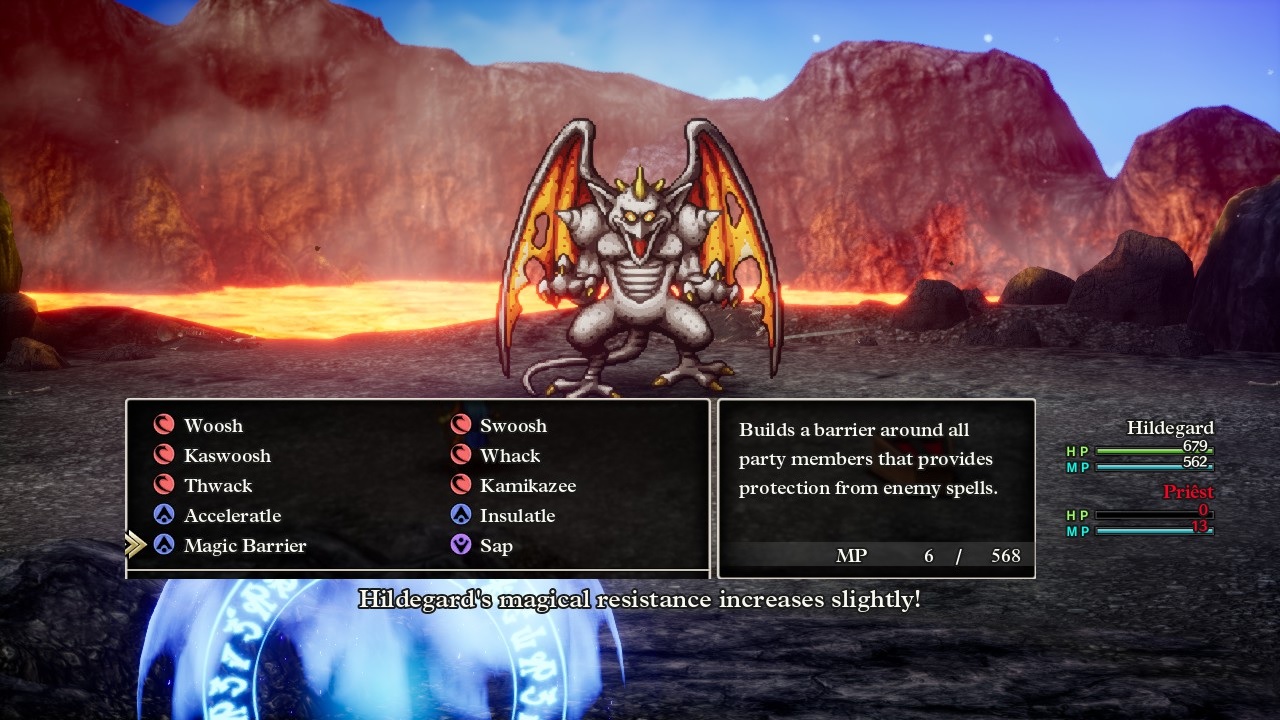
Hildegard continued to follow the fetch-quest sequence needed to claim the Silver Orb, turning the Mod Rod into the Boatman's Bone into the Lover's Locket into the Mountaincleaver sword. This brought her quickly to the next boss in line, the Garboyle, who I knew from past experience liked to spam the Frizzle, Boom, Kasizz, and Inferno attacks. I dearly wished here that Hildegard could equip something in the armor slot with fire resistance, however she was unfortunately still stuck with double Asbestos Earrings in the two accessory slots for a mere 50% protection against fire element. The Magic Shield and Magic Armor would together reach 100% defense against Frizzle and Kasizz spells but Hildegard would still take half damage from Boom and Inferno. I already planned to use the Insulatle spell for extra protection against the Garboyle's Inferno breath attack, plus Hildegard could test out the pictured Magic Barrier spell against the explosion damage type on Boom. With Magic Barrier in place, I found that Boom was hitting for about 15 damage at a time, a number that matched up perfectly with 70% resistance against Boom's base damage of 38-59. So this is a mechanic that I've decisively solved via experimentation: Magic Barrier and Insulatle both grant exactly 20% resistance to the party for spells / breath attacks. Nearly all of the documentation online gets this incorrect but the 20% number is definitely correct for these spells.
As for the Garboyle itself, this boss has two main flags in its AI scripting: how much health it currenty has and whether or not the Garboyle has self buffs in place. There are technically different actions depending on whether the Garboyle has more than 70% HP, between 40-70% health, and then another set of moves for less than 40% HP remaining. Generally speaking though, the creature mixes in a combination of normal physical attacks, the Attack Attacker ability, and then lots of Frizzle, Boom, Kasizz, and Inferno abilities. The Garboyle will also break out Burning Breath (the Orochi's paralyzation skill) and will Channel Anger when below 40% HP and no self buffs. The easiest way to do this battle is to cast the Bounce spell out of the Staff of Strife which will cause the Garboyle to hit itself again and again with reflected spellcasts. I was planning to do that with Hildegard and then forgot to put the Staff of Strife into her personal inventory for the battle - whoops.
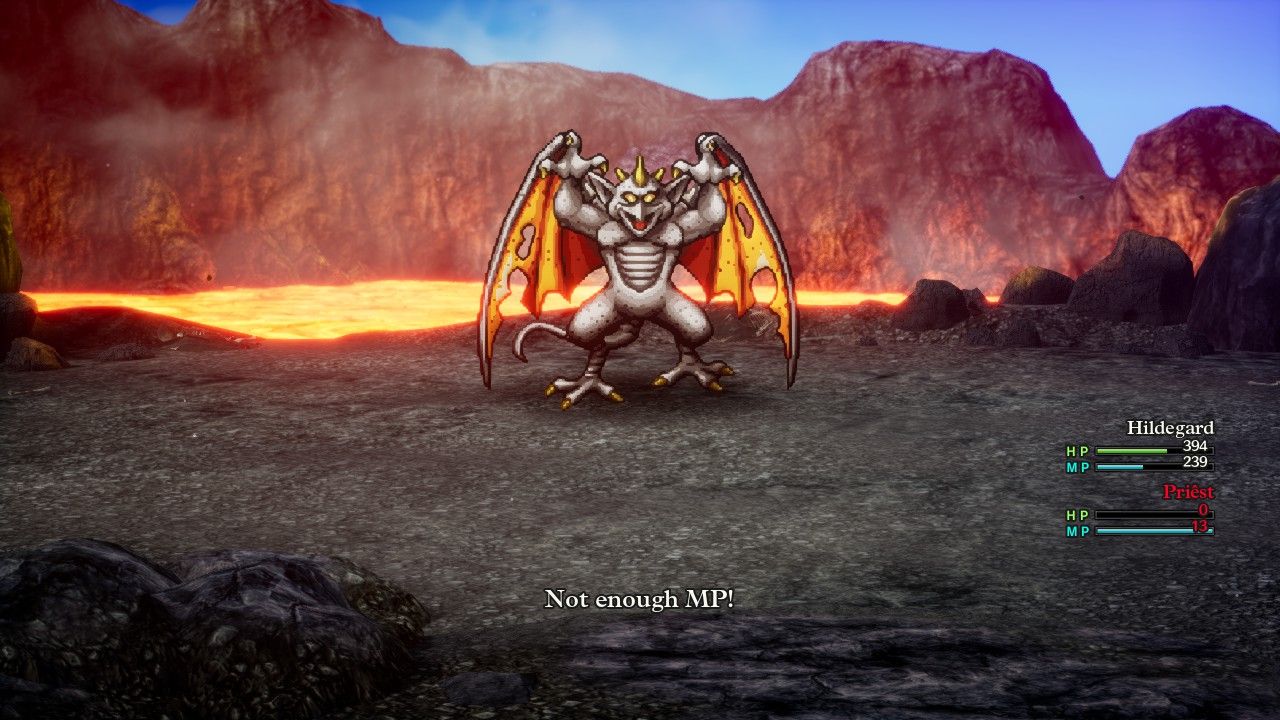
So instead Hildegard buffed her defenses with Magic Barrier and Insulatle, then set about very slowly whittling down the Garboyle's health with melee attacks. She could hit the creature for roughly 135-150 damage at a time which was going to take some time to cut through the 5200 HP on the boss. I didn't really mind the slow pace of combat though as it gave me a better chance to observe the Garboyle and how its AI acted over an extended combat duration. Hildegard had enough defensive protection in place that its various attacks didn't do much damage and then Hildegard could break out the Fullheal spell whenever her health dropped down around 300 HP remaining. The Garboyle ran itself out of MP eventually which removed even more danger from the battle; it does this quickly enough that defending with the Bounce spell in place and healing with Special Medicines might be a valid tactic for another solo build. I also used this time to verify that Inferno and Burning Breath are both breath attacks that do not require MP to use, unlike spells which were all invalidated once the Garboyle was out of MP. The eventual result was another leisurely victory for Hildegard despite the limited nature of her offense.
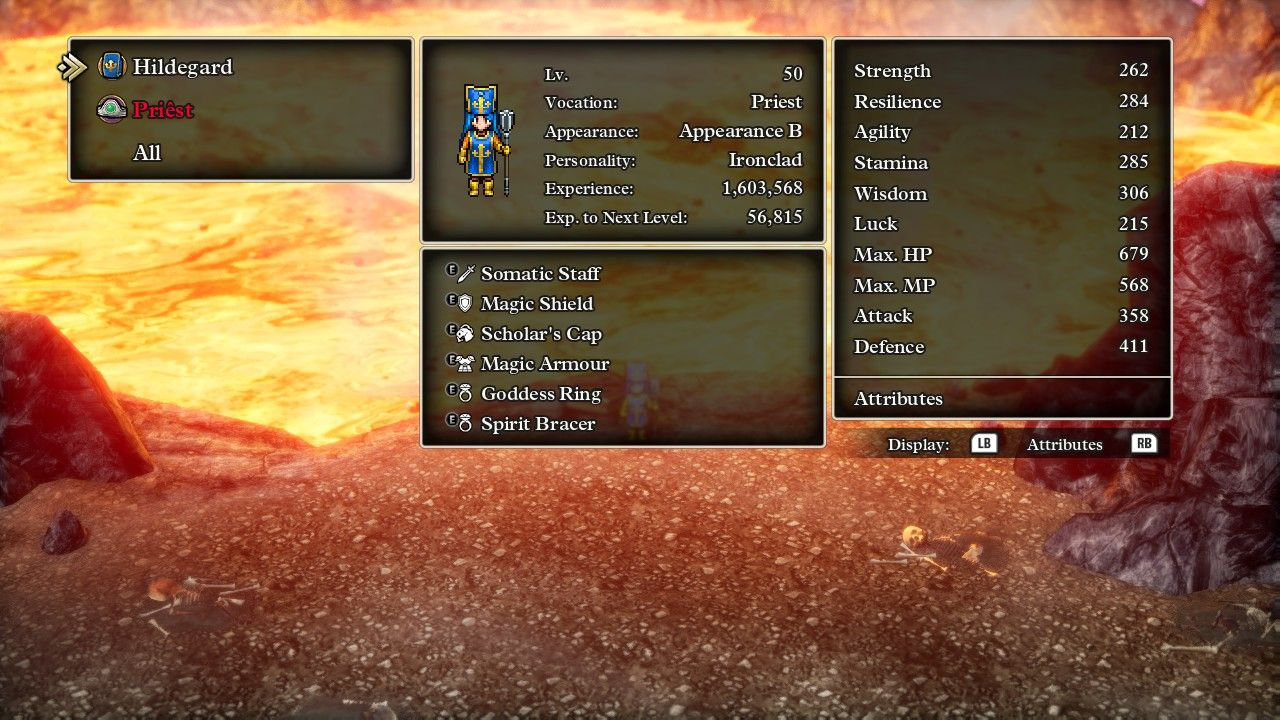
She also reached Level 50 upon defeating the boss which allowed me to snap this picture of the resulting character stats. As much as I liked Hildegard as a character, these numbers were not very impressive as a collective group. Her Resilience and Stamina were reasonably solid thanks to the big bonuses they received from the Ironclad personality, then everything else was pretty mediocre due to the inherently weak stat growth of the Priest class. Don't be fooled by the big Wisdom number either, as that was propped up with 53 additional points from the Scholar's Cap and Goddess Ring equipment. I was most worried here about the continued low Strength stat on Hildegard at only 262 despite having a personality with 10% bonus Strength growth. There was at least one boss fight upcoming where Hildegard would likely need to rely on her physical attacks and I wanted to get as much of that stat as she could. I decided to equip the Mighty Armlet accessory for a while, an item that grants 16 Attack and also grants the wearer the Paragon personality while equipped in the first accessory slot. Paragon personality has the highest Strength growth rate in the game (+40%) while being pretty terrible at every other stat. I thought that Hildegard had enough Wisdom saved up by now that she could still hit the Wisdom +60 target by the end of the game and Strength was the stat that she most needed. At the very least, it would be an interesting experiment to try for a while and see what happened.
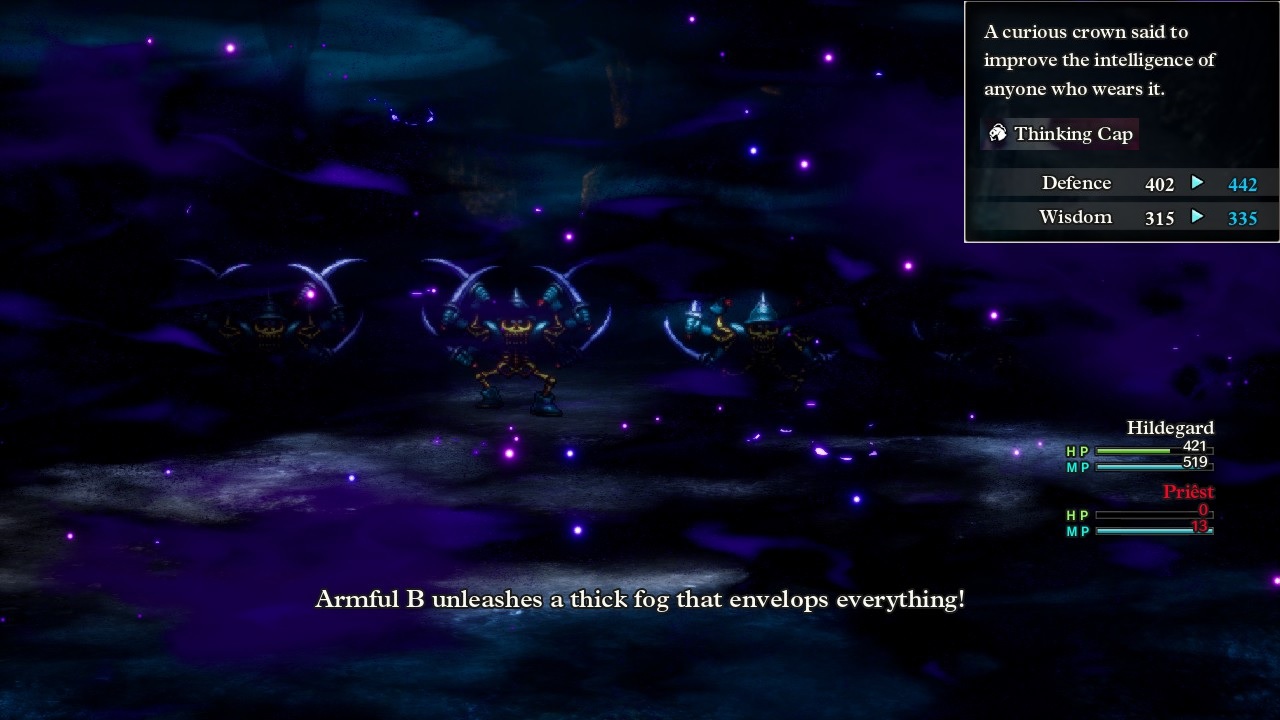
The eruption of the volcano opened a path forward to the lengthy Maw of the Necrogond dungeon. The monsters inside were pretty tough and their health had scaled up enough by now that Kaswoosh wasn't sufficient to defeat many of them in one casting. Hildegard had better luck knocking out individual opponents with her melee strikes and tended to reserve her spells for use against enemies that were weak to wind element, like the Minidemons and Infanticores. The most dangerous enemies were the Armful skeletons pictured here, who always attacked twice in every round and could cast the Monster Wrangler's Fog of War ability. That cloud of darkness invalidated all spellcasting for three turns and there was no chance to dodge or resist it (unlike the Fizzle spell which Hildegard often avoided). The Armfuls could also use the Burning Breath paralyzation ability and the combination of no spells and potential paralysis meant that Hildegard had to target the skeletons first in every fight. She was never wiped out entirely in a random encounter but those things did drop her down into the red zone on health multiple different times.
Most of the treasures in the Maw of the Necrogond were useless for Hildegard as the Priest class couldn't equip them. The exception was this Thinking Cap helmet found near the exit on the fourth dungeon level. The Thinking Cap was a massive upgrade in every way over the Scholar's Cap that Hildegard had been wearing most of the game, with a legitimately high Defense score of 60 along with double the Wisdom bonus of the prior hat at +40 instead of +20. This thing was no joke as my solo Warrior had ended the game with the Great Helm equipped (Defense 67) and the Thinking Cap nearly matched that score. The 40 points of additional Wisdom also made it trivial for Hildegard to hit the Wisdom target while wearing nothing else that boosted that particular stat. It probably sounds like this is something that Hildegard would wear for the rest of the game... except that there was an even better helmet for a spellcaster which would arrive shortly and relegate the Thinking Cap to the dustbin.
So now it was time to visit the Shrine of the Everbird and unlock Ramia except, hmmm, something still seemed to be missing here. Hildegard only had five of the six required orbs which meant one additional boss that needed to be confronted:
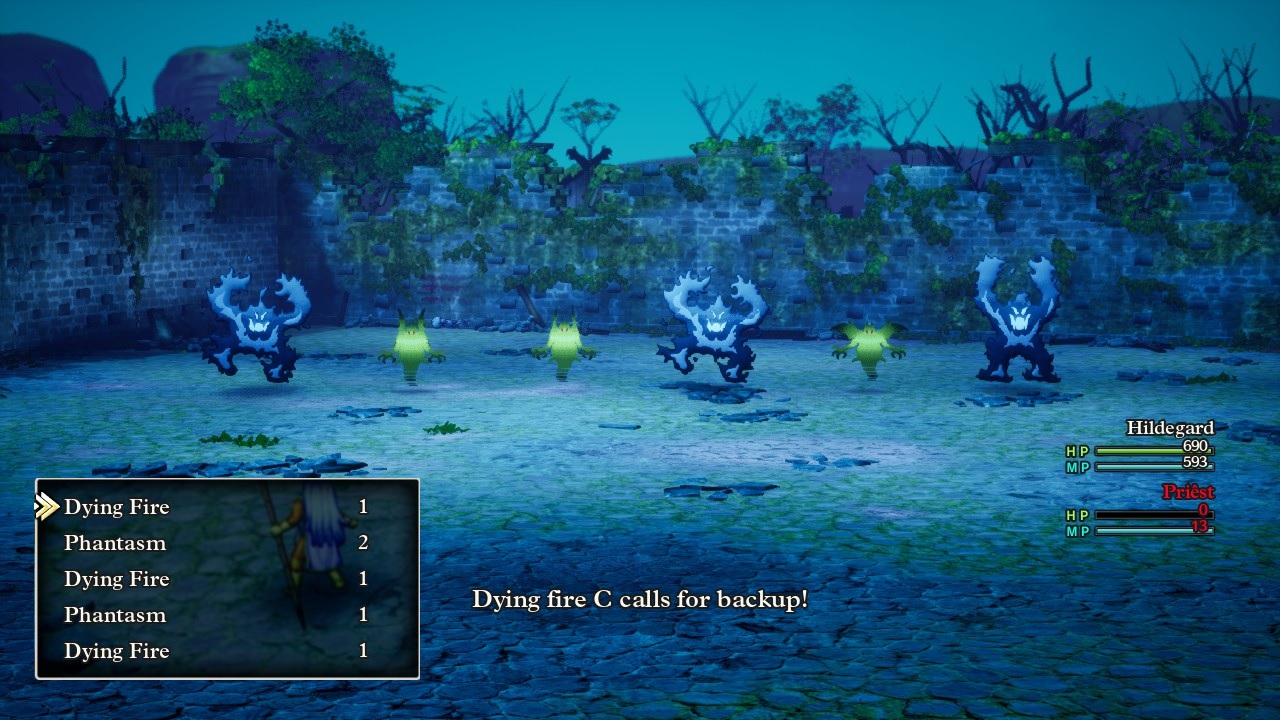
That was the Green Orb boss fight against a series of Dying Fires and Phantasms, something that hadn't existed in the original version of DQ3 before getting added to the village of Theddon in the remakes. This battle is supposed to take place much, much earlier in the gameplay and the Green Orb is typically one of the first ones to be claimed. However, it presented a real challenge for Hildegard due to her limited offensive output since the gimmick of this battle is that both monster types will summon in additional reinforcements. Each of them can "call for backup" and then suddenly there's another full health opponent springing up out of the ground like Cadmus with the dragon's teeth. The Dying Fires and Phantasms were completely toothless themselves, with their wind element spells bouncing off Hildegard's defenses and their melee attacks hitting for all of 1 damage against her upgraded armor. The Dying Fires could cast the instant death spell Whack but I stuffed Hildegard's inventory full of Dieamends to block any of those attacks landing. So they basically couldn't kill Hildegard but if they kept summoning endless more reinforcements then the boss fight could stalemate indefinitely. I had to come up with a strategy to work around these problems and limit the use of their reinforcement tactics.
As a result, I spent a good bit of time studying the AI scripting for both of these monster types over at Hyperwiki.jp. It turned out that both enemy types acted differently depending on how many total monsters were present in the battle, as well as having additional conditions based on the health of the individual monster and how many buffs the party had in effect. The Dying Fires were the most difficult of the two opponents and had a much more complex AI script which caused me to focus on the Phantasms instead. Surprisingly they only had a single action round in their programming, therefore always doing the same thing depending on which criteria happened to be met at that given moment. The key breakthrough was noticing that the Phantasms would never summon more reforcements if there were 7 or more total monsters present, and would also never call for backup if there were 4-7 monsters present and the individual Phantasm was over 40% HP remaining. Thus the path forward was to eliminate all of the Dying Fires and collect all of the Phantasms together in one "group", then cast Kaswoosh to down them all at once. If they all died simultaneously, they wouldn't be able to bring in more friends.
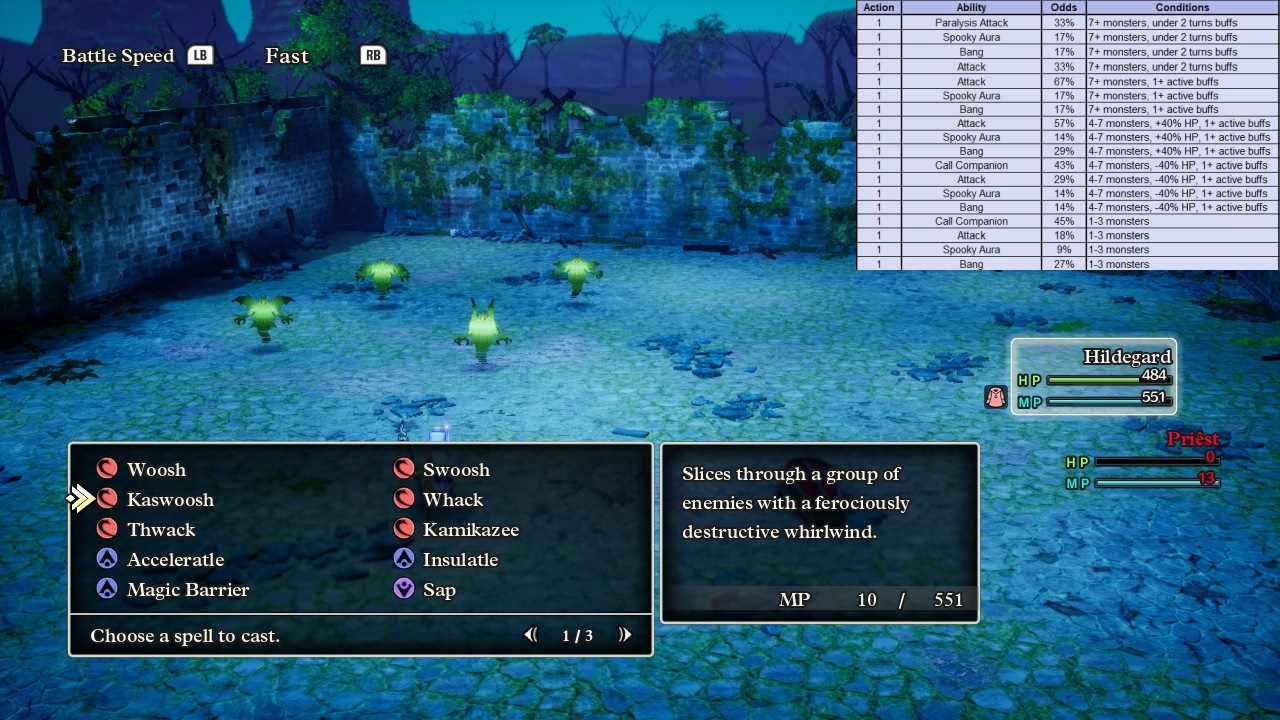
This required using Oomph Powder to buff Hildegard's melee attack and then bashing her way through the Dying Fires one at a time. She was hitting for about 330 damage per attack which was enough to two-shot the Dying Fires and occasionally one-shot the Phantasms if Hildegard rolled high on damage (since they had 340 HP apiece). This was why I had delayed tackling this boss fight for as long as possible, since Hildegard needed the extra damage to eliminate these enemies as quickly as possible before they bred more undead ghosts. One of the Dying Fires called for a reinforcement right away, then the battle remained stuck at 7 opponents for a while since the Dying Fires also won't use "call for backup" if there are already 7 monsters taking part in the combat. Hildegard smacked each of the Dying Fires once to put them in one-shot territory, then renewed her Oomph Powder and took them out one at a time until they were all gone. Then she had to clean up the Phantasm which was off in its own group separate from the others, and by the time it was dead, there were four total Phantasms all collected in one group as pictured above.
I thought that this would be as simple as casting Kaswoosh 2-3 times against the remaining group of Phantasms until they all dropped collectively. I had forgotten though that the Phantasms have 43% odds (3/7) to use their reinforcement ability when they drop under 40% HP remaining and then 45% odds (5/11) to use "call for backup" whenever there are 3 or fewer total monsters remaining. Thus the remainder of the combat turned into a case of whack-a-mole, with Hildegard slaying one Phantasm after another as more kept taking their place. She was hitting every Phantasm with Kaswoosh on every round of combat though because they were always part of the same group, and that meant it was only a matter of time until she rolled favorable RNG where the green spirits failed to bring in more friends. Eventually she defeated the last one which turned out to be Phantasm-N, meaning Hildegard had killed 4 Dying Fires and a staggering 14 Phantasms in all (!) Whew, well Hildegard did get it done eventually even with her limited toolset. She had taken barely 300 damage over that whole process and never had to heal herself which indicated how lopsided the combat had been.
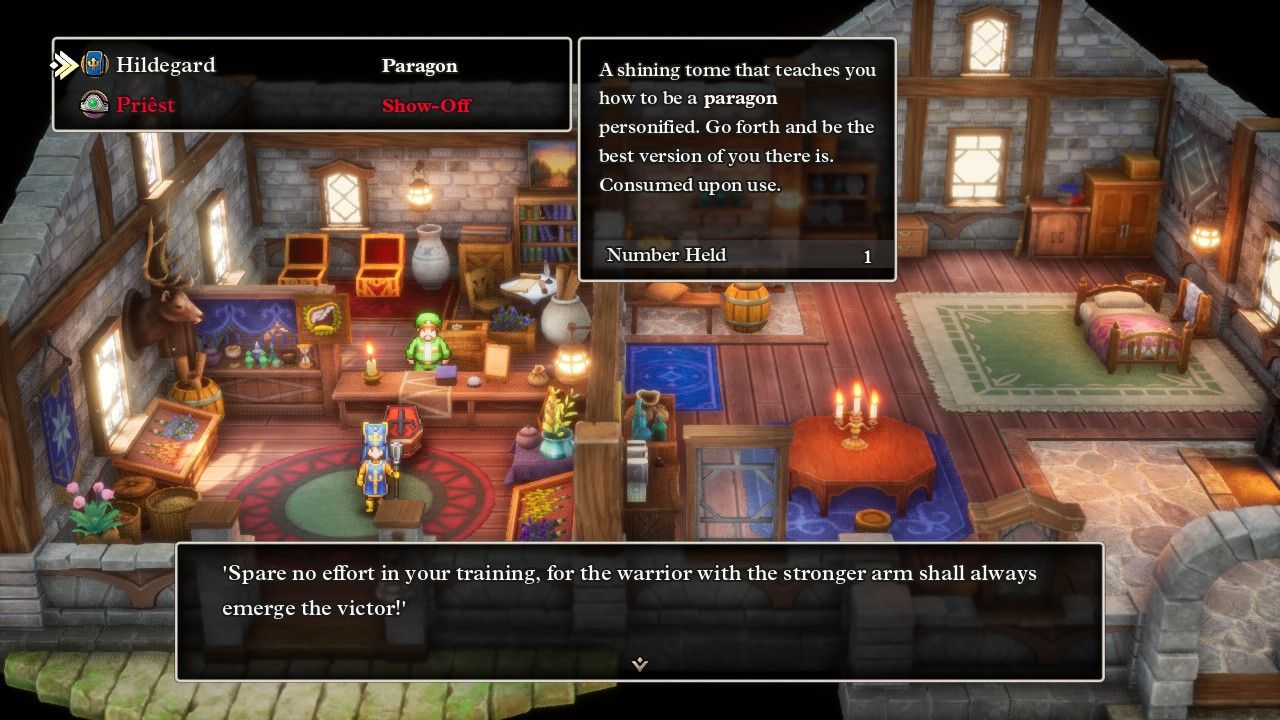
Now, belatedly, Hildegard finally did have all six orbs and unlocked the power of flight through the conveyance of a giant magical bird. She visited all of the usual "high ground" spots scattered across the world which held about two dozen of the stat-boosting seeds along with several rare items. One of these was the Elevated Shoes accessory that grants +50 Luck and a very small amount of XP for each step taken, which unfortunately Hildegard couldn't wear along with the Goddess Ring and Mighty Armlet accessories since she needed the latter equipped to force the Paragon personality. Or did she? One of the items found in these isolated sparkle / secret spots was a personality book named The Champion's Code. Reading this book would permanently change Hildegard over to the Paragon personality and avoid the need to keep that Mighty Armlet equipped. This is the first time that I've used a book to make a permanent change in a solo character's personality and so I thought it was worthwhile to highlight this gameplay mechanic. Players should be aware that many of the personalities don't have a corresponding book though; for example, Ironclad can only be obtained via the character creation process.
There was an even more precious treasure hiding out in the towering mountains to the west of Manoza:
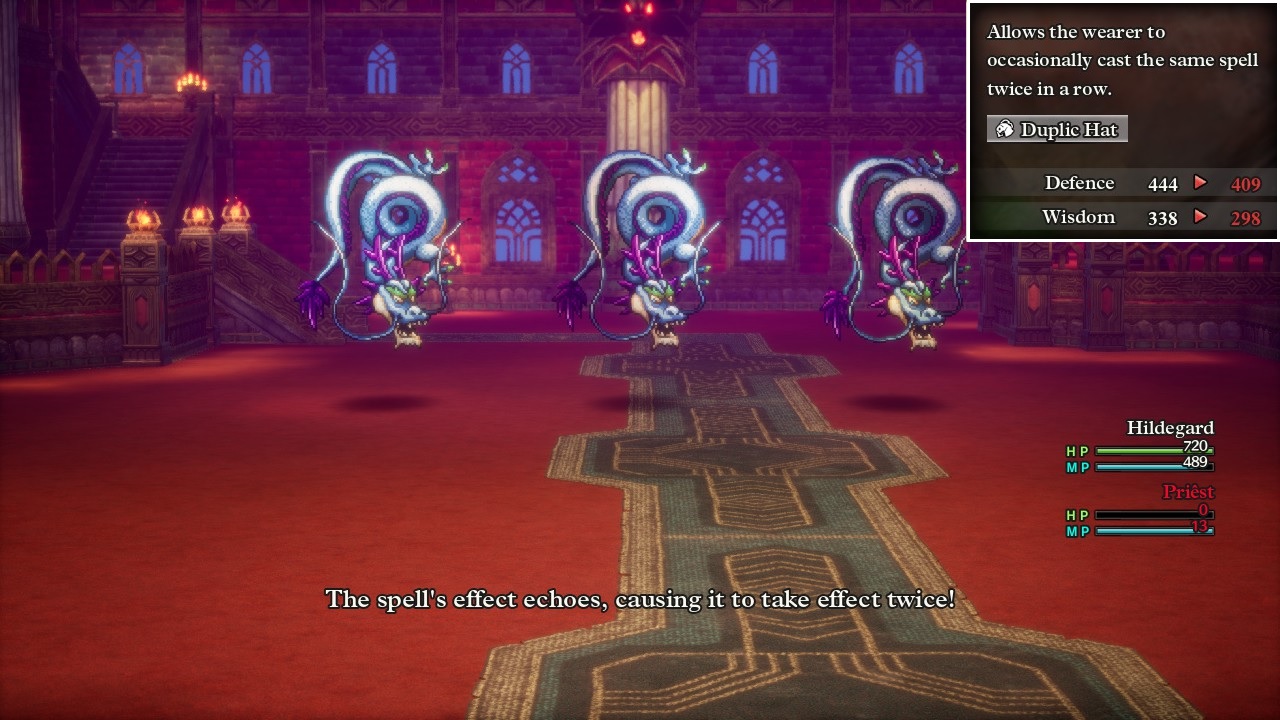
This was the Duplic Hat which can only be found in this obscure location, with no possible way to gain any additional copies before hitting the postgame content. The Duplic Hat has poor stats attached to it, with a mere 25 Defense and no bonus Wisdom whatsoever unlike the Scholar's Cap and Thinking Cap. However, this is undoubtedly the best helmet in the game for any spellcaster since the Duplic Hat allows the wearer to doublecast their spells! This item also has the single most misleading in-game decription because the Duplic Cap doesn't "occasionally" cast the same spell twice in a row, it *ALWAYS* casts the same spell twice!!!  I cannot comprehend why the item's description lies to the player like this since the Duplic Cap is absolutely amazing in every way and every spellcaster desperately wants access to this thing.
For Hildegard, it meant a massive upgrade to her wind element spells since she would now doublecast Kaswoosh every single time, quite literally doubling her damage. Interestingly, the "echo" effect from the Duplic Hat did not cost additional MP for the second casting, the exact opposite of the Monster Wrangler's Wild Side ability which did cost MP when using an ability twice. The duplicative effect was completely free to use. Most of the time I had Hildegard using Kaswoosh to get doubled damage, however I tested and confirmed that the Duplic Cap did work with basically every spell that could be used in combat, whether that was doubled status spells like Sap or Dazzle, or extra attempts to get instant kills via Whack and Thwack. The Duplic Cap also did something that I didn't expect: if Kaswoosh killed every monster in the initial targeted group, the spell's doubled effect would then target a different random group to deal even more damage to new targets. This was really useful in situations where the enemies showed up in four or five groups of "one" monster apiece, since Kaswoosh could eliminate one of them and then bounce over to a different target on the echoed effect. Hildegard used a combination of her melee attack and this newly discovered doublecasting power to clear her way through Baramos' Lair, with the toughest opponents being the Living Statues because they had 70% wind resistance. She needed four doublecasted Kaswooshes (eight total castings of the spell!) to disperse one of those groups though that was still faster than trying to melee each statue one at a time.
Oh, and remember how my solo Warrior grinded and grinded for ages on end without getting a Shield of Shame to drop from the Infanticore monsters? Hildegard had a Shield of Shame drop from those things in the Maw of the Necrogond, and then a SECOND one drop in Baramos' Lair! Naturally the Priest class can't equip the thing as I was apparently getting trolled by some kind of cosmic entity across these multiple solo runs.
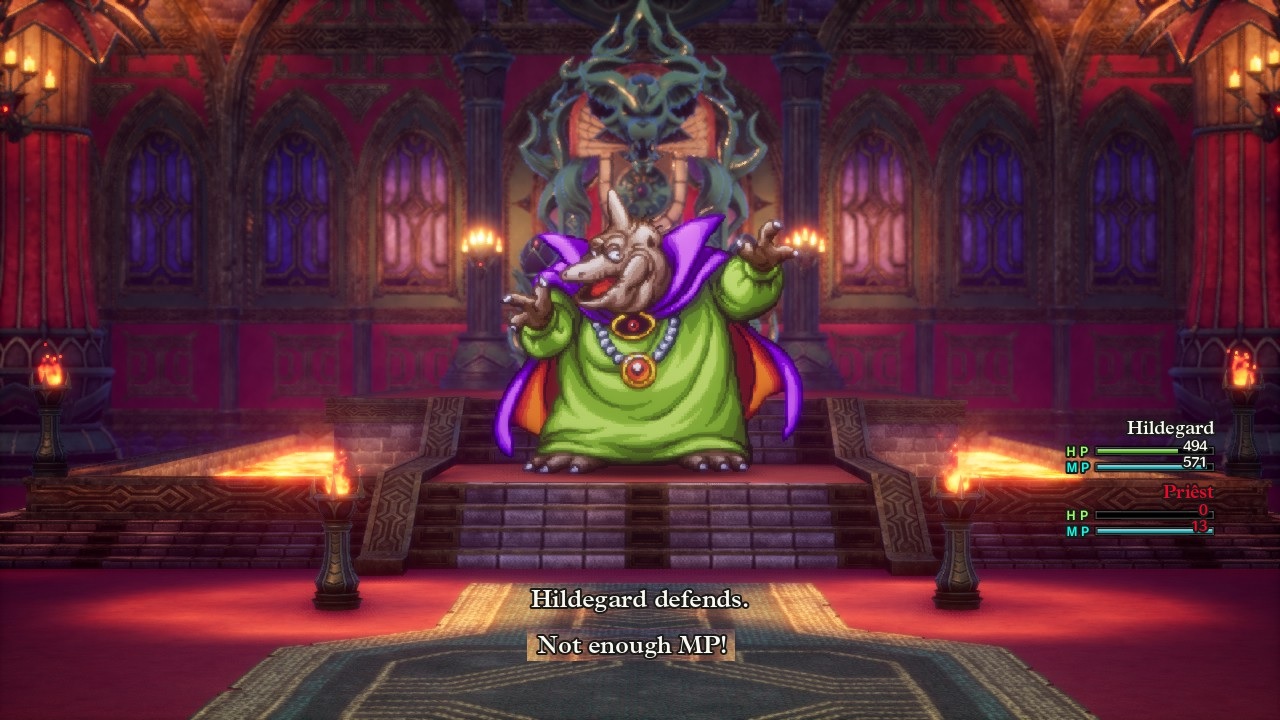
So that brought Hildegard to Baramos himself, the final boss of the overworld and one tough customer. My goal for Hildegard was to test out the Baramos AI routine as much as possible to get better data for future ventures that might not have the Fullheal spell at their disposal. It turns out that Baramos has a fairly simple AI routine with only one condition: he takes different actions depending on whether he has more than 70% HP remaining, 40-70% health left, or under 40% HP remaining. Baramos is very predictable though and almost never has a percentage chance to do different things, usually doing 100% guaranteed actions as he passes through eight total rounds of actions before cycling back to the top of the list again. What makes Baramos unpredictable is the fact that he randomly takes 1, 2, or 3 actions per round of combat which can make the fight vastly harder or easier depending on how many actions he happens to be rolling. Baramos can therefore launch eight or nine attacks in three rounds... or three attacks in three rounds, heh. The simplified version is that Baramos uses a lot of Kaboom and Kasizz spells, plus Inferno breath attacks, plus his own natural melee Attacks. There's no easy way to defend against all of those threats and this pain in the rear also regenerates 64-84 HP each round just to be even more annoying. Like I said, he's far from easy to beat.
I wanted to see more of Baramos' AI routine so I resolved to spend some time simply defending with Hildegard and run Baramos out of magic points. This was readily doable since it only cost 9 MP to cast the Fullheal spell and Hildegard had more than 500 MP at her disposal - she could do this all day. On the flip side, Baramos had 720 MP and would cast Kaboom / Kafrizz / Fuddle / Kafrizz / Dazzle in sequence for a total expenditure of 48 MP before cycling back to the top of his AI routine and beginning again. 15 such cycles were enough to run him dry and eliminate all spellcasting from the boss fight (though of course Inferno did not cost MP as a breath attack and remained available as a threat).
Things got a lot easier now, right? Not exactly: I noted with past solo characters that Baramos would stop casting spells if the player had the Bounce protection in place to reflect those spells back at him. The same proved to be true here, as Baramos simply stopped using spells once he was out of MP and instead changed all of those actions over to basic physical attacks. He would still try to cast Fuddle and Dazzle uselessly, but every direct offensive spell was now replaced with a melee attack - the Baramos AI is surprisingly smart! This did not make the battle any easier for Hildegard and if anything probably made it harder. So much for any strategy based around "run Baramos out of MP", not unless the player has insanely high Defense anyway.
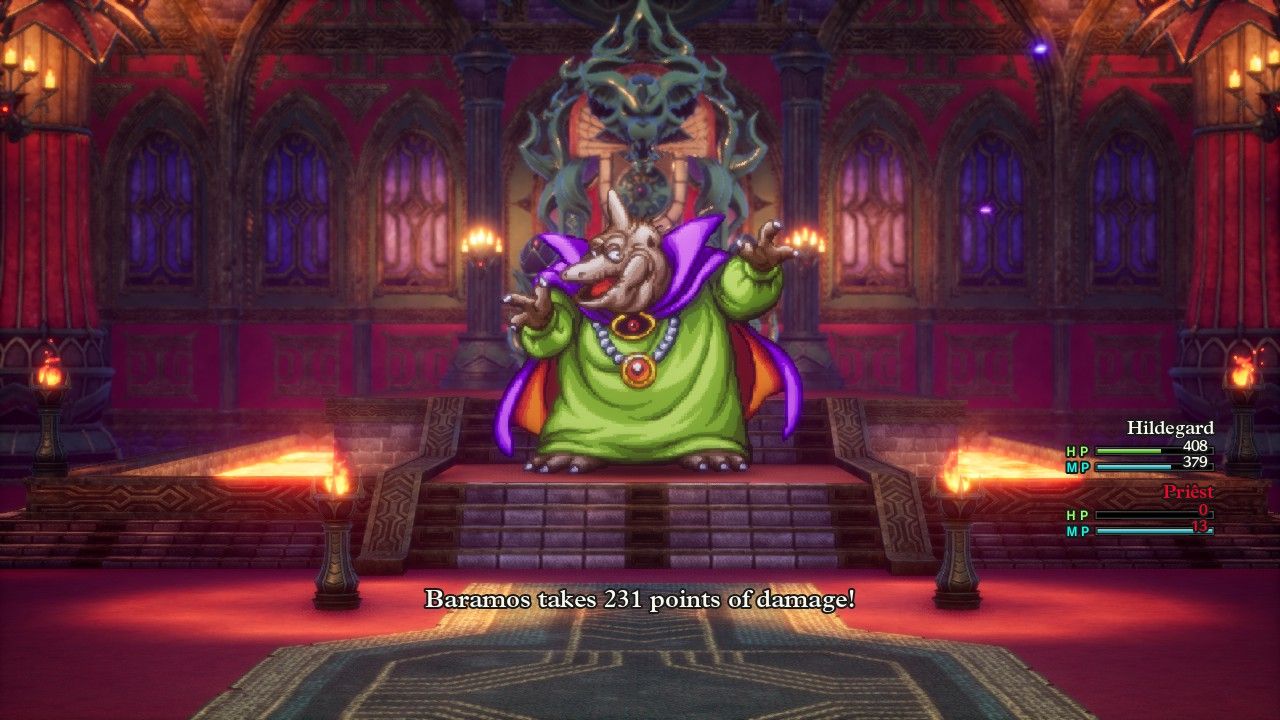
Well, since that didn't work, it was time for Hildegard to start cutting through the 5400 HP on the boss. Baramos fortunately is weak against wind element and takes 20% additional damage from wind spells, with the damage from Kaswoosh doubling with each cast thanks to that shiny new Duplic Cap. Here's where the spellcasting math threw me an unexpected curveball, however. Kaswoosh deals base 90-120 damage which then gets modified by the Wisdom bonus (up to 60% extra damage which Hildegard fully qualified for), the single target bonus (30% extra damage when using a group spell against one opponent), and any elemental resistances or weakness (+20% damage in this case). That should have been 90-120 * 1.6 * 1.3 * 1.2 = 225-300 damage for Kaswoosh, which would happen twice for a total damage in the 450-600 damage range per round. However, this was *NOT* what I observed in practice. Hildegard cast Kaswoosh many, many times and the observed damage was clearly lower, roughly in the 175-235 range. I eventually realized what was happening: Kaswoosh was not getting the 30% solo target bonus damage against Baramos. When I removed that 30% extra damage, the numbers lined up perfectly with what I was observing so clearly Hildegard was only benefiting from the Wisdom bonus and Baramos' own weakness to wind element. Thus the 90-120 * 1.6 * 1.2 = 175-235 damage range that kept popping up on my computer screen - this was a math problem I was able to solve.
Now this was absolutely sufficient to deal with Baramos since Hildegard was hitting for about 400 damage per round with her doubled Kaswooshes and Baramos could only regenerate 64-84 HP at a time. Even with the need to pause and restore health sometimes with Fullheal, Hildegard could clearly outrace the Baramos regeneration and win eventually. It was a dire problem for an upcoming boss fight at the end of the game though, as all of my pregame planning for Hildegard had been based on the belief that she would get that 30% damage bonus against single target bosses. Clearly though, that is not the case since I had observed similar results earlier against other bosses throughout the game, such as Robbin' Ood consistently taking less damage than I had expected. The single target damage bonus DOES NOT APPLY against bosses - why has no one else ever written about this for DQ3?!  I continued to be stunned at how much misinformation is floating around on the Internet for this game as apparently hardly anyone ever tests these numbers in practice. I was going to have to shift up my plans for the endgame and potentially do a lot of stat farming for Hildegard based on this discovery.
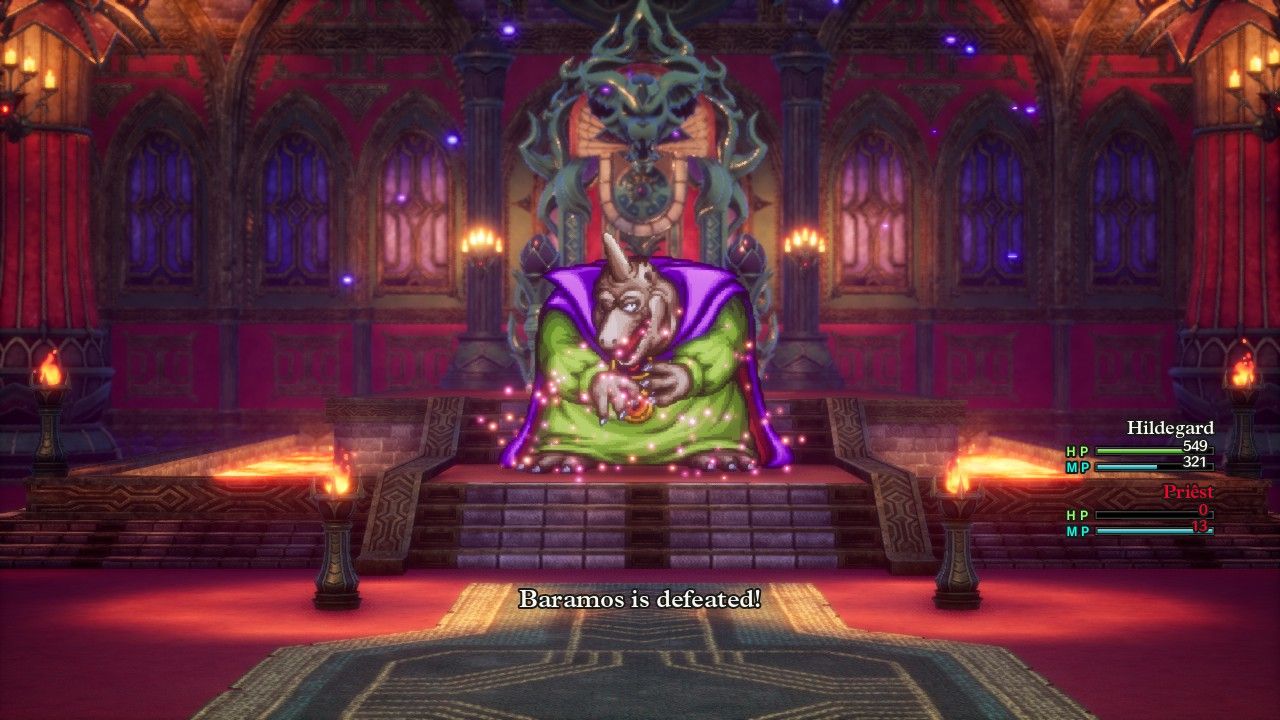
All of that was a problem for later though. After a long series of Kaswoosh casts, Hildegard wore down Baramos and eventually defeated the big dinosaur. Notably the AI scripting that I was following does not list Baramos' critical strike in the AI routine, even though I know he can perform this move since I'd seen it on other characters. There was a blank spot for Action #8 when Baramos is under 40% HP remaining, however, which leads me to believe that Baramos has a chance (maybe the same 1 in 6 of the Boss Troll?) to use a critical strike on this particular action. Hildegard never saw Baramos use his critical attack so I was unable to verify this but that's my best guess of where that nasty little surprise happens to be lurking. I'll pin this down eventually with future characters.
On next to Alefgard and the somewhat tacked-on conclusion of DQ3!