
After a brief pause to fight some normal battles around Elfland, I decided to go at it again. Everything was uneventful up to the Wizards, and I again got a lucky draw of only two opponents. They went down pretty fast, with the four fighters' hit points reading 141/107/73/46, no one poisoned. This was my best chance yet to make it out alive! Naturally Live (the one with 141 hp) was poisoned in the next random encounter... When Land (the one with 107 hp) was poisoned as well in the next fight, I elected to use my one Pure potion to cure the poison and help ensure a safe trip out, sticking Land up in the front rank sans armor to die in the hopes of keeping the rest of the team alive. It worked! Land died, but he took some major hits and got me through to the end of the Marsh Cave. My surviving team members read 74/71/35 hit points upon exit. Only a bad encounter with geists could stop me from making it back now. Da quickly got poisoned by a werewolf, leaving me with two effective fighters left. He was then killed by a group of Ogres; I now had Live (with Iron Armor) at 59 hit points, Off (with Copper Bracelet/Cap) at 35 hp. Next up: six Wolves. Not dangerous with armor, and I took almost no damage. Final battle was a single Ogre - cakewalk! Mission accomplished!  Only took a total of six tries, heh.
The strategic aspects of this variant are really interesting. I swapped armor and weapons around to different fighters at least a half dozen times in the successful Marsh Cave run, shuttling my characters around in the ranks as they took damage and status ailments. Deciding whether or not to use potions is a similarly huge issue; I would not have made it through the Cave successfully without using the one Pure potion that I did. But with supplies so crazily limited... well, it's a big sacrifice any time you use one! Fun stuff to think about and manage.
My fighters were just shy of level 8 after the run was over, so I fought a few battles and pushed them over the top. Then I went and fought Astos:
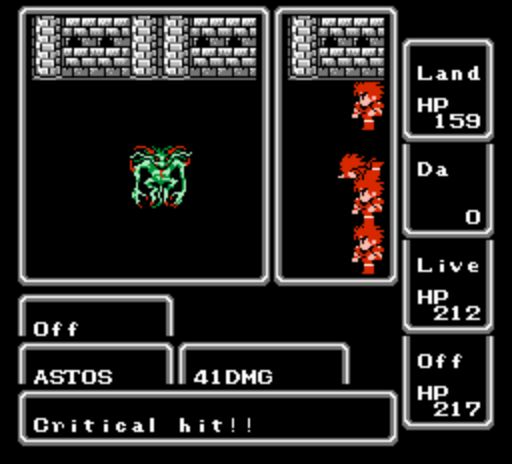
Astos was extremely difficult! Him and his stupidly high 40 Absorb blocked everyone except the fighter using the Short Sword from doing more than one point of damage. I was essentially forced to waiting and hoping for critical hits to take place - relying on luck instead of skill. With a total lack of magic defense, his spells shredded the team with devastating effect. If only I could get my hands on more than two weapons! (And the Large Dagger barely qualifies as a weapon...) I got it on the fifth try, when Astos kept attacking instead of casting spells:
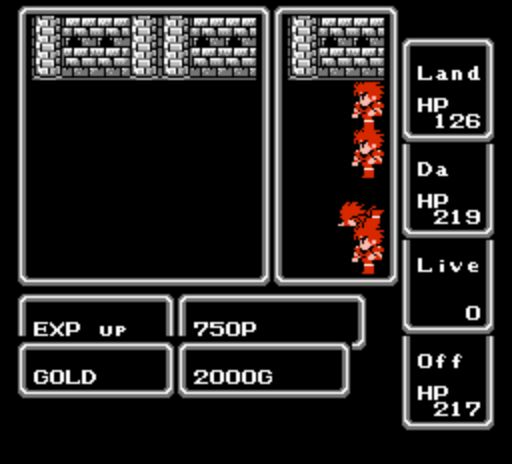
Also landed three critical hits with Off, wielding his mighty Short Sword. A few quick exchanges with Matoya and the Elf Prince... Now the paucity of starting equipment was finally over, and I could begin treasuring hunting in earnest! First up, the goodies in Elfland Castle. Aside from gold, it held a Silver Hammer and Copper Gauntlet. Usually junk for anyone other than a White Mage, but gold for this party! The hammer boosted damage by 12, while the gauntlet added 2 more Absorb to my #2 fighter, the one not wearing the Iron Armor.
Coneria's treasure rooms housed a second Iron Armor (jackpot! definitely not useless junk here!), an Iron Shield, an Iron Staff, a Sabre, and a Silver Dagger. Just like that I now had MORE weapons than I could use! I settled on Silver Dagger, Silver Hammer, Sabre, and Short Sword for the moment (hmm, definitely using some odd weapons there!) In terms of armor, I gave Iron Armors to the first two fighters, then grouped my various other garbage stuff (bracelet, cap, shield, gauntlet) onto a third one to provide semi-decent covering. That gave me Absorb of 24/24/11/0 down the line, a substantial upgrade from before.
A return trip to Northwest Castle gained me an Iron Gauntlet (very slightly improved Absorb) and the Falchon, which seems to have exactly the same stats as the Short Sword. Never used it before, actually - the graphics are the same as the Rune Sword, but colored white. It was better than what I had been using, so the Silver Dagger was swapped out and it was swapped in. I then plundered the locked doors in the Temple of Fiends, grabbing the Were and Rune Swords and ditching the Sabre and Silver Hammer. It was too bad about that last weapon - I enjoyed watching the fighters shake a hammer at the enemies!
The Dwarf Cave contained some more noticeable upgrades: the Dragon Sword added another Rune/Were clone, and I ditched the Falchon. The best find though was the Silver Armor, which finally gave me decent Absorb on all four warriors. With much shifting around of gear, I got the ratings to 29/24/19/17:
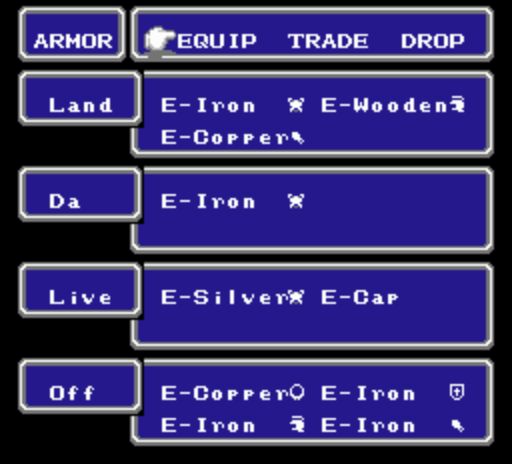
Clearly, there were still some holes to be filled. However, my party was so much vastly stronger than before, I almost didn't know what to do with their newfound defense. Last up in this area was a final run of the Marsh Cave, to pull a Silver Bracelet on the bottom dungeon floor. Most runs through the game I don't bother, as you can buy the same thing at Crescent Lake with much less fuss. Obviously this group is a little different. The first such trip actually failed, as all four fighters got poisoned and slowly succumed to its grasp. Second venture was a success, and I now had Absorb ratings running 29/24/24/23 across the four characters. Fighting monsters nonstop while grabbing all the chests also took everyone to level 9 - excellent.
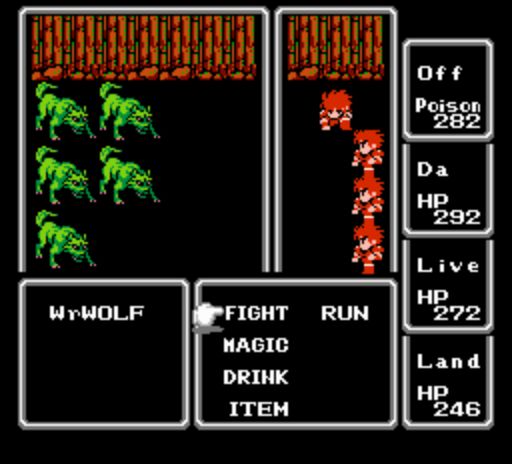
In the Earth Cave, the worst monsters turned out to be the weakest ones of all: the Asps, Arachnids, and Werewolves that had the ability to poison. There are few things more frustrating than trekking all the way to the dungeon, then immediately getting an 8 Arachnid encounter, "monsters strike first" - yes, that really happened to me! It took four trips to clean out the treasure on the first two floors, by which time everyone had gained two levels, to lvl 11. The only notable finds were a Wooden Shield and Coral Sword, the latter of which was a slight upgrade over the venerable Short Sword I had been using forever. Now the team was ready to go after the Vampire.
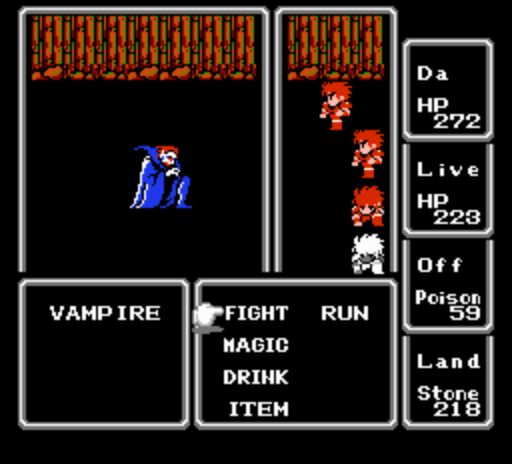
So... yeah. By the time I made it to him, Off had been poisoned and Land ran afoul of a battle where six cockatrices got to strike first. The Vampire would then proceed to slay the doomed Off on the first round of combat. Fortunately, even two fighters are enough to defeat the Vampire with ease. He never even got to attack a second time. I had the most interesting time getting out of the Cave afterwards; a fight with five Images paralyzed Live (who was guaranteed a successful run due to the buggy way in which retreats work), so I had to kill them all one at a time with Da, taking major damage in the process. Then Live was poisoned, and slowly bled himself to death walking out, followed by Da getting poisoned as well on the entrance floor of the cave. I escaped with only Da left, poisoned, with 57 hp remaining. Fun stuff! 
I opted to use one of the three Cabins I had found to restore Da's life and save the game. Didn't particularly want to have to fetch the Ruby again if he would get killed walking back to town. Good thing I did too, as Da was killed by a pack of undead before even getting to Melmond! Second return trip was successful; I used the inn to restore hit points from 30 to 300, then went to Coneria to revive Live and Off, and finally made the trip to Elfland for a Soft potion to use on poor Land. Yeah, Elfland is the only place that has them before getting the airship. Definitely inconvenient at times.
The Titan's Tunnel contained two useful pieces of gear: the Silver Helmet, and the Great Axe. The first was a no-brainer; I didn't even have a helmet for all four characters yet! The upgrade put me at 32/29/24/23 Absorb for the four characters. The Great Axe was more interesting; it slightly increased damage (from 33 to 37) at the cost of 10% hit percentage. For the moment, this did not make a difference in terms of getting an extra hit, so I made the change and swapped out the Were Sword. I kept it in inventory though, as the fighters would pick up a third hit at lvl 14, but only when using the more accurate swords.
By the way, the attack graphic for the Great Axe is awesome. A huge red axe - sweetness. 
All that remained in this area was to go after Lich. I managed to make it all the way to the third dungeon level without anyone getting poisoned, although eventually Land was struck down by a Werewolf group that got a preemptive attack. His life slowly drained away, lasting all the way down to the fifth dungeon floor before getting killed by a Troll just before facing Lich. So the other three had to take up the slack:
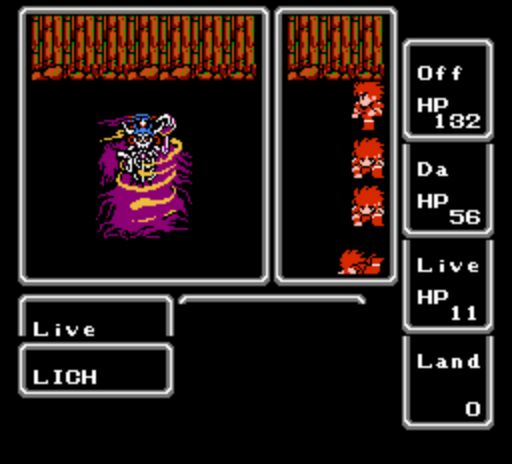
Sorry for the terrible screenshot, I couldn't seem to get a good one for this fight. Obviously my three surviving characters attacked every round. Lich attacked on his first round, doing negligible damage. He cast ICE2 on the second round, seriously messing up my party. Da and Live were taken to death's door. Round three, Lich cast SLO2 which missed and did nothing. Round four, he cast FAST on himself. And my fighters killed him on round five before he could get off an attack. Another close victory! I swear, I've had more interesting fights with this group than any two other parties put together.
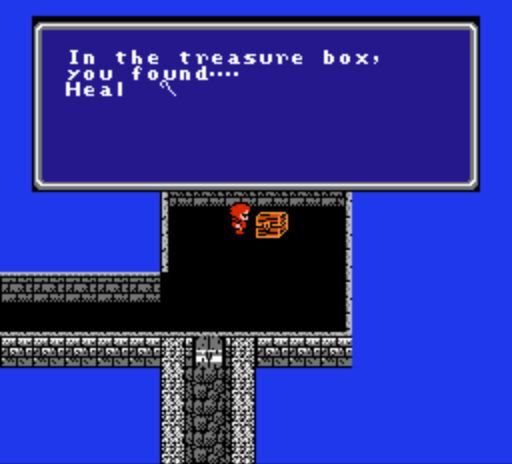
OK, where to next? The obvious choices are between what T-Hawk correctly calls the mid-game troika of Gurgu Volcano, Ice Cave, and Castle of Ordeal. The Ice Cave is the most difficult, so let's save that for last. Ordinarily, I might go for the Volcano next... except that this group has no way to recover hit points inside dungeons, and there are a lot of lava floors in there. Getting the Heal Staff from the Castle of Ordeal seems like a good bet then.
First, I went and retrieved the CANOE from Crescent Lake. (Even that short walk from the ship was enough to see all four fighters poisoned from Cobra/Scorpion encounters. Sheesh!) Then I could get started. Quick, what's the easiest way to get to Ordeal Castle? Answer: sail directly south from Elfland. It's actually easier to get there that way than use the airship! Good thing there's no north or south pole in this game.
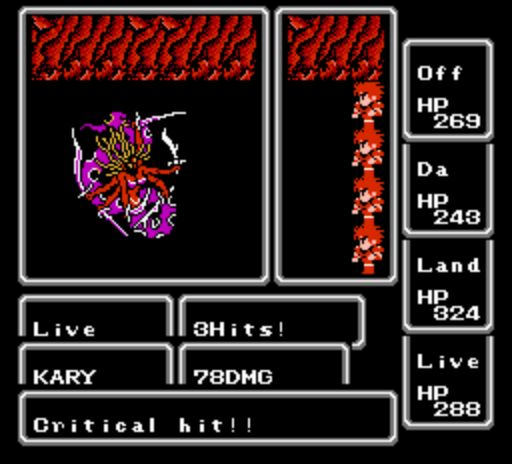
Initial fight inside sees two Medusas strike first and stone Live. Not the best start. Second fight is four Mancats; my fighters manage to get out of there with only one FIR2 taken. Third fight is four Sorcerors - RUN!!!  Whew, no one died. The fighters took brutal damage against the unavoidable Nitemare battle, before finally getting a critical hit and killing the darn horse. That led to the desired prize:
Of course, there are other excellent treasures in the Castle as well: Gold Bracelet, Ice Sword, and Zeus Gauntlet (which I actually equipped!) were awesome finds. For the moment, I held off on shuffling gear until I got out of the dungeon in one piece. Fourth random encounter was eight mummies - monsters strike first. Damn it. Ran away immediately in the second round, after a serious pounding. Fifth battle was the two zombie dragons.
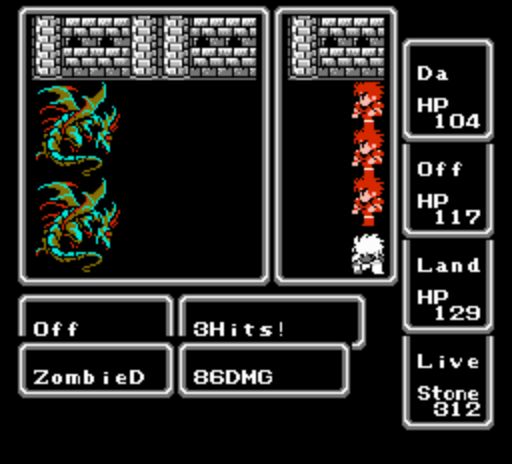
Not much to say here, my three guys hacked away until they both died. Off had the Ice Sword, which gave him three hits and much more damage than the other two. The fighters all took some hits, but none went into the critical range. After running from two battles outside, they made it back to the ship with 92/55/31/ST hit points. Success! Also fun to see how the variant continues to remain entertaining, hehe.
With new gear in tow, I spent a crazy amount of time swapping armor around until I had the desired configuration, ending up with 35/30/29/27 Absorb for the four fighters. The Ice Sword meant that I had to bid farewell to another weapon; the Were Sword drew the short straw. Naturally I gave the best weapons to the fighters in the two back ranks, so I gave the indirect attack weapons (Zeus Gauntlet and Heal Staff) to those in the first two ranks. As always, the gear could and would be shuffled around as needed when characters would die, get stoned, or poisoned.
I made the decision to go after the Volcano next, for once doing it before grabbing the airship. My party had enough armor to survive the long trek through the lava, and there was some good gear in there to pick up. Our first trip involved looting the huge room on the second basement floor, where my group picked up a Silver Helmet (waving goodbye to the venerable Cap) and the Giant Sword (farewell to Rune Sword). Things were going great until Off was Squinted out of existance by Perilisks, and the team ran afoul of four Red Gargolyes, "monsters strike first". That was a lot of FIR2s! Took a lot of damage, made it out OK.
The Heal Staff was a huge lifesaver. With no option to heal via potions, I was having one of my four fighters use it almost every single round of combat. The other three were usually enough to supply plenty of offense. Still, I continued to have problems with poison and instant-death attacks - the lack of any healing/restoring magic was an important drawback.
Trip #2 into the Volcano cleared out the rest of the treasure on the second dungeon floor. Goodies included another Silver Helmet, a Silver Gauntlet, Silver Shield, and Silver Axe. (Guess the fire monsters like silver, eh?) The axe did much more damage than my current weapons, but I had to hold off for another level because its to-hit percentage was lower, and would drop the fighters down from 3 to 2 hits. Everyone was right around lvl 14/15 at this point. After more shuffling of equipment, I had the Absorb ratings at 44/38/32/29, which was a comfy cushion against most physical attacks.
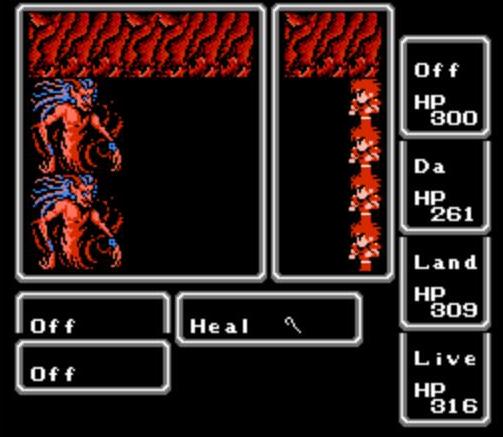
Trip #3 penetrated down to the bottom treasure level, scoring a second Ice Sword and the Flame Shield. This venture was going so well, I went ahead and did the final dungeone level too. The Flame Armor was picked up with ease, all four fighters attacking and killing the FlameD in one round before it even attacked!
No strategy here, everyone simply attacks. Kary cast FIR2 the first round, DARK the second one, and died before getting a turn on the third. An easy victory for the team.
There was nothing more to do in this area other than run the dreaded Ice Cave. The first two trips had to canoe back to Crescent Lake after getting poisoned by Ochos along the way. First venture into the actual cave made remarkably good progress, getting Red Bone encounters (cake) over and over again. Off kept abusing the Heal Staff to keep everyone in good health. My group managed to avoid the Sorceror and Mage encounters on the second basement level, and grabbed the Ice Armor without incident. The FrostDs attacked rather than using Blizzard, whew! Everything was going so well that I went right for the Floater instead of leaving with the treasure:
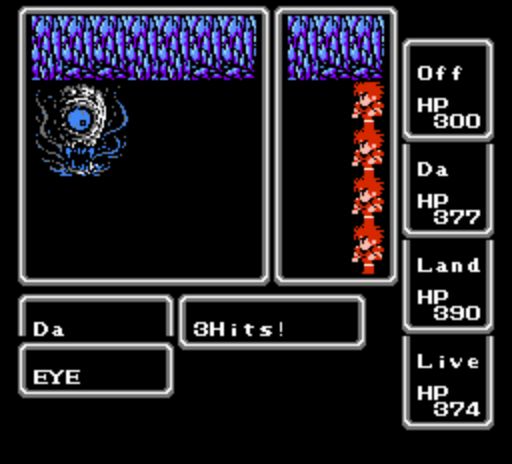
The boss never even got to attack! My fighters went first and killed him on the second attack. Easy victory. I ran into a pair of Sorcerors on the way out, and downed them both before they had a chance to attack. Whew. Otherwise the walk out was routine, and I actually survived with all four warriors alive. Ice Cave, cleared like cake on the very first try? All this new equipment was making the game too easy! 


