
The Chapter 4 stories were the last group remaining before Starseer Primrose reached the end of her journey. The gameplay had been pretty easy for this class thus far, however I worried that the Starseer would start to run into more serious obstacles as the final boss challenges began to arrive. While the Starseer's various support skills were downright incredible, and the damage output from Shooting Stars wasn't bad at all, the class had a major weakness when it came to breaking through opponent shields. Starseer Primrose struggled to break enemy bosses unless they happened to be weak to more than one of the wind/light/dark elements used by Shooting Stars, and that was a rarity. Many of the endgame bosses require very precise shield break timings and I wasn't sure if this class would be able to pull that off. I was confident that I could make it through the Chapter 4 stories and then I'd have to consider whether or not to pursue the postgame superbosses.
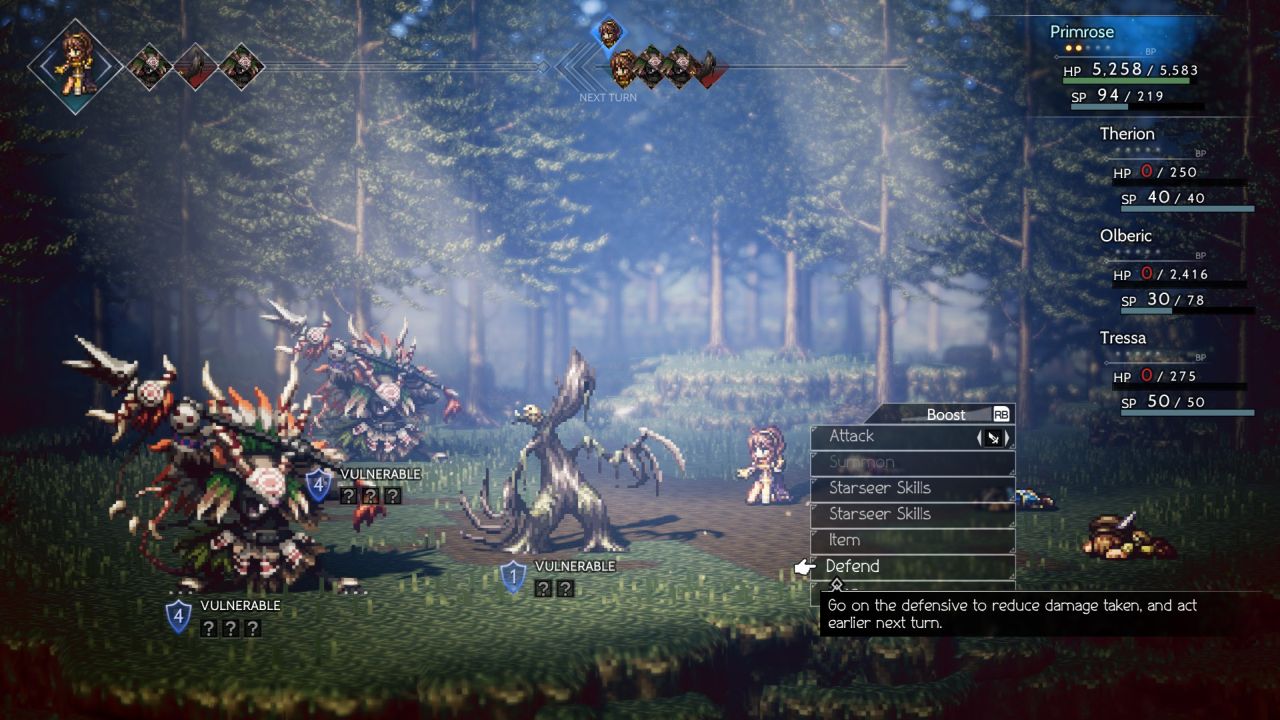
The first order of business was visiting all of the towns out in the third ring that Primrose hadn't already reached. I started by working my way to Wispermill in the Flatlands and then continued onwards in a clockwise circle around the map from there. All of these towns had additional side quests to complete and more of the stat-boosting nuts to Purchase which helped to make Primrose stronger. There was a slightly better dagger named the Legion Dagger that Primrose was able to buy in a shop in Everhold, worth a whole 10 additional points of evade but every little bit helped. She also gained a series of levels by fighting every monster along the way, with nearly all of them still falling on the first turn of combat. I took a picture of the above encounter in the far reaches of the Woodlands because the Raging Treant enemy was was one of the very few that could survive a first-turn casting of Shooting Stars. It would still die on the second turn to a max boosted Shooting Stars, of course, but Primrose did have to use the Defend command for a single round and that was rare. This was all background stuff that I had done a dozen times before on previous Octopath Traveler playthroughs but it still helped to prepare for the bigger tests soon to arrive.
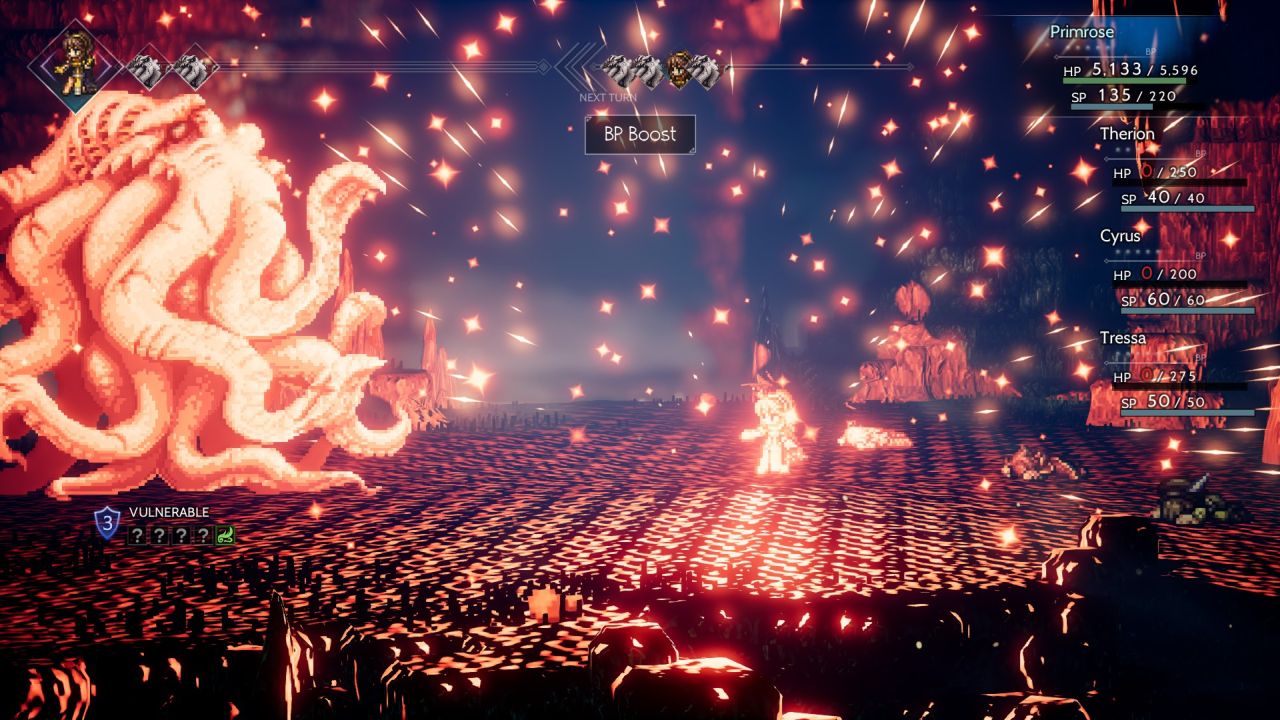
Once Primrose could use the fast travel feature to teleport anywhere on the map, I got down to the business of clearing out the various side dungeons. Once again I started at the northern edge of the continent and proceeded in a circle for lack of any better alternative, starting with a return to the Maw of the Ice Dragon. This small area weirdly does not have any dragon opponents, with a Dreadwolf miniboss guarding the final treasure chest instead. The Dreadwolf only had 12k health which wasn't enough to survive for long, with Primrose hitting it with a pair of Shooting Stars casts and not even needing to break through its shields. Next I went to the Captain's Bane dungeon to tackle the Leviathan, something that required equipping the usual Conscious Stone accessory for safety. I skipped out on wearing an Antidote Stone because I figured Primrose could wipe the Leviathan's minions before they could poison her; they got her one time with poison which wasn't bad. I also found the opportunity to cast BP Boost here and trade 25 SP for a single additional boost point, something that was almost never worthwhile but helped speed along this combat. Shooting Stars blasted away the minions whenever they appeared and wore down the Leviathan itself until the battle was won.
Next was a side area that I rarely visit, the Loch of the Lost King located near the entrance to Grandport. There's another miniboss inside named the Tyrannodrake who pretty much just tries to inflict terror status and hits really, really hard. Primrose took one hit where she failed to dodge that inflicted 1776 damage, ouch! Fortunately the creature never gets more than one action per round and only has 11,000 health for some reason so it also dropped to Shooting Stars in short order. Primrose managed to stumble across a Chubby Cait in one of the random encounters here and immediately slew it for a whopping payout of 2300 experience and 51,000 money. Another one even popped up shortly thereafter but Therion was still alive due to the need to open up a purple chest and the Chubby Cait ran away before I could kill off Therion - argh! 
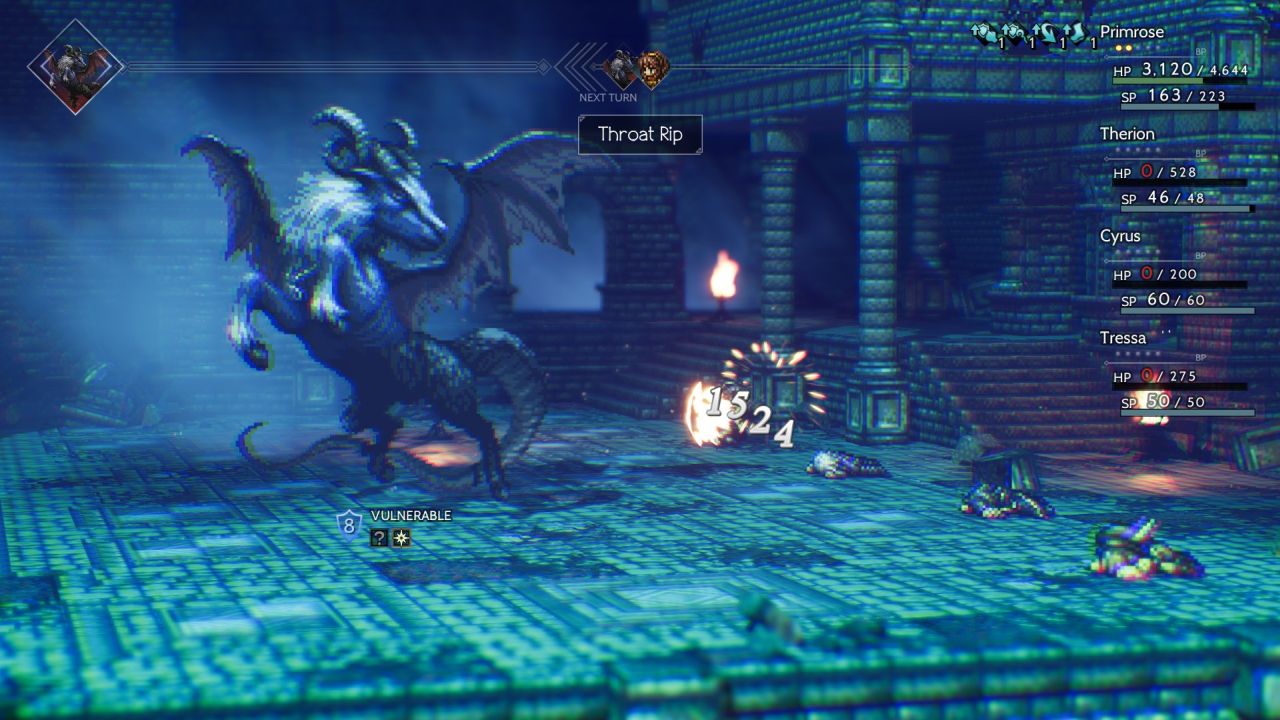
The Everhold Tunnels is among the hardest of the side dungeons and a bunch of my other savefiles have it as the last place where I saved their respective games since one of its random encounters has a very high XP payout. Primrose managed to find a couple of Accursed Armor opponents while clearing out the dungeon, and I revived Therion to steal a Refreshing Jam from each one. Unfortunately one time Primrose accidentally killed the monster while I was in the process of doing this, taking Therion up to an unintended Level 10, whoops. The miniboss located here was the pictured Devourer of Dreams who also likes to inflict terror status, can inflict instant death if the solo character doesn't have a Vivifying Stone equipped, and uses this nasty physical attack named Throat Rip. Note that this dealt 1500+ damage to Primrose even with her Starsong protection in place, though fortunately about half of the attacks from the Devourer missed. The biggest issue here was a lack of weaknesses to target: the Devourer of Dreams is only weak to swords and light element, and I couldn't exactly cast Shooting Stars 10 times to break through its shields. Primrose had to get the kill without landing a shield break, something that was doable and didn't require using any Refreshing Jams, while also not being a walk in the park.
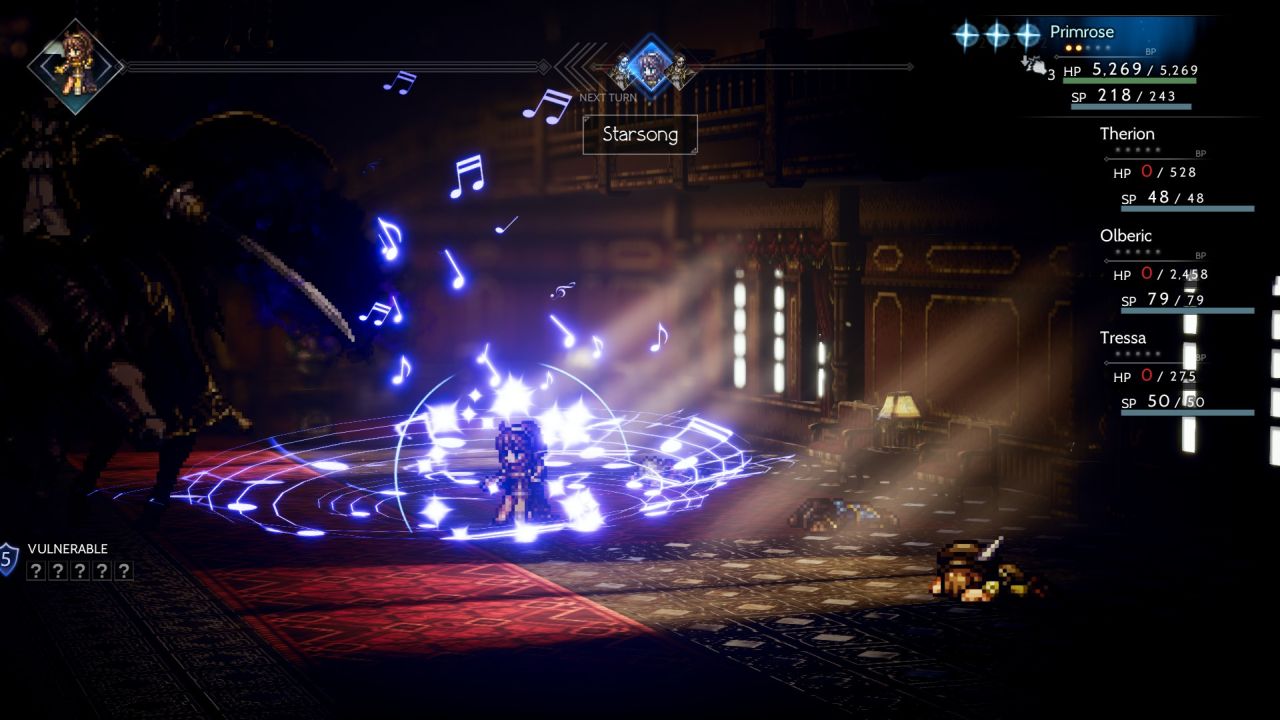
The Lord of the Sands in the Marsalim Catacombs was much the same story, another optional side boss with about 20k health and a whole bunch of shields for protection. The Lord of the Sands was weak to spears so I could have punched through its protection with enough auto attacks, though that didn't feel worthwhile in this situation. It kept buffing its physical attack while Primrose countered with Starsong to buff her own physical defense and evade. I could have used Celestial Intervention to block the application of its buff, except that I rarely face this boss and didn't know the proper timing. Primrose had better luck at dodging attacks and getting Divine Aura to trigger and block damage while she brute-forced her way past another miniboss.
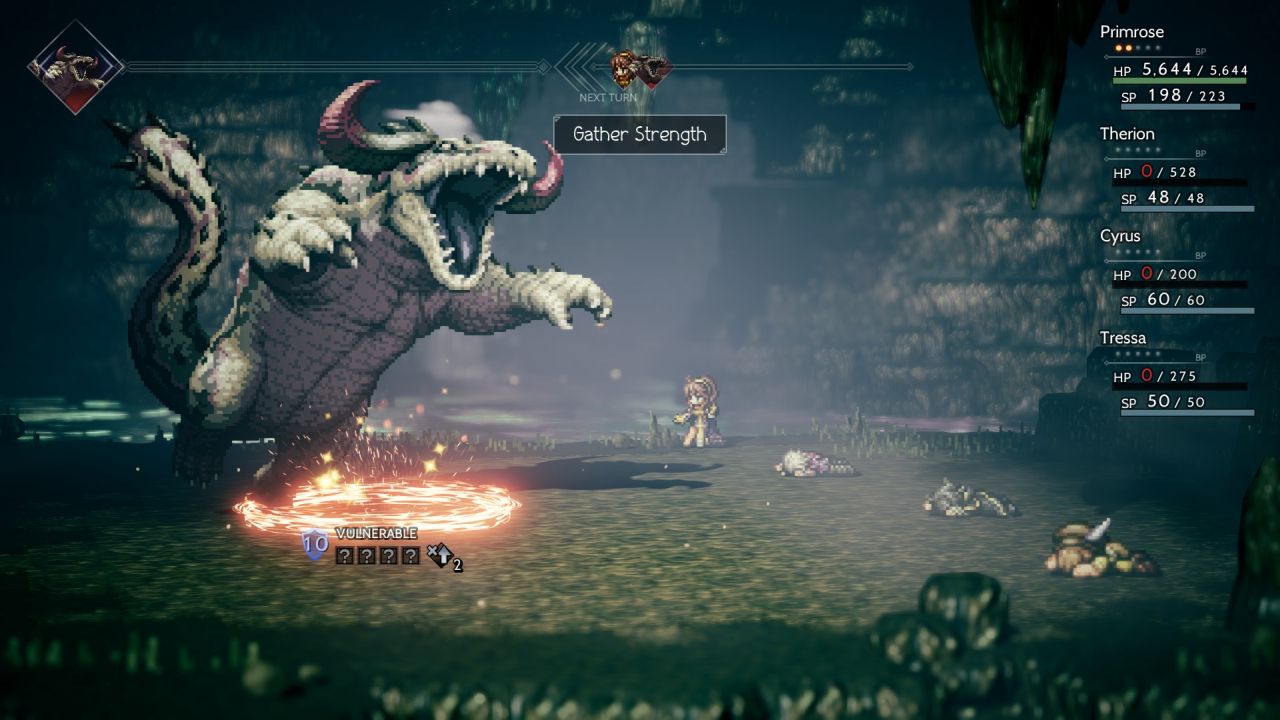
For the Gigantes miniboss in the Refuge Ruins, I did know the timing of its attack buff: it always uses Gather Strength on the first round of the fight. Thus I had Primrose block this with a casting of Celestial Intervention on the first turn, which prompted Gigantes to waste its turn with a useless ability when it acted. Gigantes kept right on casting Gather Strength each turn and I might have been able to tie it up in useless circles by repeatedly casting Celestial Intervention; apparently its AI scripting is to use this ability any turn that it doesn't have its attack buffed. Instead, I swapped over to attacking with Shooting Stars and dodged the one big Charge attack launched by the beast, then defeated it before Gigantes could make a second attack. This resulted in a perfect no-damage-taken miniboss fight for the "Untouched" 10% bonus to money, hah!
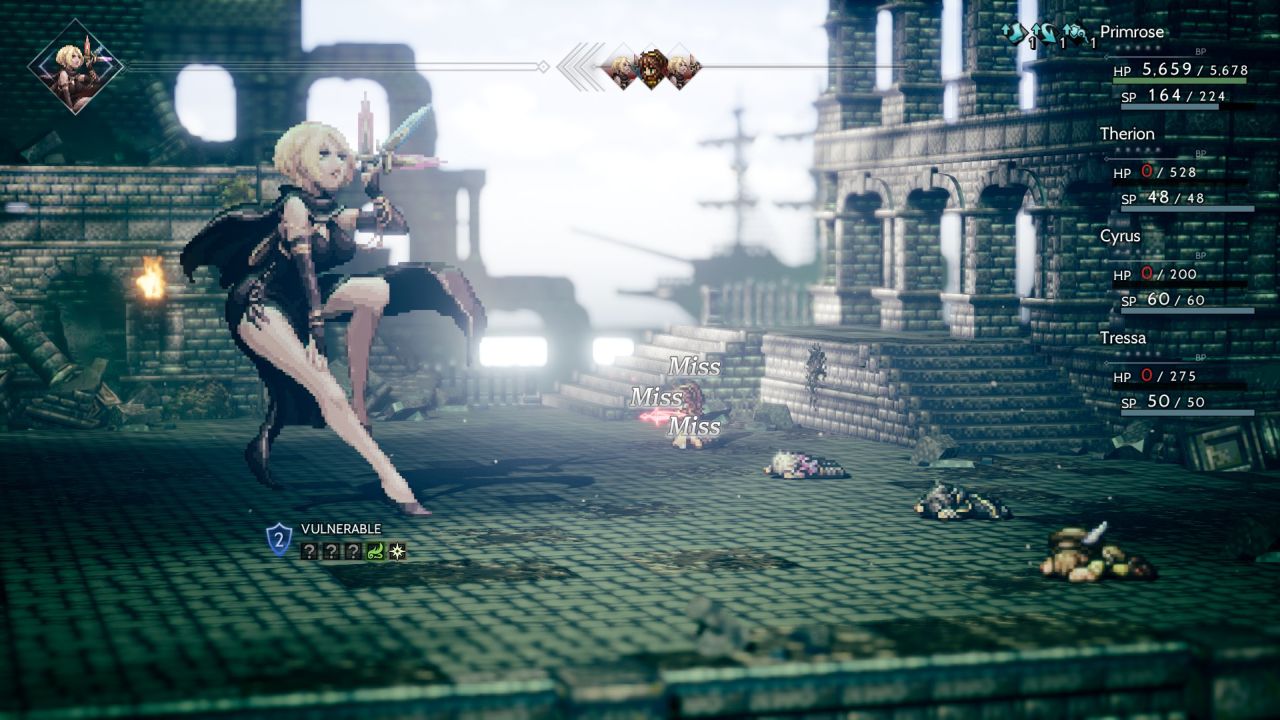
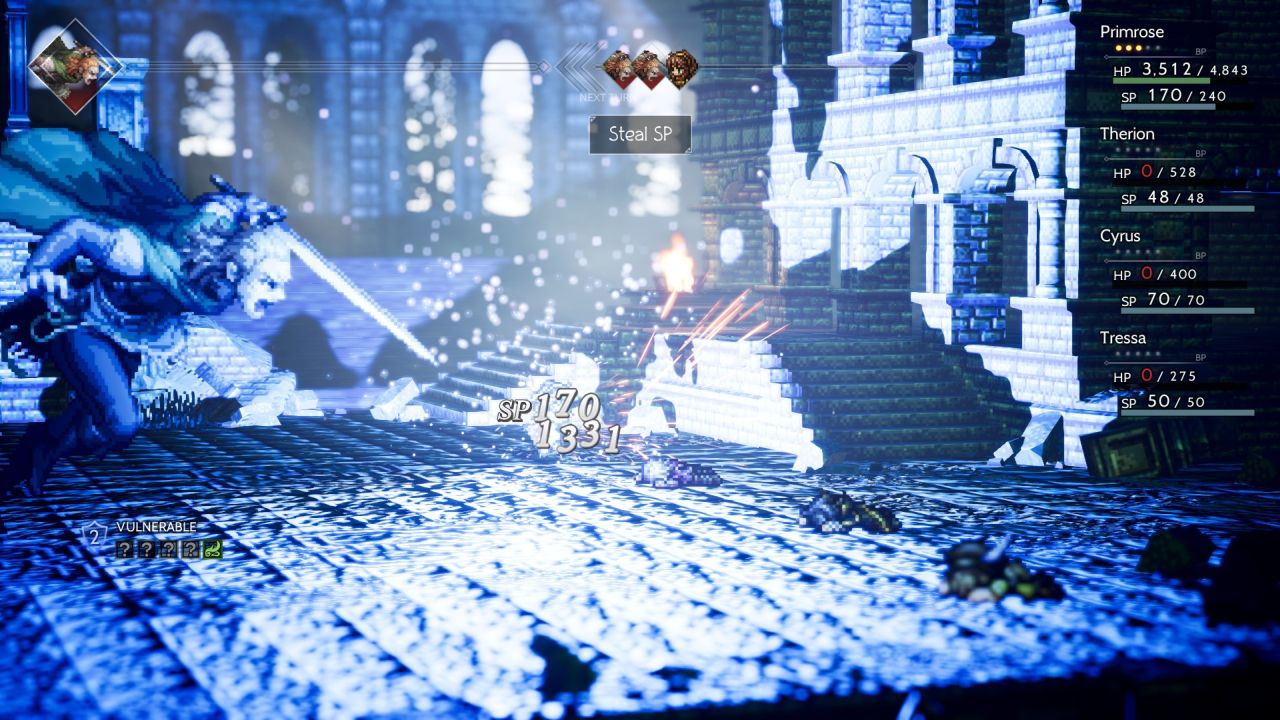
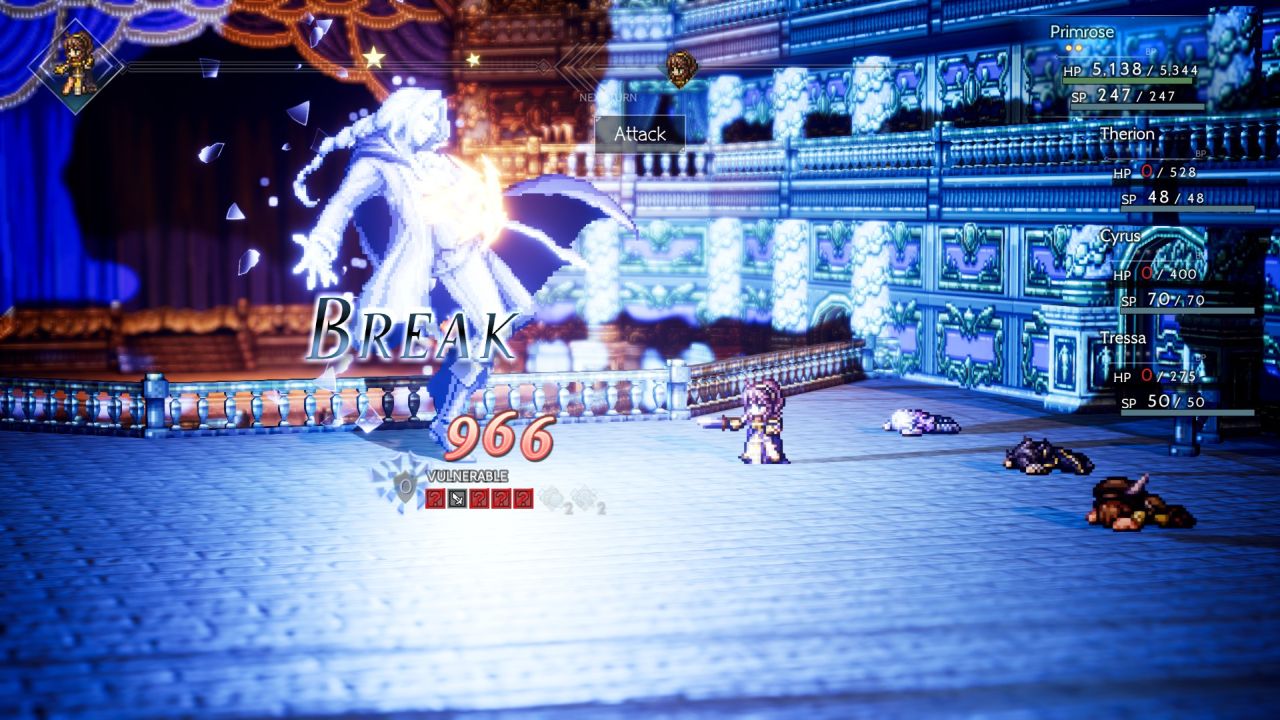
Since I had already completed the Moldering Ruins and Dragonsong Fane side areas while traveling out to the third ring towns, both of these dungeons having no bosses present, I could proceed onwards to the Chapter 4 stories in earnest. I opted to begin with Tressa's story sequence as completing this tale would unlock an improved weapon for the spear slot. The Grandport Sewers were of course irrelevant from a danger perspective, however the Esmeralda boss at its conclusion was anything but easy. As a reminder, Esmeralda basically has two major threats: a Five Strikes ability that hits five times in a row, then a series of colored blades that lock out various actions on the part of the player. She also likes to debuff the player's physical defenses which can make Five Strikes into a really deadly attack, something that fortunately Starseer Primrose could counter through the use of her Starsong buff. Primrose was pretty good at dodging the damage from Five Strikes with her high evade, and while it did wipe out Primrose a couple of times when she had bad RNG luck at dodging, there were also a bunch of sequences where Esmeralda hit nothing but air as captured above.
The elemental blades proved to cause the bigger problems for Primrose. They count as a form of elemental damage so they can't be dodged, and while Divine Aura would eliminate the damage from 25% of them, the other ones hit for close to 2000 damage when they appeared. I could work around their damage without too much trouble since Primrose had 5600 health and I was aggressive about using Refreshing Jams for HP restoration in this fight. The problem was the appearance of Esmeralda's Black Blade, which puts a death timer on top of the solo character's head. This counts down every round and if the player can't break Esmeralda's shields before the timer hits zero, the result would be:
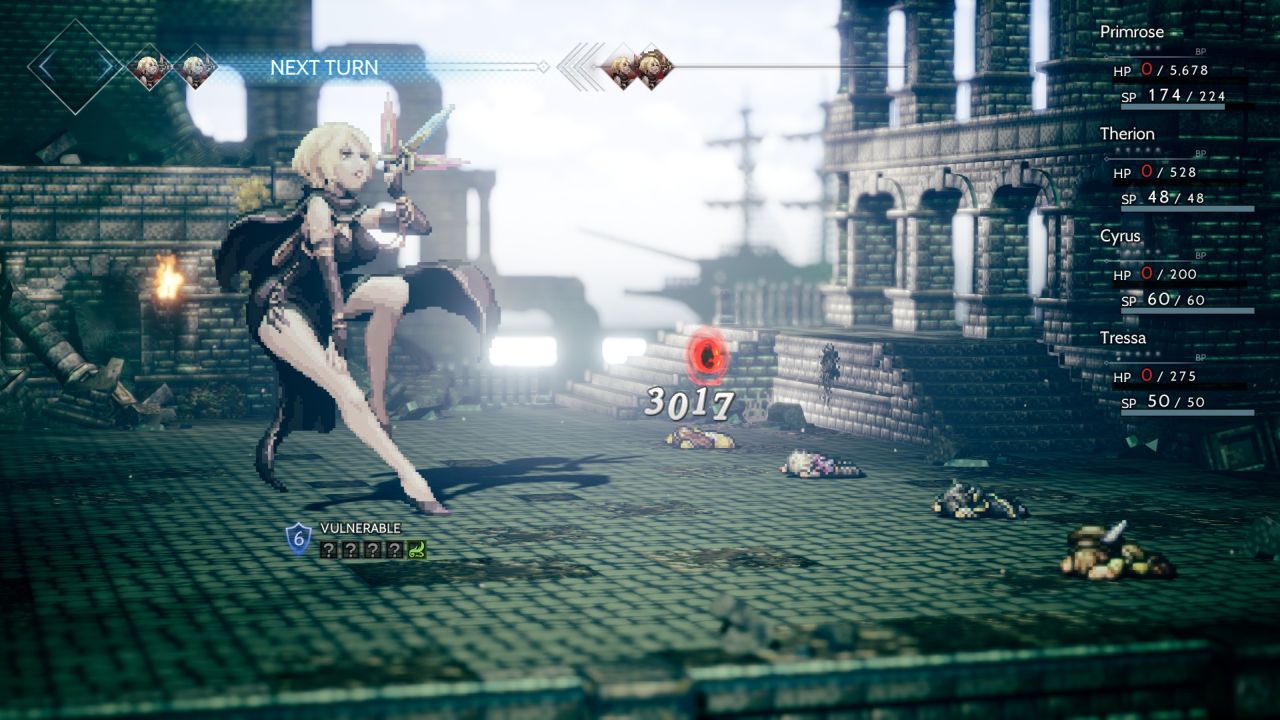
One facedown, very dead Starseer Primrose. I tried equipping a Vivifying Stone and it did not work as Primrose still died; I swapped over to an accessory with additional max HP instead. Alright then, I needed to make sure that Primrose could break the shields on Esmeralda when she used Black Blade since that was the only way to escape the ticking death clock. The first break was easy to land against this boss as Esmeralda had weaknesses to both wind and light elements. I could let the boost meter fill up, then hit with a triple boosted Shooting Stars into a shield break, followed by a max boosted Shooting Stars to spike Esmeralda for about 30,000 damage. Awesome!
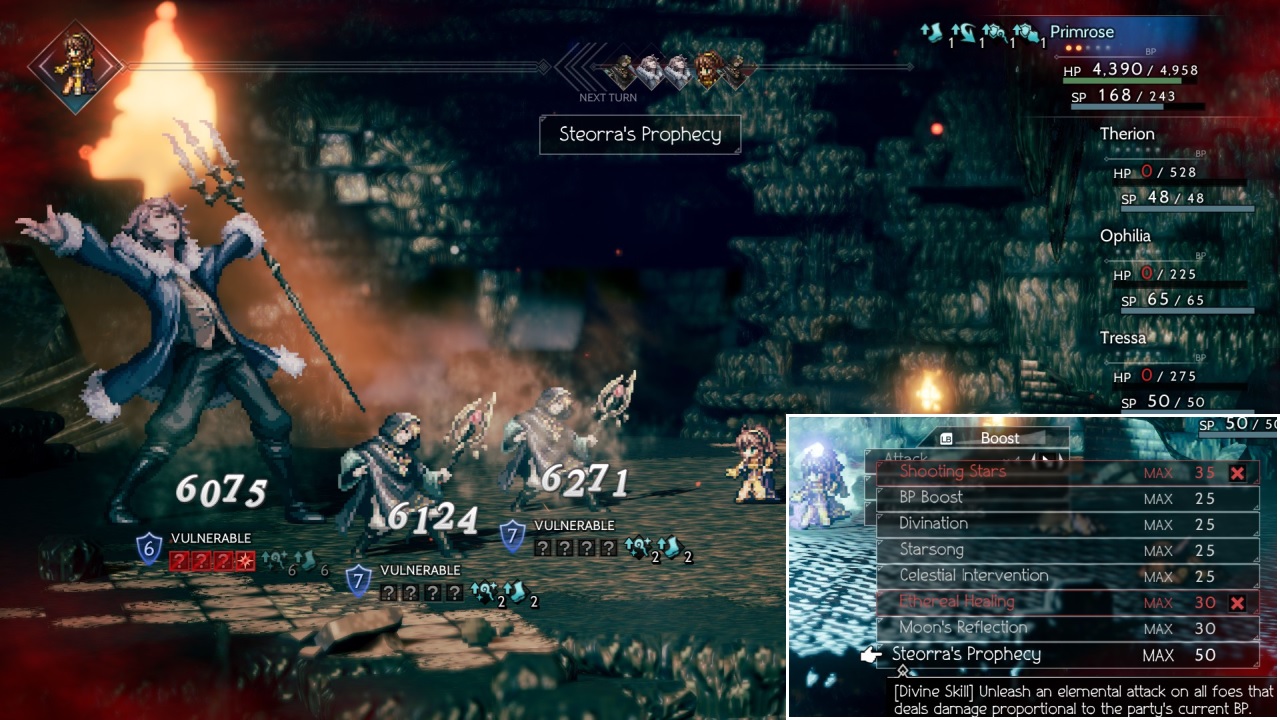
And then there was the second set of weaknesses on Esmeralda. After breaking her for the first time, she increased to 6 shields and swapped over to the following set of weaknesses: sword, bow, fire, lightning, wind. Ummm, the only one of those weaknesses that the Starseer class could hit was wind element, and Primrose could only apply one instance of wind element damage at a time, no better than using soulstones. This was a huge problem as inevitably Esmeralda would cast Black Blade and then Primrose would have a mere four turns to break through the boss' shields, nowhere near enough time to chip away with Shooting Stars. I experimented a bit and realized that there was no way to get past that second set of boss weaknesses; I would have to hold out on breaking Esmeralda for the first time until Black Blade appeared. However, Esmeralda won't even use that ability until she's taken a certain amount of damage (I think a third of her max health); therefore, Primrose had to damage Esmeralda a good bit but WITHOUT breaking through her shields. This meant no using Shooting Stars as it would quickly break the boss on the second casting. So what was I to do?

I had no choice but to fall back on the Starseer Divine skill, Steorra's Prophecy. This was a clunky and poor offensive option, not even hitting 6000 damage inflicted when cast with a completely full boost meter. And yet every other option was even worse: auto attacks would have done significantly less damage (and were locked out much of the time by Red Blade anyway) while smashing soulstones would only have hit for around 2500 damage. Steorra's Prophecy was a bad choice but it did start chipping away at Esmeralda's lifebar. I was able to hit the boss with a single max boosted Shooting Stars to get Esmeralda down to 2 shields remaining, then hit with a soulstone to drop to a single shield left. When Black Blade finally appeared, I made sure that Primrose had max boost points and cast a triple boosted Shooting Stars for the shield break, then a max boosted Shooting Stars against the stunned boss. Esmeralda restored her shields and used Black Blade again, but I responded by consuming a Revitalizing Jam for full health and boost points, then fired off two more Shooting Stars over the next two rounds to land the kill. Whew! This would not have worked if Esmeralda had much more than her 96k health total but I managed to work around Black Blade's timer ever running out.
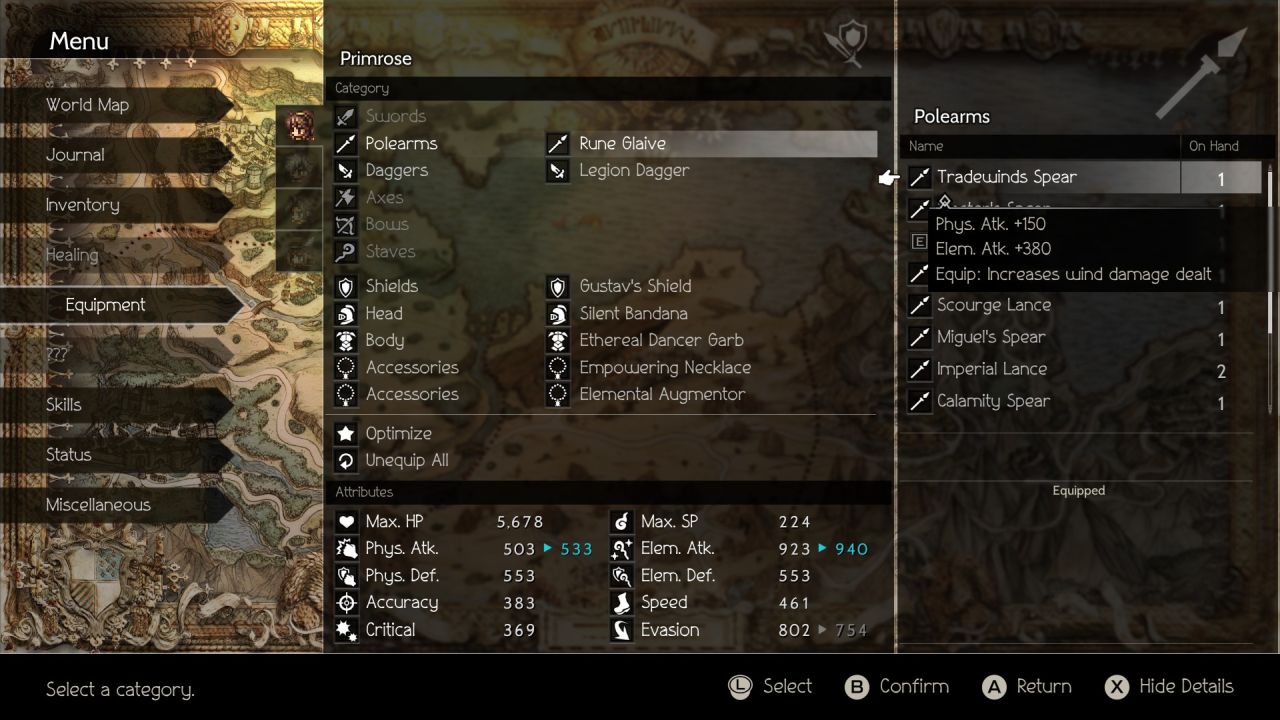
It was a hard-fought victory and required eight Refreshing Jams (due to the slow process of whittling down Esmeralda with a bunch of Steorra's Prophecy castings) along with that Revitalizing Jam at the end. Nevertheless, this obstacle was out of the way now and I could claim the spoils of war: a new weapon called the Tradewinds Spear. This is the weapon with the highest elemental attack in either the spears or the daggers slot and therefore the best weapon that the Starseer can equip from a numbers perspective. It also has the property of increasing wind element damage by 30% (not that Octopath Traveler's terrible in-game interface ever details the exact amount) which would help out the first third of Shooting Stars' damage. The Esmeralda battle had highlighted the biggest weakness of the Starseer class: poor shield breaking abilities. It sounds good to hit with three different elements at once, but it practice it's actually a lot better to hit three times with the same element!
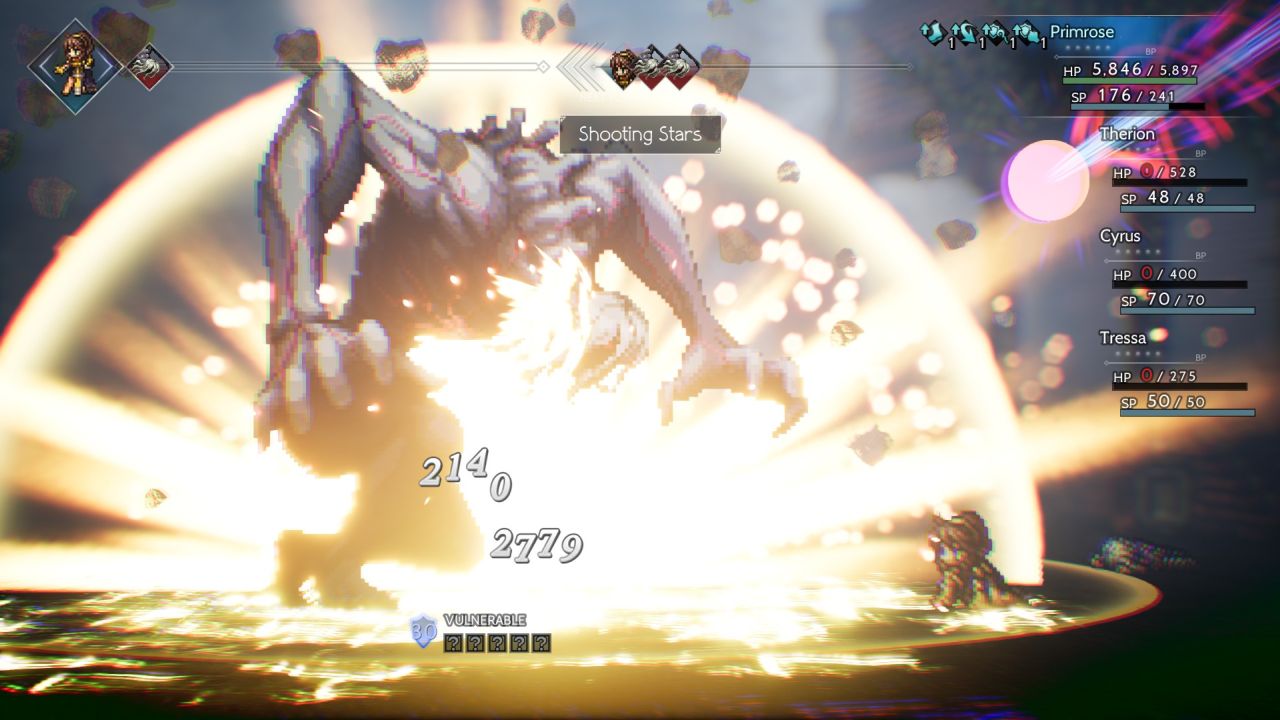
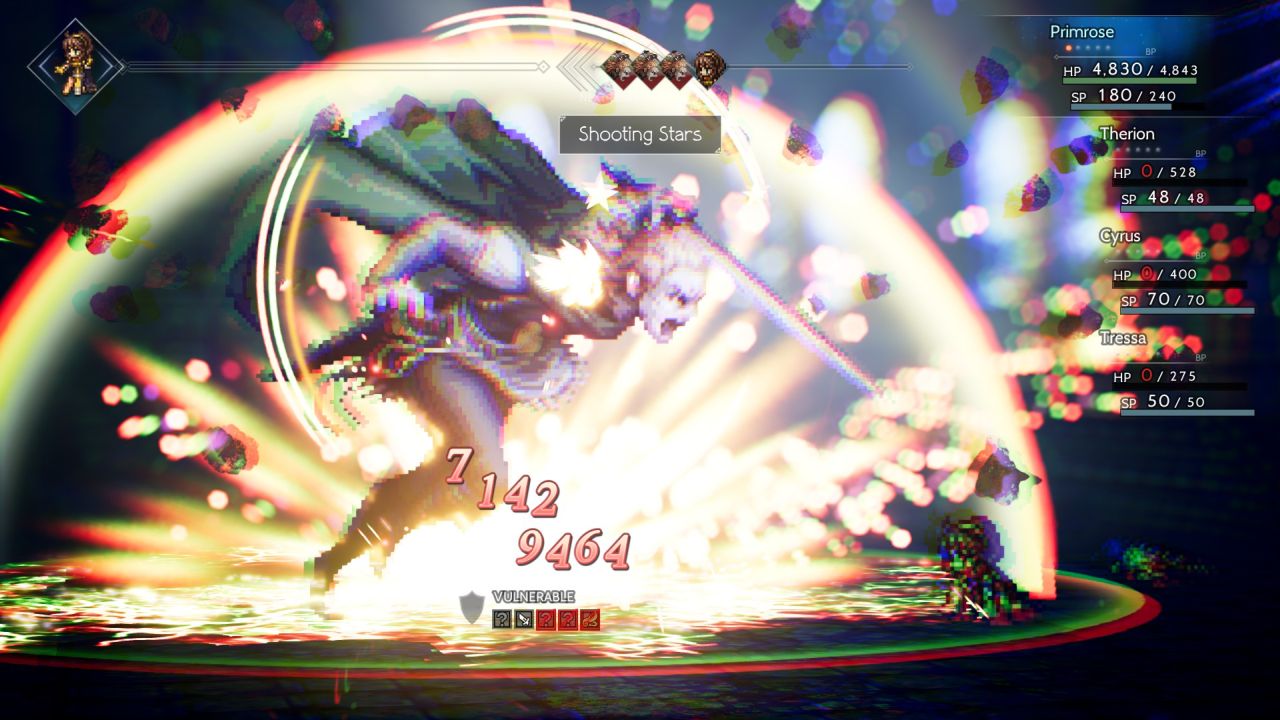
I wanted to continue filling out Primrose's endgame equipment setup which therefore directed me to Alfyn's Chapter 4 story next. Once again Primrose mowed down every random encounter immediately in the Forest of Rubeh, something that I wasn't sure she would be able to accomplish given the stronger monsters in this later portion of the gameplay. A triple boosted Shooting Stars on the first turn of combat was dealing around 12-13 thousand damage at this point though (with the initial wind element portion now getting that small bump from the Tradewinds Spear) which was enough to kill anything that wasn't a boss. It didn't take long to reach that boss:
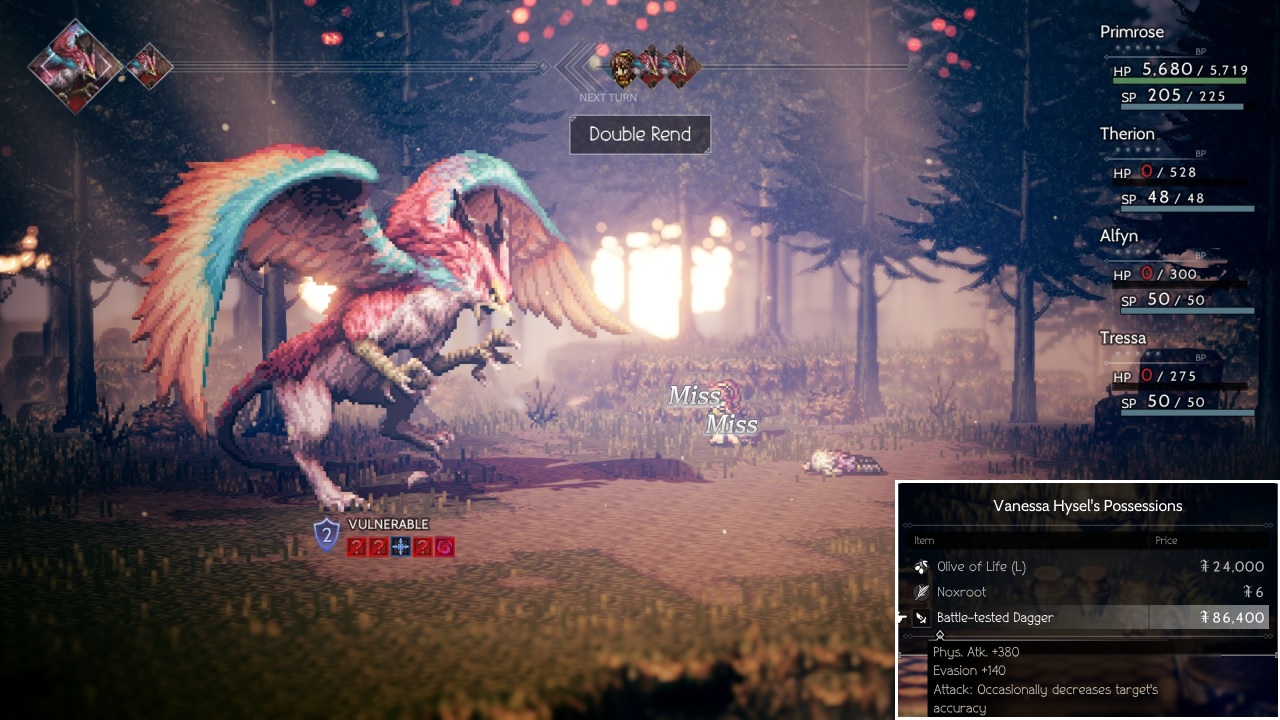
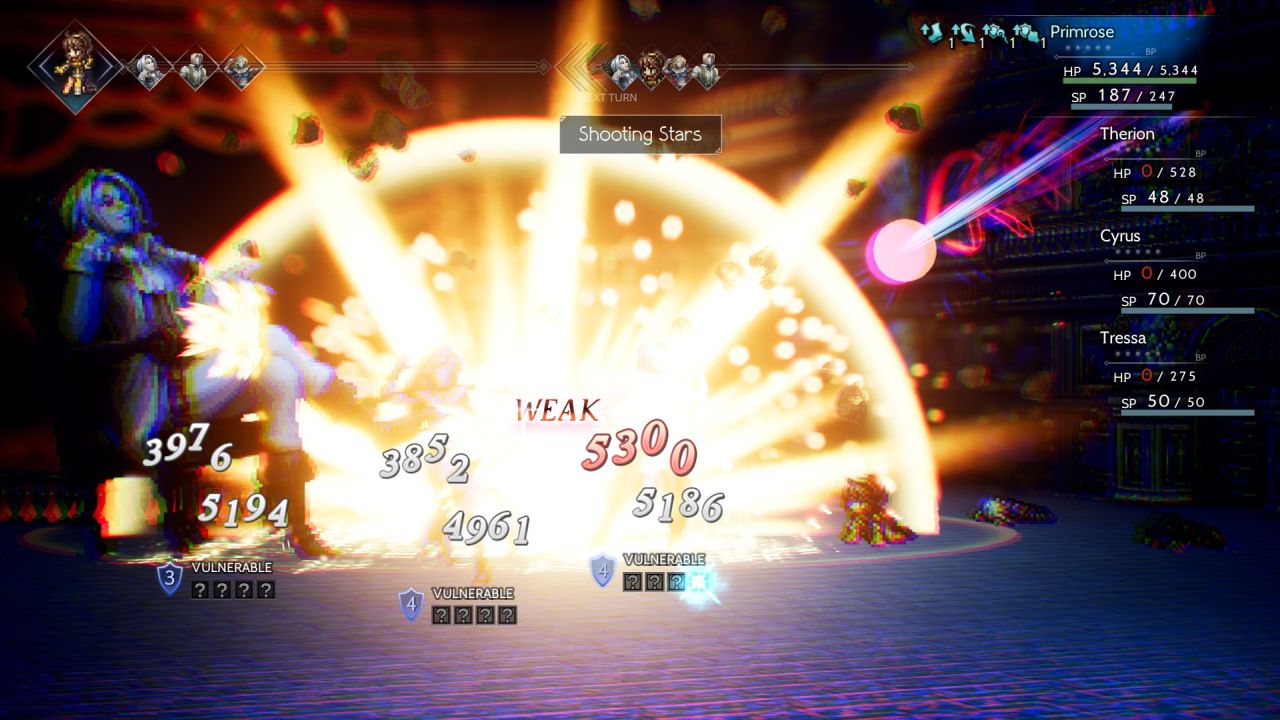
The Ogre Eagle is not typically one of the tougher Chapter 4 opponents even though it has the highest health total of the bunch. It does lots of wind element damage (which is easily blocked by equipping a Tempest Amulet) and inflicts a series of status ailments, then slowly drains away the party's maximum HP via its Toxic Rainbow ability after dropping below half health. I thought that this would be a pretty straightforward boss for Starseer Primrose and things did indeed go smoothly. A Tempest Amulet blocked the Ogre Eagle's wind element damage while Primrose's high evasion and repeated castings of Starsong allowed her to dodge most of the physical attacks directed her way. All of those various poison and confusion status ailments couldn't be applied if the boss couldn't hit Primrose! I think she was hit with poison twice and confusion once, and that was it. Offensively, I used a series of Ice Soulstones to reduce the Ogre Eagle to a single shield remaining while working the creature down to just above half health remaining. Then I broke the boss with another soulstone, hit it with a max damage Shooting Stars for about 23,000 damage, followed by using a series of Energizing Pomegranates to keep casting max boosted Shooting Stars as quickly as possible. I think it took three more such castings but Primrose was taking almost no damage at all so this was an easy fight to wrap up.
The prize for winning was an opportunity to Purchase the Battle-tested Dagger from Vanessa Hysel at the back corner of the Undertow Cave. This weapon only had 11 more points of evasion as compared with the Legion Dagger that Primrose was already using; still, an upgrade was an upgrade after all. If Primrose ever needed to use her physical attack, the 380 points of physical damage and chance to debuff the accuracy of the enemy would come in handy. And speaking of that, she would need to use her physical attack at times against her next opponent:
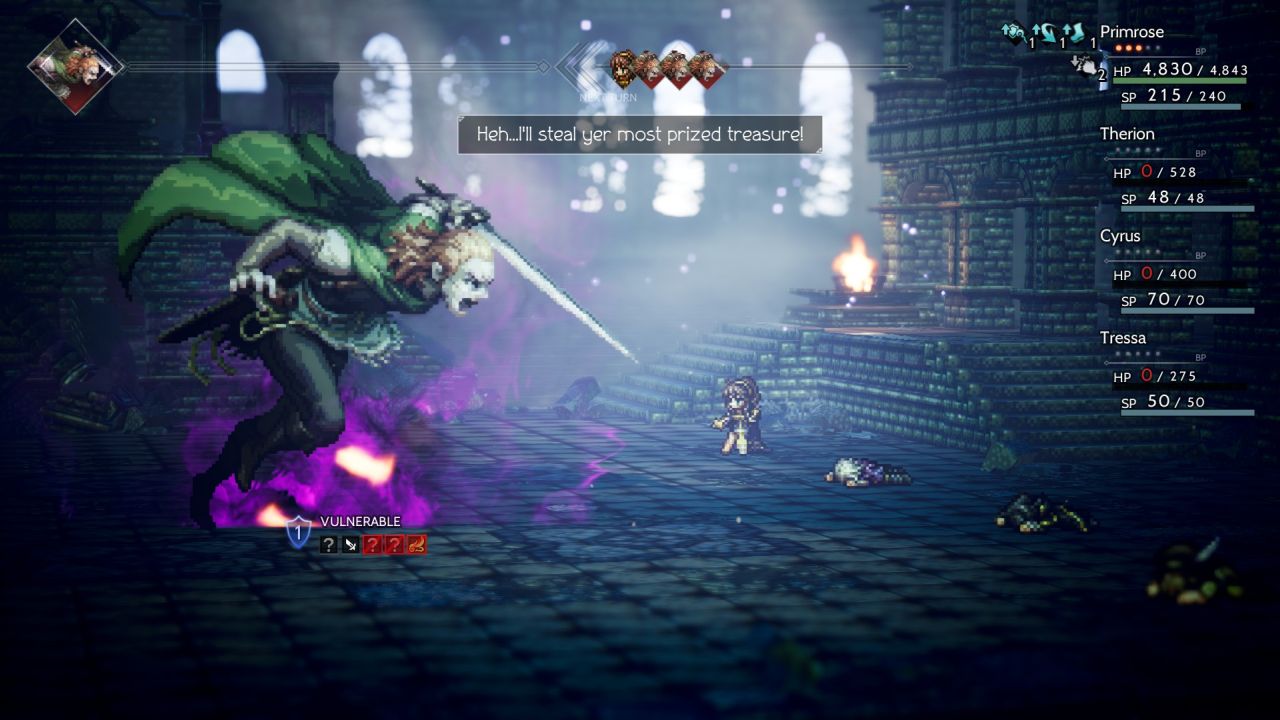
Yes, it was time to get the dreaded Darius fight out of the way. Anyone reading this has probably already seen my other Octopath Traveler reports, but as a quick refresher Darius will steal away the party's items at various points in time and must be broken to get them back. He also has the infamous "Call Comrade" instakill cheese move that results in an immediate gameover if he isn't broken immediately at the start of the next turn. Many solo classes either don't have an answer to these boss abilities or have to contort themselves into pretzels to find a path through them. I thought that the Starseer class would be a good fit for Darius, however: Primrose could use Starsong to cancel out the Nighthawk physical defense debuff used by Darius, while her incredible evasion would allow her to dodge most of Darius' Steal HP/SP/BP moves. Most importantly though, the Starseer class has access to daggers as a weapon type which is the only weakness that Darius never locks out during the battle. It's critically important to be able to break Darius' shields at precise timings and the Starseer would be totally lost here if it didn't have access to daggers. This was therefore the rare case where the class genuinely did need its physical attacks and couldn't rely solely on spellcasting.
Darius always starts the battle by stealing the party's items away, which Primrose could fortunately get back without much trouble. I would cast unboosted Shooting Stars for the single wind element hit on Darius' shields, then break out the dagger strikes whenever Primrose's health dropped low enough to require access to items. I found that she was very, very good at avoiding the physical attacks from Darius when Starsong's protection was in place, evading roughly 80% of the incoming blows. That included the Steal HP/SP/BP attacks which are also classified as physical blows. And if this was all that Darius could do, Primrose would have stomped him easily since she had no trouble getting her items back whenever Darius took them away. Even when Darius went below half health and increased to three actions per turn, the enemy bandit leader still wasn't doing that much in the way of actually hitting Primrose.
So the whole issue in the Darius fight came down to avoiding his "Call Comrade" move once again, which he will trigger upon dropping below 1/4 health remaining. My goal was to work Darius down to roughly 30% of his lifebar, set him up for a shield break on demand, and then wait until Primrose would be the first one to act on the following turn. It's much easier to type this out in theory than pull it off in practice, of course, as Darius would be attacking Primrose the whole time while she had to juggle her health, her spirit points and boost points, keep the Starsong buff in place if at all possible, and ensure that she still had access to her items as needed. If Darius took her items away but the setup wasn't quite right to make it past Call Comrade, I would have no choice but to break Darius and then work through all of his shields once again for another attempt. The first time that I tried this battle, I did slightly more damage to Darius than I expected and blew past his 1/4 health mark for an immediate Call Comrade death, hmmpf. Even though I had a spreadsheet out and was tracking his HP total throughout the fight, Primrose did slightly more damage than I wanted with Shooting Stars and overshot the target number.
The second time though, I managed to get everything lined up correctly. The screenshot above is the victory message, Darius just didn't know it yet. I had knocked him under the 1/4 health remaining goal with Primrose's action earlier on this turn, with Primrose perfectly set to act first on the next turn. She calmed stabbed Darius one more time with her dagger, broke his shields, and then unloaded with a max boosted Shooting Stars that did close to 24,000 damage. That was sufficient to finish off Darius who expired without even getting another turn - ha! I thought I'd have to cast Shooting Stars one more time but it wasn't even necessary. Good riddance.
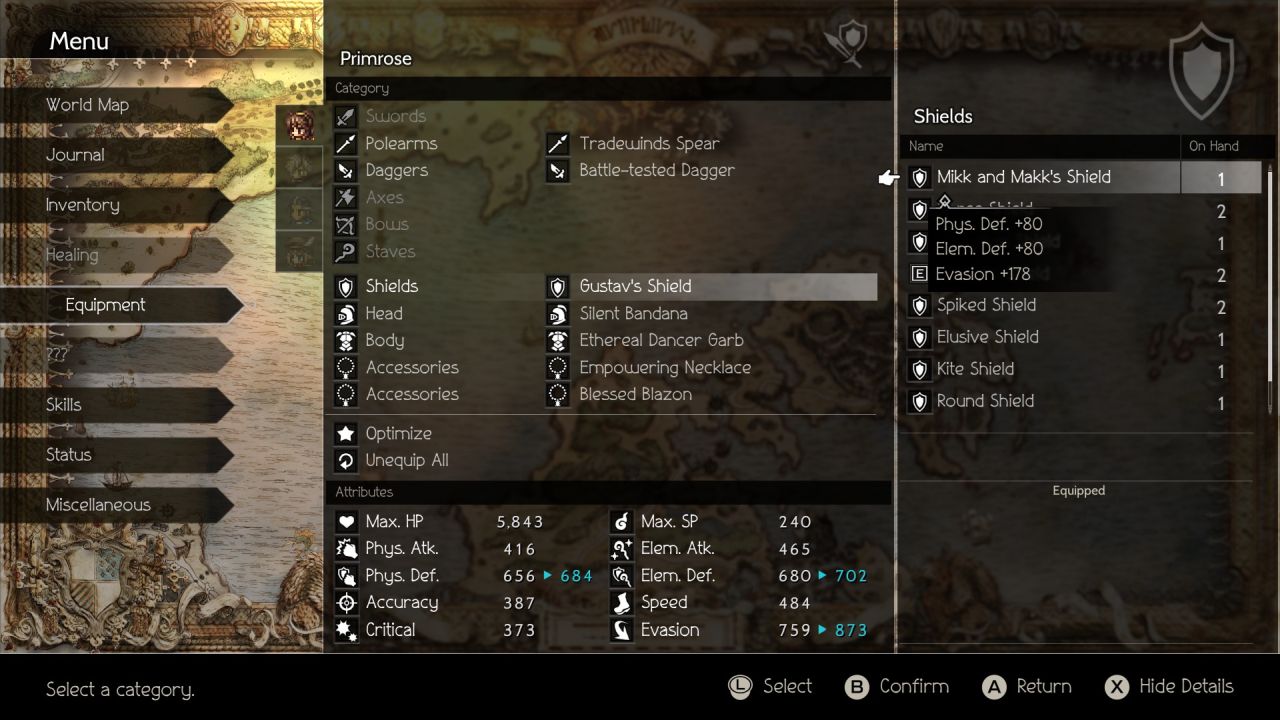
Darius tends to be the hardest of the Chapter 4 bosses but then also provides what's likely the single best reward for defeating him. This is Mikk and Makk's Shield which is easily obtained via a side quest in Noblecourt, requiring only that Tressa and Therion both have their storylines completed ahead of time. Mikk and Makk's Shield was far superior to the ancient Gustav's Shield that Primrose had been using for most of the game's duration, with modest boosts to physical and elemental defense and then a whopping increase of 104 more points of evasion. When combined together with the evasion on the Battle-tested Dagger, Primrose had now maxed out the evasion stat at the cap of 999. Starsong supposedly increases this by another 50% when used in battle and I really wonder how this is coded behind the scenes. I can attest that Primrose definitely dodged more attacks when Starsong was in effect so clearly the extra evasion does get applied in some fashion. The other new equipment that unlocked was an accessory named the Blessed Blazon that adds 100 physical and elemental defense; while it wasn't anywhere near as useful as Mikk and Makk's Shield, it was still a nice additional to Primrose's bag of goodies.
Esmeralda and Darius had been the biggest obstacles for Primrose and things were about to get a lot easier against the remaining Chapter 4 bosses. I wrapped up Cyrus' adventure next in the Ruins of Eld:
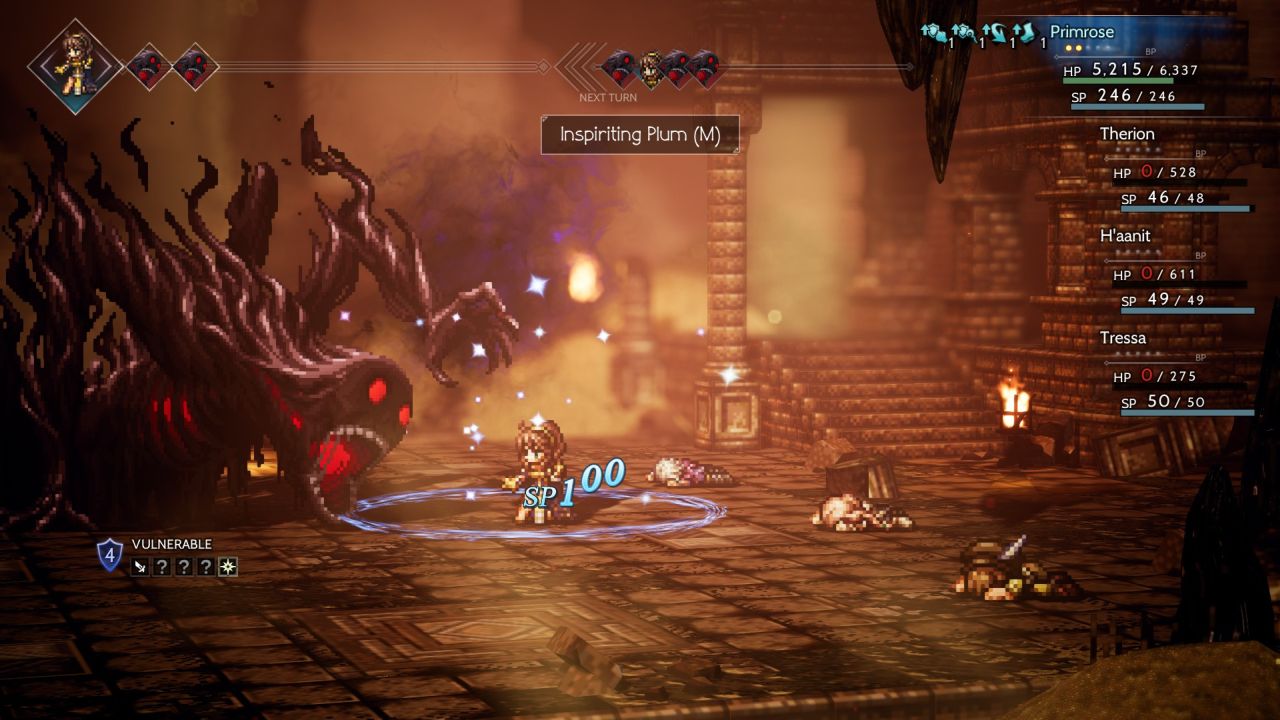
I actually picked this dungeon because I needed the Void Amulet that was inside and figured that I might as well complete the place if I had to venture in there. The Lucia boss at the end uses entirely physical damage between a combination of her normal attack, Sweep (which hits the whole party but doesn't do much in a solo game), Wallop (inflicts unconsciousness), and Pulverize (drains BP). None of this was remotely dangerous for Primrose due to her awesome evasion, now boosted to greater heights by the addition of her shiny new shield. Lucia simply could not hit Primrose on any kind of consistent basis and, well, that basically spelled the end of this boss fight. I didn't want to break Lucia's shields and therefore used a combination of Starsong for defensive protection along with Shooting Stars whenever the boost meter was full. While the damage was lackluster at roughly 7000 damage per casting, Lucia's own attacks couldn't hit their mark and so there was no danger here. I took my time, used a series of Medium Healing Grapes and Inspiriting Plums, and eventully downed the boss after about a dozen uses of Shooting Stars. Easy stuff.
That Void Amulet was needed in the next dungeon where Mattias spams a whole bunch of dark element spells. The standard move here is to equip a Void Amulet and Tempest Amulet which together block almost everything that Mattias can do. I followed this typical equipment setup and had fun blasting away at the boss, hitting his light element weakness with the middle damage type from Shooting Stars and eventually dealing 23k damage on a max boosted Shooting Stars when Mattias' shields were broken. He seemed to wise up after having his shields broken though because then he did this:
Oh yeah, his Infernal Flame ability that blocks some but not all types of elemental abilities. This is weird boss ability as it stopped Shooting Stars from functioning, along with Ethereal Healing for some unknown reason, but did not block Steorra's Prophecy. I think it's supposed to block area-of-effect abilities but Steorra's Prophecy does hit everything on screen so I can't say that I understand how this is coded. Anyway, the party is supposed to break Mattias' shields to remove Infernal Flame, however that would require defeating the various minions summoned by Mattias and then afterwards cutting through six ranks of shields with six separate castings of Shooting Stars, not likely to happen here. Instead, I simply had Primrose fall back on the weak tool of Steorra's Prophecy for lack of other options. It had to be used at max boost points and inflicted barely half the damage of Shooting Stars but it was still better than all of the alternatives. I also did have to watch out for Mattias' Black Thunder attack which hits with lightning element damage and has a chance to stun the target. Primrose lacked protection against both of those things and was stunned all three times that the move appeared, argh! Although she was never truly in danger of dying, the use of Black Thunder along with Infernal Flame was enough to make this a genuine boss fight and not an afterthought.
By way of contrast, Werner didn't put up much of a fight at all. The boss of Olberic's Chapter 4 story has been an absolute terror for many of my solo characters, between his heavy physical attacks, his debuffing of the party's physical defenses, and his ability to inflict terror and unconsciousness statuses. I still brought the usual Calming and Conscious Stone accessories to lock out those status ailments, however Primrose had a tool that most of my other solo characters have lacked: the incredible Starsong ability. Starsong canceled out Werner's Oppression debuff and by casting it multiple times I could flip the condition of the battlefield: instead of suffering under the Physical Defense Down debuff (incoming attacks deal 50% more damage), Primrose benefited from the Physical Defense Up buff (attacks deal 50% less damage). So Werner was hitting for half the damage that I'm used to seeing with many solo characters... and that was when he actually hit Primrose, which wasn't often. Her evasion and Divine Aura combined together to result in Werner landing his blows maybe a quarter of the time. That meant fewer rounds spent needing to heal and more rounds spent attacking or reapplying the Starsong buff.
Werner also had an extremely friendly series of weaknesses for Primrose to exploit. He was weak to both wind and light elements, allowing Primrose to set him up for a triple boosted Shooting Stars that knocked out his last remaining shield, then a max boosted Shooting Stars on the next turn when the boss was broken. This spiked Werner for roughly 35k damage on those back to back turns, and even though he went up to three actions per round afterwards, he still just could not touch Primrose with most attacks. I was using Medium Healing Grapes and Inspiriting Plums for HP/SP recovery in this battle because Werner simply was not dangerous. I know I'm repeating myself here but I've had sooooo much trouble with Werner in the past that it was a true delight to watch Primrose dance away from his blows. This is the greatest strength of the Starseer class: the ability to nearly nullify physical damage with Starsong protection and high evasion.
If Werner was pretty easy, then Redeye was even easier. The boss of H'aanit's Chapter 4 story also deals entirely physical damage and can stun its prey, however it lacks the physical defense debuffs that Werner has at his disposal. Once again I set up the Starsong protection field and then marveled at the near-total inability of Redeye to deal damage to Primrose. Occasionally an attack would land but Redeye really was missing about 80% of its attacks which turned this boss fight into a complete joke. I continued to use basic healing items instead of having to dip into the stock of Refreshing Jams and kept plugging away at the big HP total on Redeye. This was another opponent with a friendly set of weaknesses to target and I tried to save Primrose's Shooting Stars casts for the boss form that had wind and light element weaknesses. (Redeye has the gimmick of changing its weaknesses every round.) There's not much more to say here, the danger level was nonexistent and Primrose took her time whittling down the 108,000 health on her foe.
I had saved Primrose's own Chapter 4 story and Simeon for last, not because this was the hardest story sequence but because I wanted to cap out Primrose's journey in proper fashion. I took the time to watch the whole story progression which left me shaking my head again over what a mess this is. I think what's supposed to be happening is that Primrose is supposed to be in love with Simeon, her girlhood crush that turned out to be the betrayer and murderer of her father. There's potential for a dark and satisfying plotline here, however the whole thing gets ruined by the hamfisted storytelling in the actual gameplay. Simeon pops up out of nowhere in Primrose's Chapter 3 story with no previous mention of the character which makes their relationship feel highly awkward (and that's leaving aside the fact that Primrose was a young girl who Simeon supposedly "loved", ick). Then Simeon acts like a lunatic, stabbing Primrose and leaving her to die, but also hoping that she'll survive to come confront him, but also continuing to state that he's in love with her - what the heck?!  I understand that Simeon is supposed to be insane but this is still lousy writing. Simeon is my least favorite character in Octopath Traveler and Primrose deserves much better what the writing gives her here, where she seems confused and reluctant to face him. Thankfully the player does get the chance to murder this prat so let's get to it:
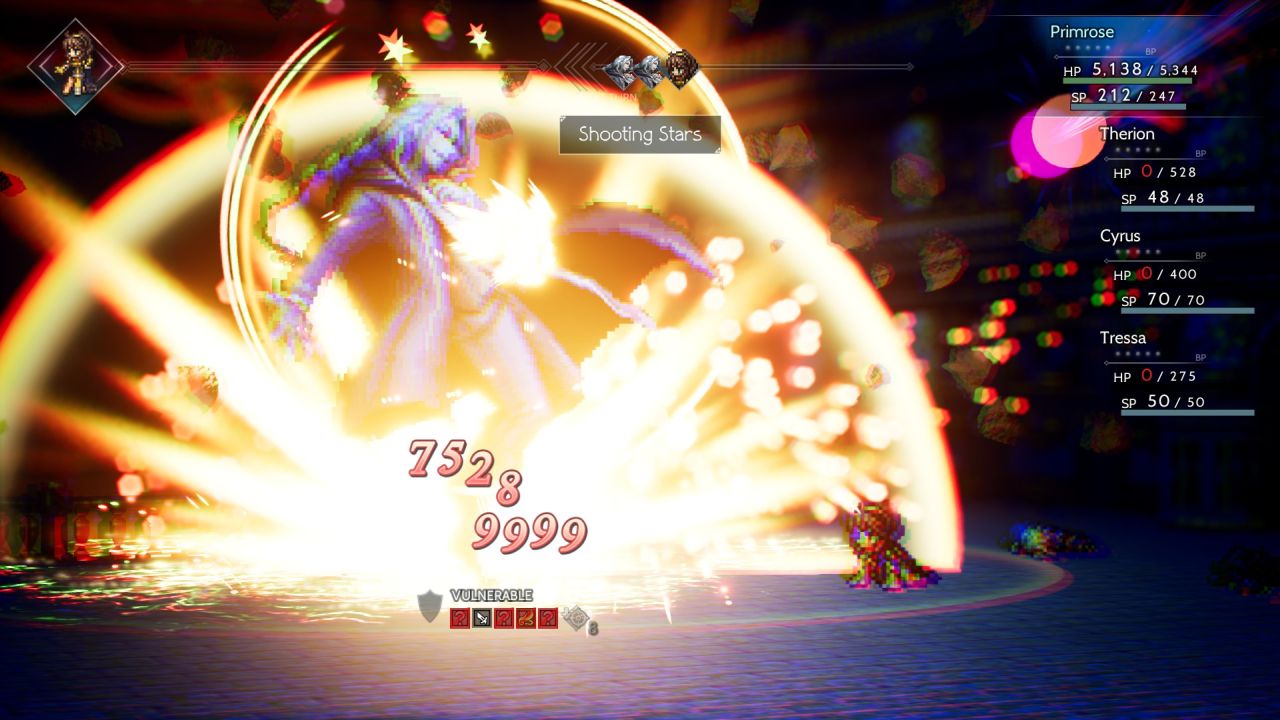
Simeon is also the only opponent in the game who requires two separate boss fights (except for the secret Galura superboss). He doesn't do much of anything in the first Simeon battle, instead sitting back and attacking the party with a pair of marionette minions. These things are pretty easy to defeat, with the only danger being the Father Marionette having a stunning attack that it can break out after falling under half health. I could not bring a Conscious Stone accessory to this battle due to the need to have a Void Amulet and Articulate Stone for the second form of Simeon; this introduced a small amount of danger if Primrose were to get tagged with a stunning attack. The odds of that were low and it never happened before Primrose wiped both marionettes off the board with a pair of max boosted Shooting Stars casts. Then Primrose stabbed Simeon with her dagger to break his shields, hit him with more Shooting Stars, and waited until his health ran out to trigger the second Simeon battle.
The second Simeon fight is also quite easy until the boss drops under 50% health remaining, at which time he goes up to three actions per round and starts spamming his Act of Impulse move. Simeon has an unusual weakness pattern whereby he starts with only daggers unblocked, then slowly unblocks more weaknesses after recovering from each shield break. Most of my solo characters have no chance to break him at all, lacking daggers as a damage option, but I could hit that weakness here as Primrose broke out her rare auto attacks. I smacked Simeon with a max boosted Shooting Stars when he was broken, getting my first 9999 damage printout of the run in the process, and the dagger attacks even debuffed Simeon's accuracy stat in the process. Simeon then changed his weaknesses so that only swords and fire element were exposed, prompting me to use a series of Fire Soulstones to carve away at those shield protections. I eventually broke him a second time, hit with another max boosted Shooting Stars, and that dropped Simeon low enough on health for the second half of the battle to begin:
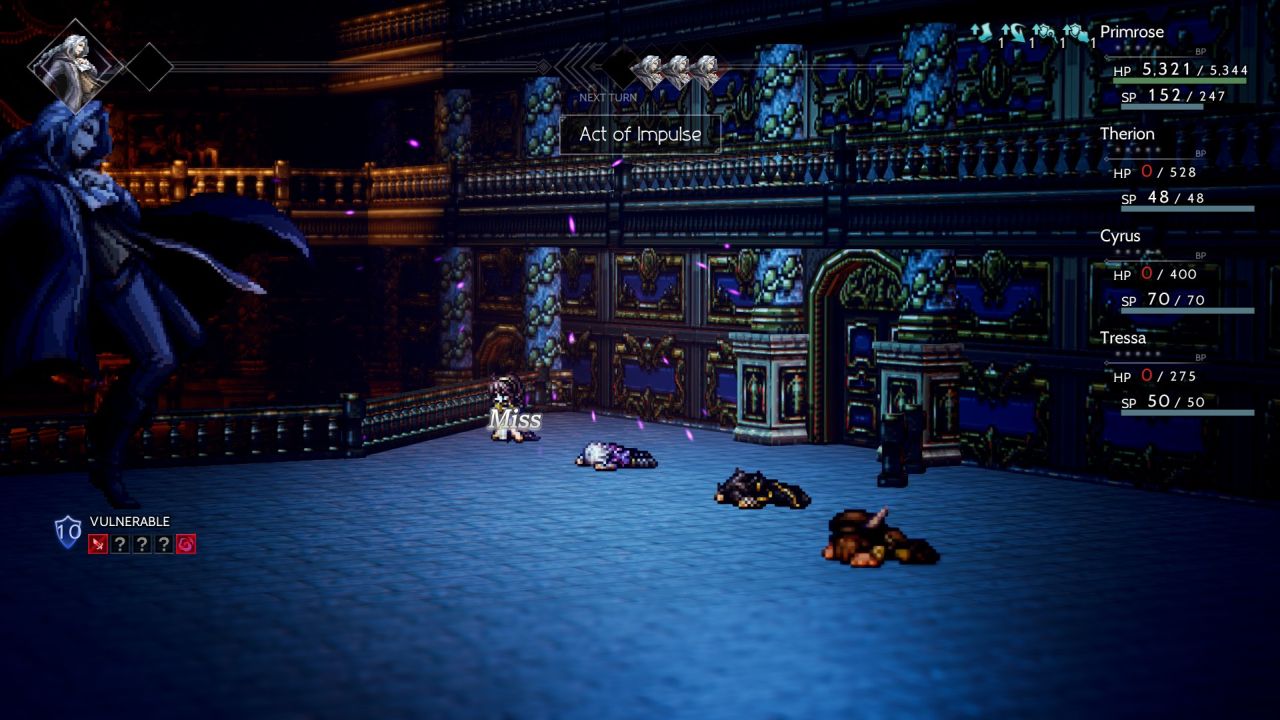
Simeon had daggers and dark element available as weaknesses, only to lock out both of them and leave me unable to target them, argh! The only available weakness to target was ice element and I wasn't going to break 10 Ice Soulstones at this point so thus no more shield breaks for the rest of this battle. Simeon began using Shredded Fortunes to debuff Primrose's defenses, which I was able to counter with good old Starsong to restore them back again. He also kept buffing his own attack with an ability called Boiling Blood; I tried to block this several times with Celestial Intervention and could never get the timing correct. The Shredded Fortunes / Boiling Blood combo will more than double Simeon's base damage when stacked together, which fortunately Primrose could avoid here thanks to Starsong.
The danger in the battle comes from Simeon using his Act of Impulse attack which he will employ at least once per round, sometimes twice per round. As I had seen all throughout Primrose's journey, she was very good at dodging this ability and it only landed a couple of times, though when it did hit Act of Impulse was dealing nearly 2000 damage. I was making the battle harder on myself by refusing to use any Refreshing Jams as a sign of disrepect for Simeon. The need to keep pausing for Healing Grape and Inspiriting Plum use dragged things out a bit while Primrose also had to keep reapplying Starsong and only cast Shooting Stars when she had a safe window. It took a little while but I did pull this off successfully on the first attempt, with five total max boosted Shooting Stars finishing off the puppetmaster. Farewell Simeon.
That concluded all of the Chapter 4 stories and brought an end to the normal portion of Octopath Traveler's gameplay. Earlier I hadn't been certain whether to keep going but the last few bosses made up my mind: Starseer Primrose deserved a shot to take on the various endgame superbosses. While her offensive and shield breaking capabilities were limited, the way that she could nullify nearly all physical damage made her a viable candidate for those challenges. I was going to take my shot and see what happened - wish Primrose luck!


